unicon-cl-series-software-getting-started-guide.pdf_638360
Open the original PDF document
View PDFUniconTM CL Series Software Getting Started Guide

Trademarks
The following items are trademarks or registered trademarks of Kaba Mas in the United States and/ or other countries.
• Unicon
Windows, Windows 2000, Windows XP, Windows Vista, and Windows 7 are registered trademarks of Microsoft Corporation.
Notice: The information in this manual is subject to change without notice and does not represent a commitment on the part of the Kaba Mas. Kaba Mas shall not be liable for technical or editorial errors or omissions contained herein; nor for incidental or consequential damages resulting from the furnishing, performance or use of this material.
© 2006-2010 Kaba Mas
All rights reserved
Document Number 3063.016 Rev. C - 10/10
Table of Contents
| Kaba Mas Welcome | 1 |
|---|---|
| The Unicon™ CL Series Software Program Package | 1 |
| System Requirements | 2 |
| Software Installation and Setup | 3 |
| Install the Software | |
| Installation Configurations & Considerations | 11 |
| Install the Unicon CL Software | 12 |
| Install Microsoft SQL Server 2005 Express | 24 |
| Install Unicon CL Series Database | 30 |
| Install Dallas 1-Wire API | 33 |
| PC Hardware Installation | 39 |
| Enable Remote Connections | 41 |
| Enable the SQL Server Browser Service | 41 |
| Create Unicon Firewall Exceptions | 42 |
| Add Login Accounts for Users | 43 |
| Create MSDTC Security Settings | 44 |
| Restart Server PC | 46 |
| Start the Unicon CL Series Program | 46 |
| Configure System Hardware and Software Settings | 50 |
| Change Adapter & Port Settings | 50 |
| Select Database Server | 51 |
| Menu Bar Options | 53 |
| Toolbar Options | 53 |
Kaba Mas Welcome
Kaba Mas, part of the world-wide Kaba group, is the world's leading manufacturer and supplier of high security, electronic safe locks. From sophisticated locks safeguarding classified information and cash supplies stored in automated teller machines to complete systems serving goods-in-transit, Kaba Mas products are world renowned for their ability to greatly reduce incidence of theft. Kaba Mas is dedicated to satisfying end-user needs for security, safety, and convenience. We welcome you to the world of Kaba Mas security and the UniconTM CL Series Software.
The UniconTM CL Series Software Program Package
The Unicon CL Series Software implementation package includes:
- Unicon CL Series Software Install CD, Version 2.1.0 (32-bit version)
- Unicon CL Series Software Install CD, Version 2.1.0 (64-bit version)
- Unicon CL Data Cable
- USB Adapter for Unicon CL Data Cable
- 1 Programming Key Fob (Teal)
- 1 Reporting Key Fob (Red)
- Unicon CL Series Software Getting Started Guide
- Unicon CL Series Software Reference Manual (Included on Install CD in electronic format)
If you are missing any of the above items, contact Kaba Mas Customer Service at 1(800) 950-4744. Please note that if you are installing the upgrade package, you will not receive all of these items.
Note: If you do not have an available USB port on your PC but you do have an available serial port, the serial port adapter (P/N 202124) can be installed as an alternate to the USB adapter. This item is ordered separately.
System Requirements
Note: If you will be installing both the Unicon CL Software and SQL Server 2005 Express Edition, you will need to add the required RAM and hard disk space for each to get the total amount required. Refer to pages 6-7 of this guide for the possible system configurations.
To install and run only the Unicon CL Series Software program, the following minimum hardware and software requirements on a workstation must be met:
- IBM compatible PC (Pentium III or greater) capable of running Windows with an available USB or serial port for a data cable adapter.
- 512 MB RAM
- CD-ROM or DVD-ROM Drive
- Hard Disk Drive with at least 30 megabytes disk space free
- Windows XP Professional 32-bit (Service Pack 2 or greater), Windows Vista 32-bit or 64-bit (Business Edition), or Windows 7 Professional 32-bit or 64-bit.
Note: All current operating system updates should be applied previous to software installation. The screens shown in the Unicon CL Series manuals were captured on a Microsoft Windows XP system or a Windows 7 machine. If your PC is running under a different operating system, your screens may look slightly different.
To install and run SQL Server 2005 Express Edition (Service Pack 2) , the following minimum hardware and software requirements on a server station must be met:
- IBM compatible PC (600 MHz Pentium III compatible or faster processor, 1 GHz or faster processor recommended) capable of running Windows with an available USB or serial port for a data cable adapter.
- 512 MB RAM (or more recommended)
- CD-ROM or DVD-ROM Drive
- Hard Disk Drive with at least 800 MB available hard-disk space for recommended installation
- Super VGA (1,024x768) or higher-resolution video adapter and monitor
- Microsoft Mouse or compatible pointing device
- Windows 2000 Server (Service Pack 4 or greater); Windows Server 2003 Standard, Enterprise, or DataCenter editions with Service Pack 1 or greater; Windows Small Business Server 2003 with Service Pack 1 or greater; Windows XP (Service Pack 2 or greater); Windows Vista.
Note: Most of the screens shown in the Unicon CL Series manuals were captured on a Microsoft Windows 7 system. If your PC is running under a different operating system, your screens may look slightly different.
- .NET Framework 2.0 (Included on Install CD)
- Microsoft Internet Explorer 6.0 SP1 or later
To install and/or run SQL Server 2005 Standard Edition , the standard minimum hardware and software requirements for the software installed on a server station must be met. SQL Server 2005 Standard Edition is not provided as a part of the Unicon CL Series Software implementation package; however, the Unicon CL software will interface with SQL Server 2005 Standard Edition
Software Installation and Setup
You are ready to install the Unicon CL Series Software and begin system setup. To start the installation and to continue with testing the basic function and operation of the system, you will need the appropriate Unicon CL Series Software Install CD for your operating system (32-bit or 64-bit), the Unicon Data Cable, and the Adapter for the Data Cable.
WARNING: Do not install the data cable and adapter at this time. You will be instructed to do so at a later time.
If you have a previous Windows based version of the Unicon CL Series software installed and you want to upgrade and transfer your system to a new PC, please refer to the Unicon CL Software Reference Manual on how to transfer (i.e., backup and restore) your files. If you need further technical assistance, please contact Kaba Mas Customer Service at 1(800) 950-4744.
If you have a previous Windows based version of the Unicon CL Series software installed and are upgrading to the new software on the same machine, you must remove (uninstall) both the old version of the Unicon software and the Microsoft Visual J# module before installing the new version.
Note: Removal of the previously installed program will not affect any currently existing data files.
Remove Previous Unicon CL Series Software:
Complete the following steps to remove the previous Unicon CL Series Software program:
1. Select the Start icon in the lower left of the Windows screen to gain access to the Control Panel.
Note: Depending on your operating system, you may be able to select Control Panel at this point or you may have to access Settings and then Control Panel.
The Control Panel Window will be displayed.
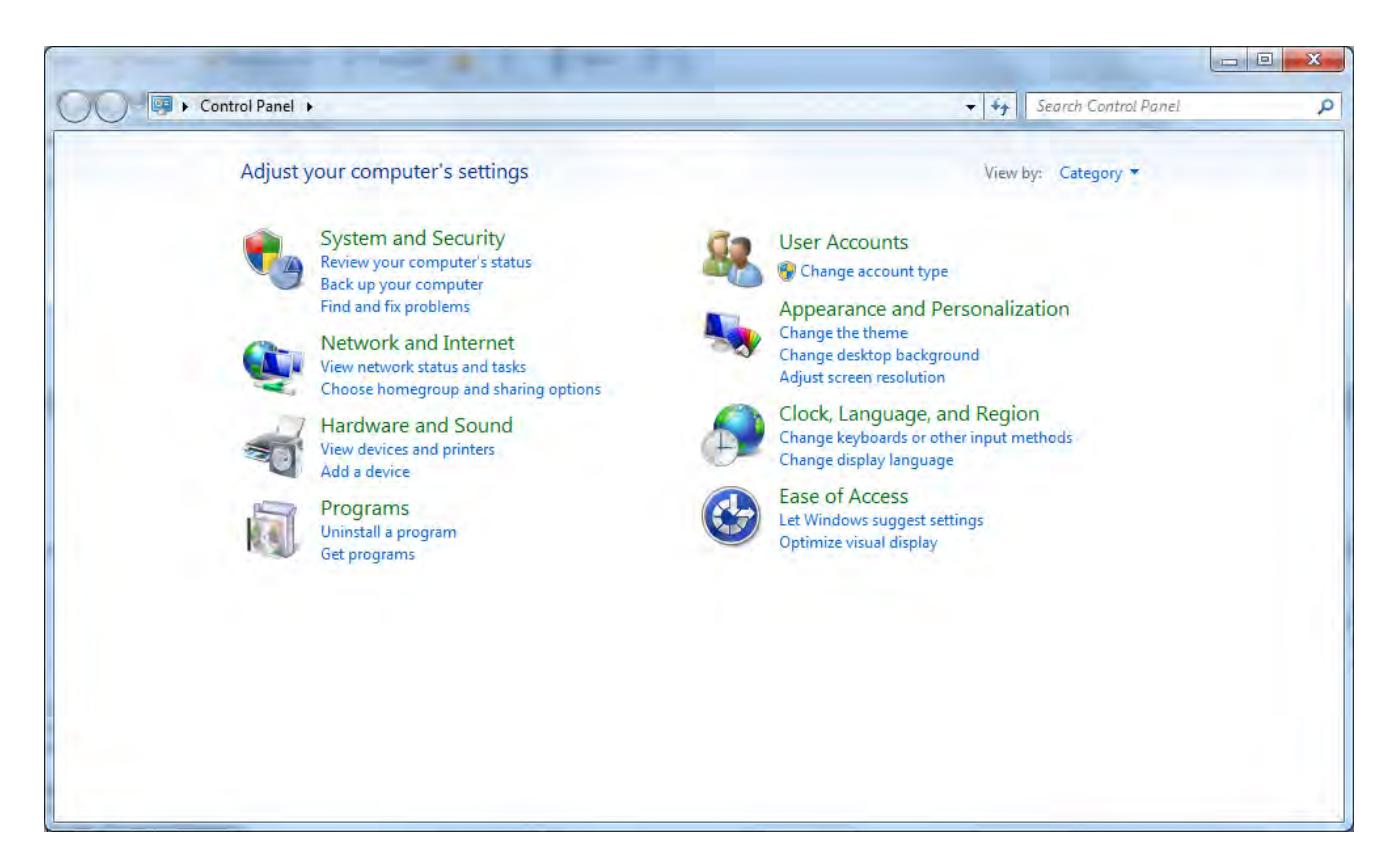
2. Depending on your operating system, select the Add/Remove Programs icon or the Uninstall a program option under Programs .
The Add/Remove Programs Properties window or the Uninstall or Change a Program screen will be displayed.
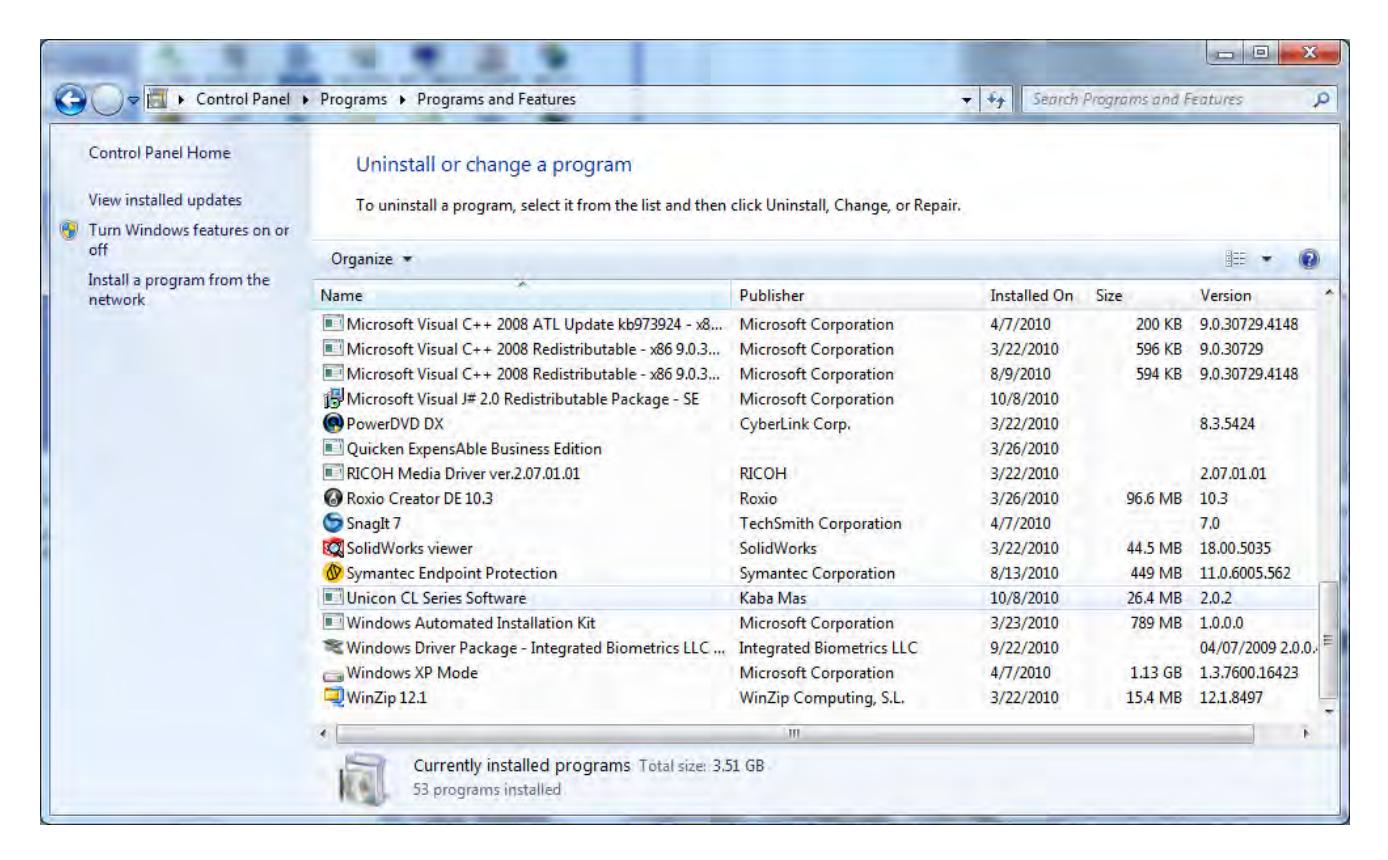
3. Select the Unicon CL Series Software from the program list and click on the Remove button or select Uninstall , again depending on your operating system .
The window will appear with a prompt to make sure that you want to remove/uninstall the program.
Note: Removing the currently installed Unicon application and all of its components will not affect any currently existing data files.

4. Click on OK or Yes to remove the program.
Note: A Maintenance Complete screen may be displayed. If so, click on Finish to return.
The Unicon software program will be removed from the list.
Remove Microsoft Visual J# Package:
Complete the following steps to remove the previous Microsoft Visual J# Package:
Note: The Add or Remove Programs window or the Uninstall or change a program window should still be displayed, depending on your operating system.
1. Select the Microsoft Visual J# Package from the program list and click on the Remove button or select Uninstall , again depending on your operating system .
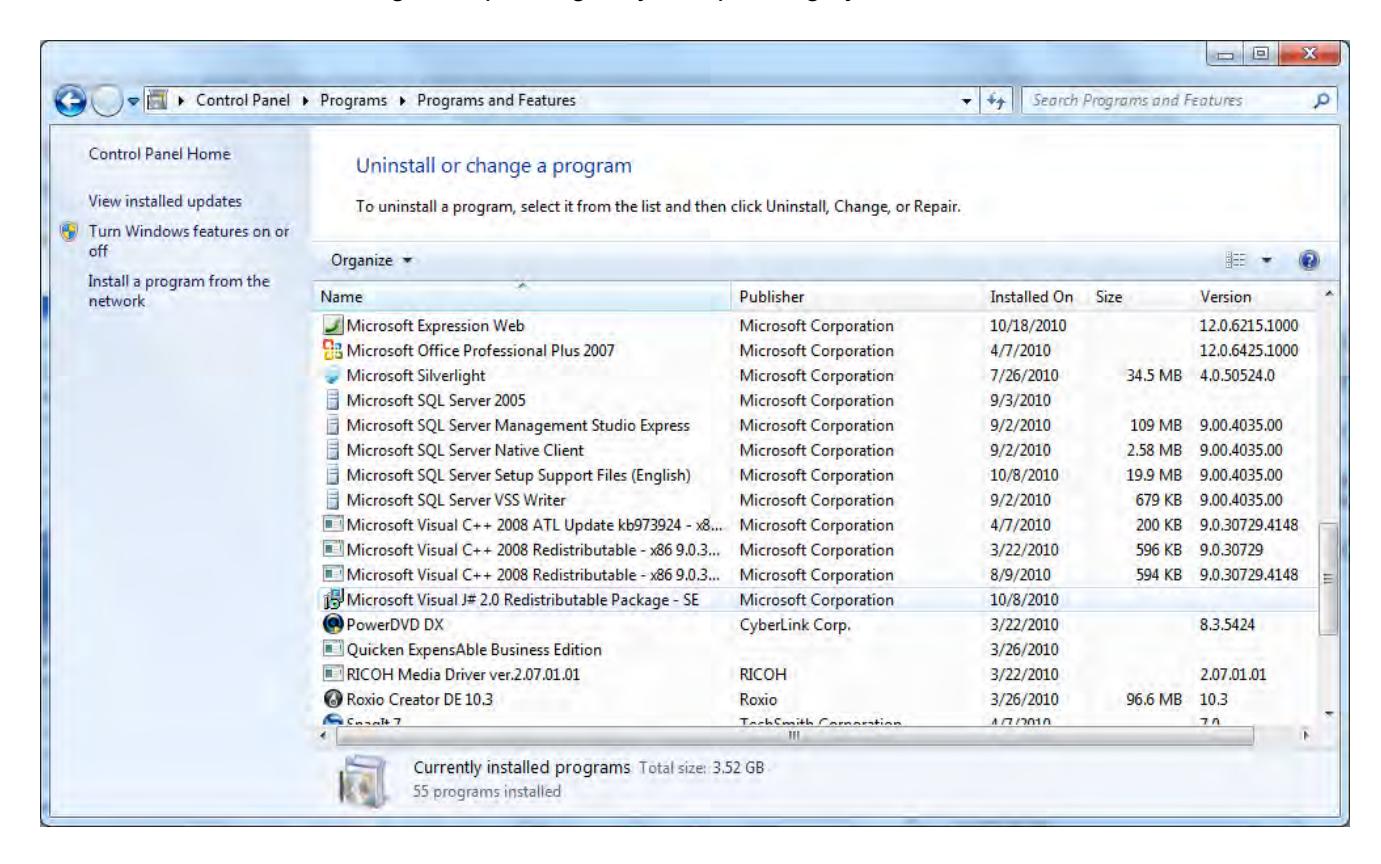
The window will appear with a prompt to make sure that you want to remove/uninstall the program.
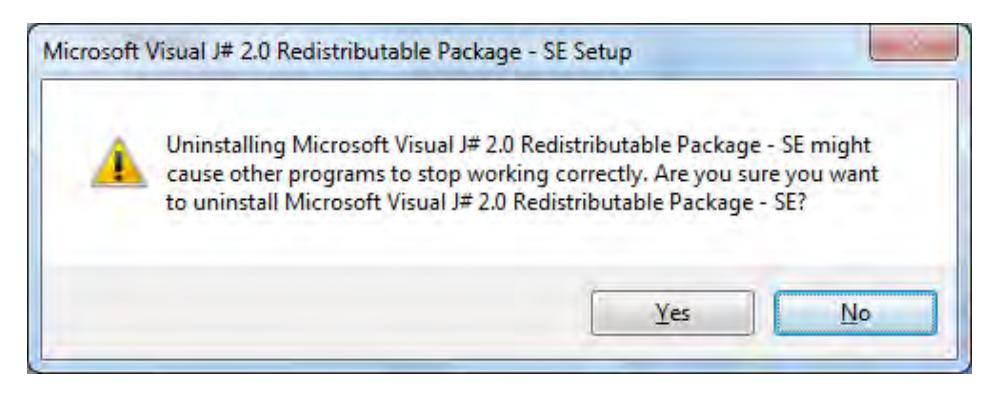
2. Click on OK or Yes to remove the program.
Note: A Maintenance Complete screen may be displayed. If so, click on Finish to return.
The Microsoft Visual J# Package will be removed from the list.
To Install the Unicon CL Series Software:
Complete the following steps to install the current version of the Unicon CL Series Software:
- 1. Check the PC date, time, and time zone to ensure accuracy. Adjust, if necessary, before proceeding.
- 2. Insert the appropriate Unicon CL Series Software Install CD for your operating system (32-bit or 64-bit) into the appropriate CD-ROM or DVD-ROM drive of the PC.
T he Unicon CL Series Software Installation Browser may automatically load on your PC when the Install CD is inserted. If so, you may skip to the next page where the Main Menu of the Browser is displayed.
If the Installation Browser does not automatically load, you may still get an Autoplay window that prompts for you to either run a program or open a folder to view files.
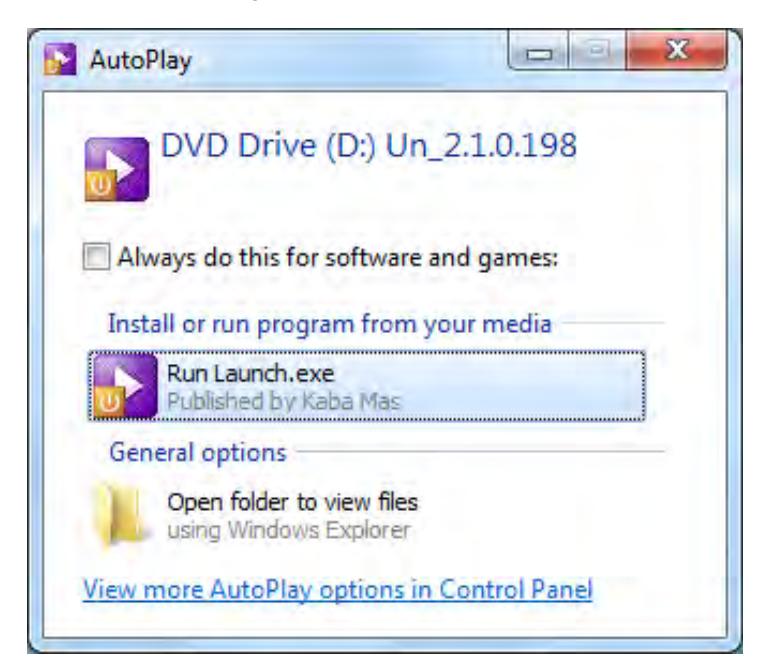
3. If the AutoPlay window is displayed, you can either select to " Run Launch.exe " or you can select " Open folder to view files " and then doubleclick on Launch.exe.
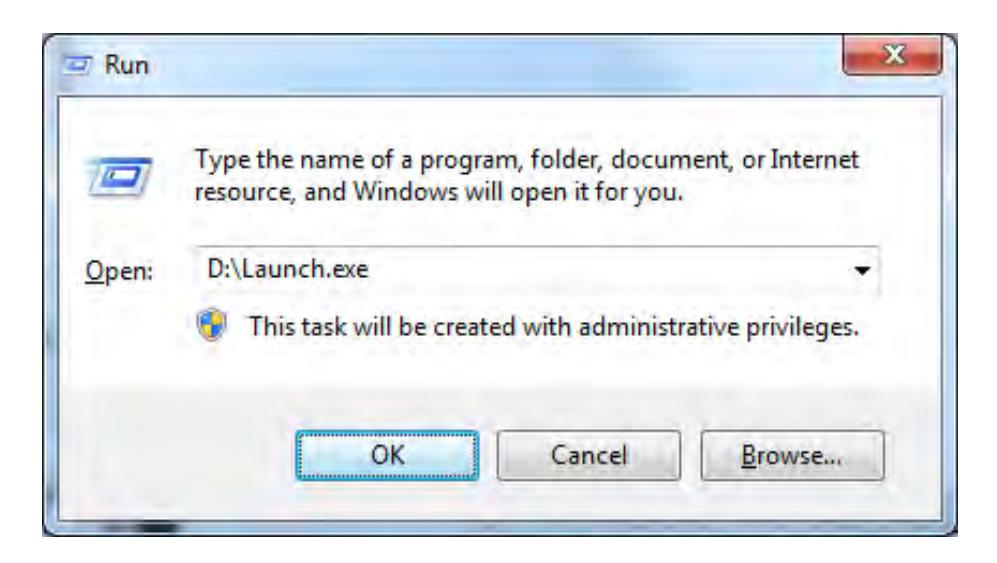
If the AutoPlay window did not display, you can select the Start icon in the lower left of the Windows screen and then select the Run icon from the Windows menu. The Run Window will be displayed. If necessary, change the path to point to the drive being used to install the software. Then click on the OK button.
The Unicon CL Series Software Installation Browser is loaded and the Main Menu of the Browser is displayed.

Note: It is strongly recommended that you close all other applications before installing the Unicon CL Series Software. It is also recommended that you review the Unicon CL Series Software Reference Manual before installing the software.
To Print the Unicon CL Series Software Reference Manual:
1. Select the Product Documentation menu item.
The Product Documentation browser menu is displayed.

- 2. If you do not already have Adobe® Reader 8.0 or above installed on your system, select the Install Adobe Reader menu item to install the Adobe Reader software.
- 3. Select the Reference Manual menu item to load the Unicon CL Series Software Reference Manual in PDF format using the Adobe Reader software.
Note: The Unicon CL Series Software Reference Manual is also available in PDF format from the Unicon CL Series Software Menu for printing or for online assistance.
4. Select Print from the File Menu to Print the document.
Note: If your printer has duplexing capability, we recommend that you select that as a Print option for the Reference Manual since it is a lengthy document (approximately 200 numbered pages.)
5. Click on the Main Menu button to return to the Main Menu.
Install the Software
1. From the Main Menu select the Install Software menu item.
The Install Software Products browser menu is displayed.

Installation Configurations & Considerations
There are 3 different system configurations under which the Unicon CL Series Software can be installed.
There are unique installation processes for each of the types of configurations as follows:
1) Standalone PC installation - Single Unicon client with SQL Server 2005 Express Edition
- Install the Unicon CL Software on the standalone PC
- Install SQL Server 2005 Express on the standalone PC
- Install the Unicon Database on the standalone PC
- Install the Dallas 1-Wire API on the standalone PC
In the case where a systems administrator is installing the software on a user's PC where the user does not have systems administrator rights, the following activity will also have to be performed to give the user access to the Unicon database:
• Add login accounts for the client user on the PC
2) Multiple PC installation - SIngle or multiple Unicon clients interfacing with SQL Server 2005 Express Edition on a Server PC
Note: The "server PC" refers to the PC where the Unicon instance of SQL Server 2005 Express is to be installed. For technical assistance, contact Kaba Mas Customer Service.
- Install the Unicon CL Software on all of the PCs where the Unicon software needs to run
- Install SQL Server 2005 Express on the server PC
- Install the Unicon Database on the server PC
- Install the Dallas 1-Wire API on all of the PCs where the Unicon CL software needs to run
- Enable remote connections on the server PC
- Enable the SQL Server Browser on the server PC
- Add login accounts for the client users on the server PC
- Create Unicon firewall exceptions on the server PC (only for Windows XP, if firewall is on)
- Configure MSDTC security settings on the server PC and the clients (only for Windows XP)
- Create a firewall exception on the client PC for the msdtc.exe service (only for Windows XP, if firewall is on)
- Restart server PC (only for Windows 2000)
3) Multiple PC installation - Single or multiple Unicon clients interfacing with SQL Server 2005 Standard Edition on a Server PC
Note: The "server PC" refers to the PC where the Unicon instance of SQL Server 2005 Express is to be installed. SQL Server 2005 Standard is not included in the software implementation package. It must be provided by the customer. For technical assistance, contact Kaba Mas Customer Service.
- Install the Unicon CL Software on all of the PCs where the Unicon software needs to run
- Install SQL Server 2005 Express on the server PC
- Install the Unicon Database on the server PC
- Install the Dallas 1-Wire API on all of the PCs where the Unicon CL software needs to run
- Enable remote connections on the server PC
- Enable the SQL Server Browser on the server PC
- Add login accounts for the client users on the server PC
- Create Unicon firewall exceptions on the server PC (only for Windows XP, if firewall is on)
- Configure MSDTC security settings on the server PC and the clients (only for Windows XP)
- Create a firewall exception on the client PC for the msdtc.exe service (only for Windows XP, if firewall is on)
- Restart server PC (only for Windows 2000)
Complete the following processes as applicable for your specific installation configuration.
Install the Unicon CL Software
Note: If you are upgrading your Unicon CL Series Software from a previous version to a new version or if you already have some of the required software components installed, you may not be prompted with all of the screens shown in this section. For some PC configurations, the screens might also be presented in a different order.
1. Select the Install Unicon Software menu item.
If Crystal Reports is not already installed on your system, the license agreement for Microsoft Crystal Reports Basic for Visual Studio is displayed.
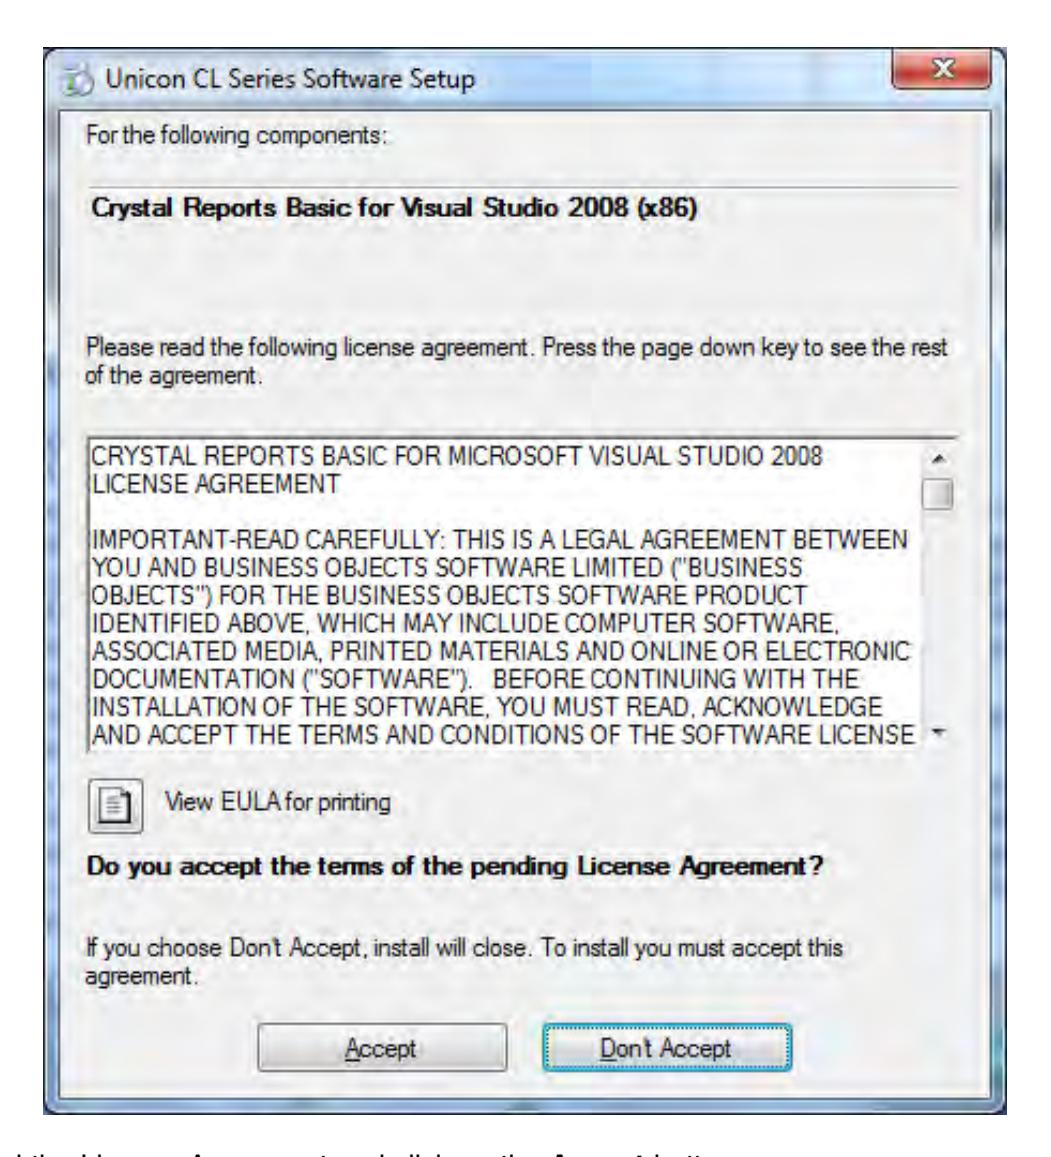
2. Read the License Agreement and click on the Accept button.
A prompt window may be displayed indicating that Visual J# and/or MSXML6 need to be installed.
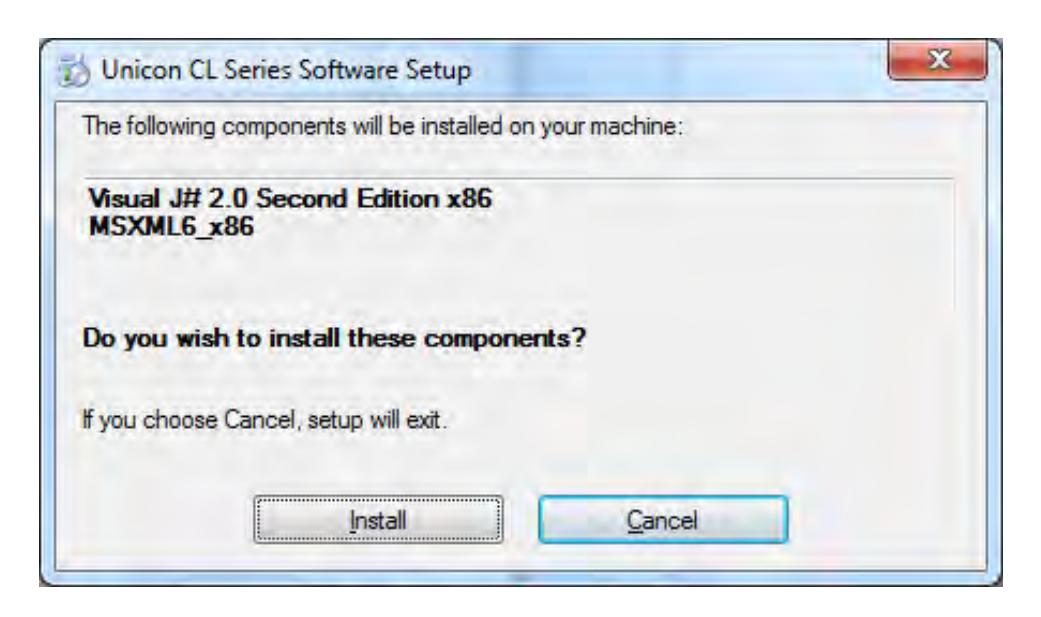
3. Click on the Install button.
A series of screens will be displayed to indicate the progress for any components being installed.
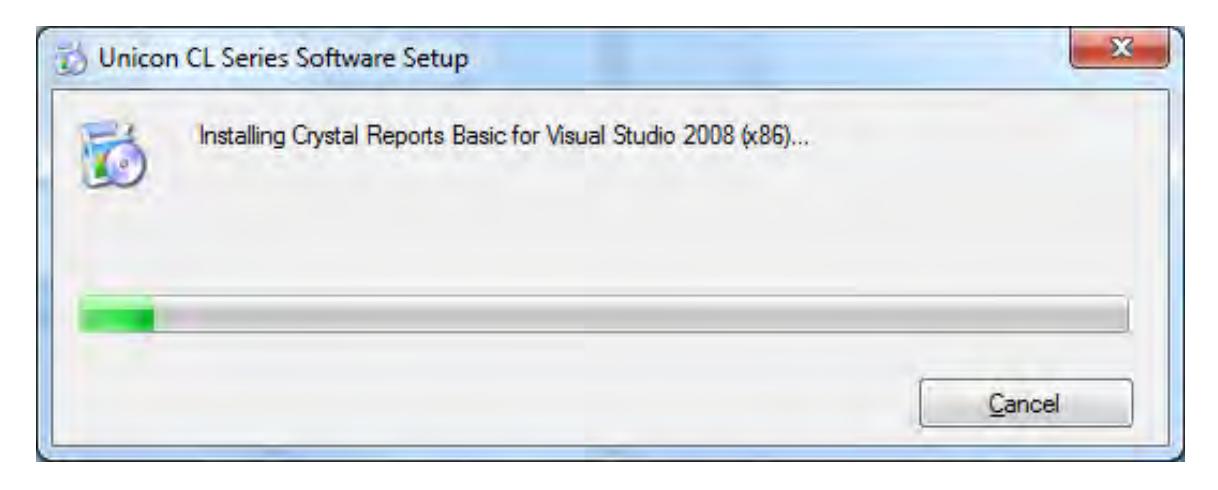
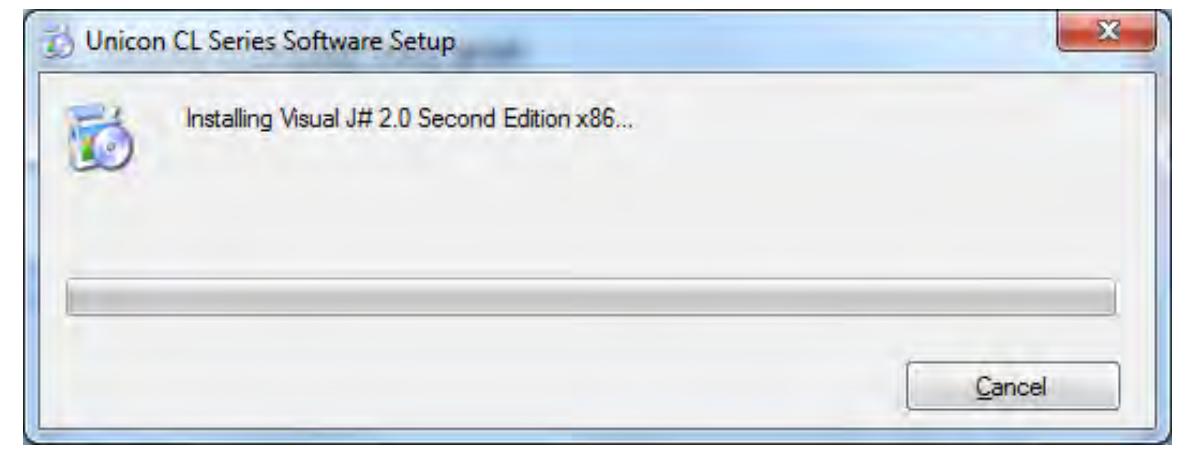
If Microsoft Visual J# is not already installed on your system, the install wizard screen for the redistributable package will be displayed.
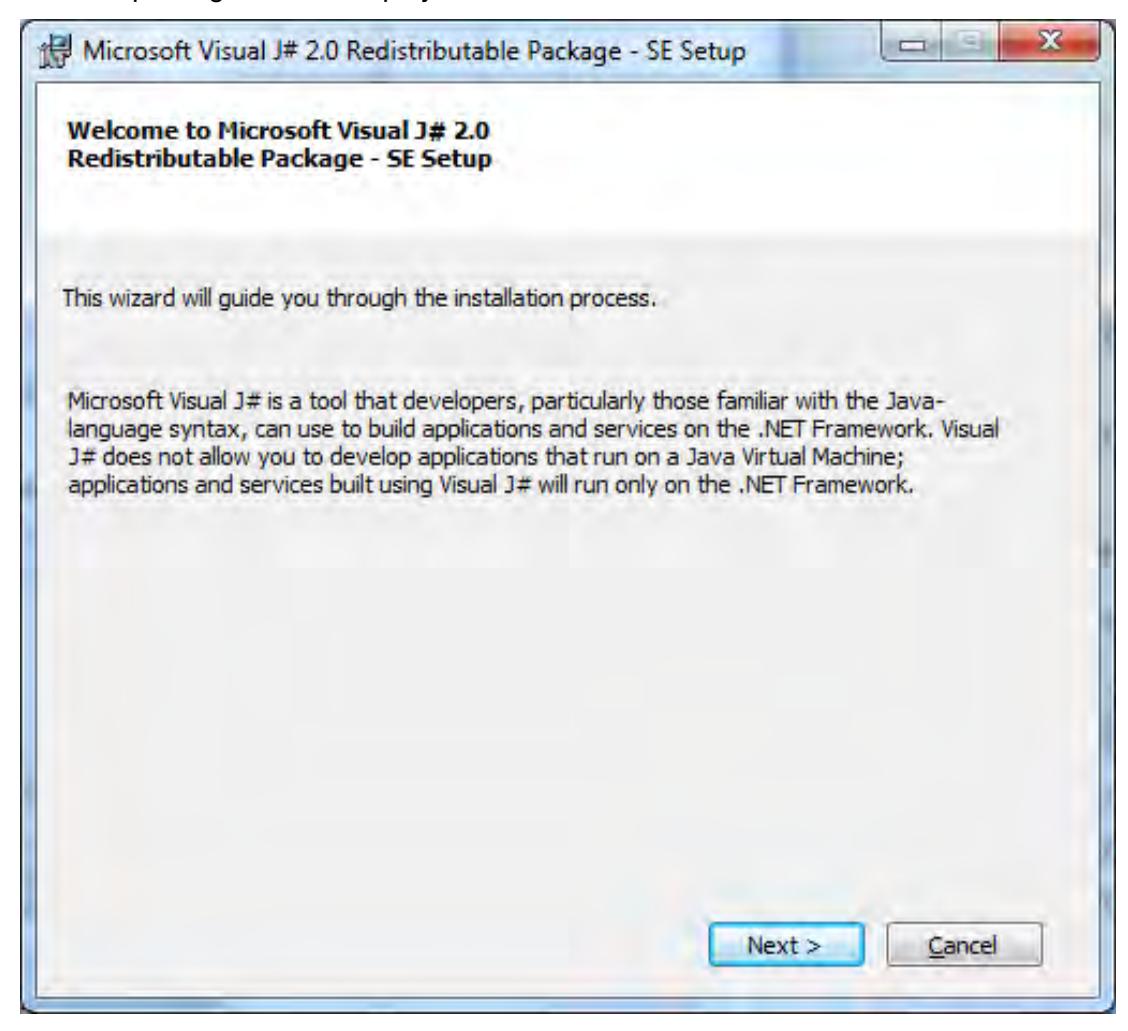
4. Click on Next> to continue.
The license agreement for Microsoft Visual J# is displayed.
5. Read the License Agreement and click on the box to indicate that you "accept the terms of the License Agreement".
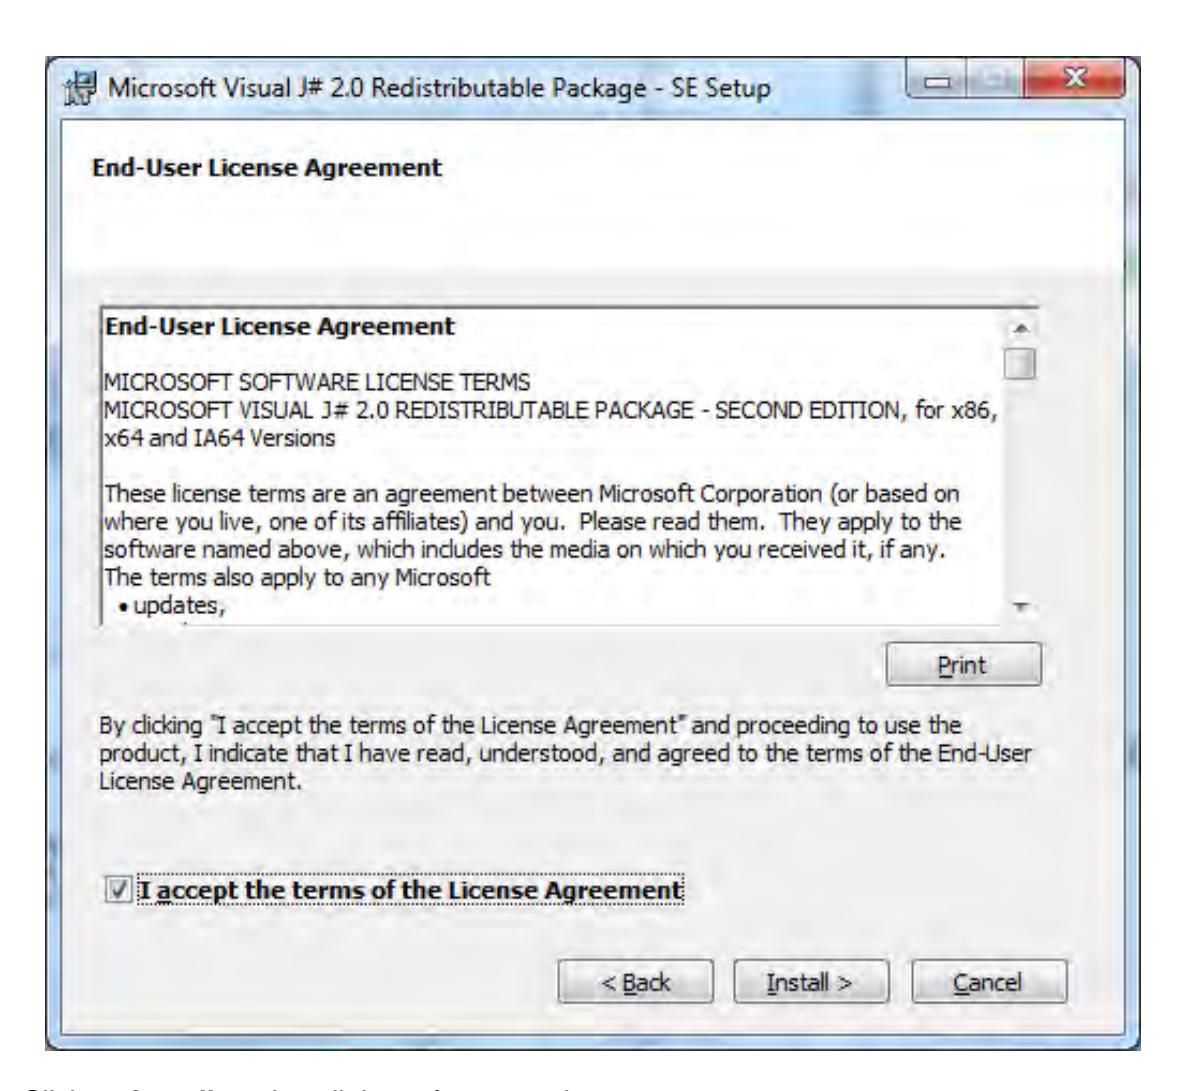
6. Click on Install> to install the software package.
A series of screens will be displayed to indicate the progress for the components being installed.
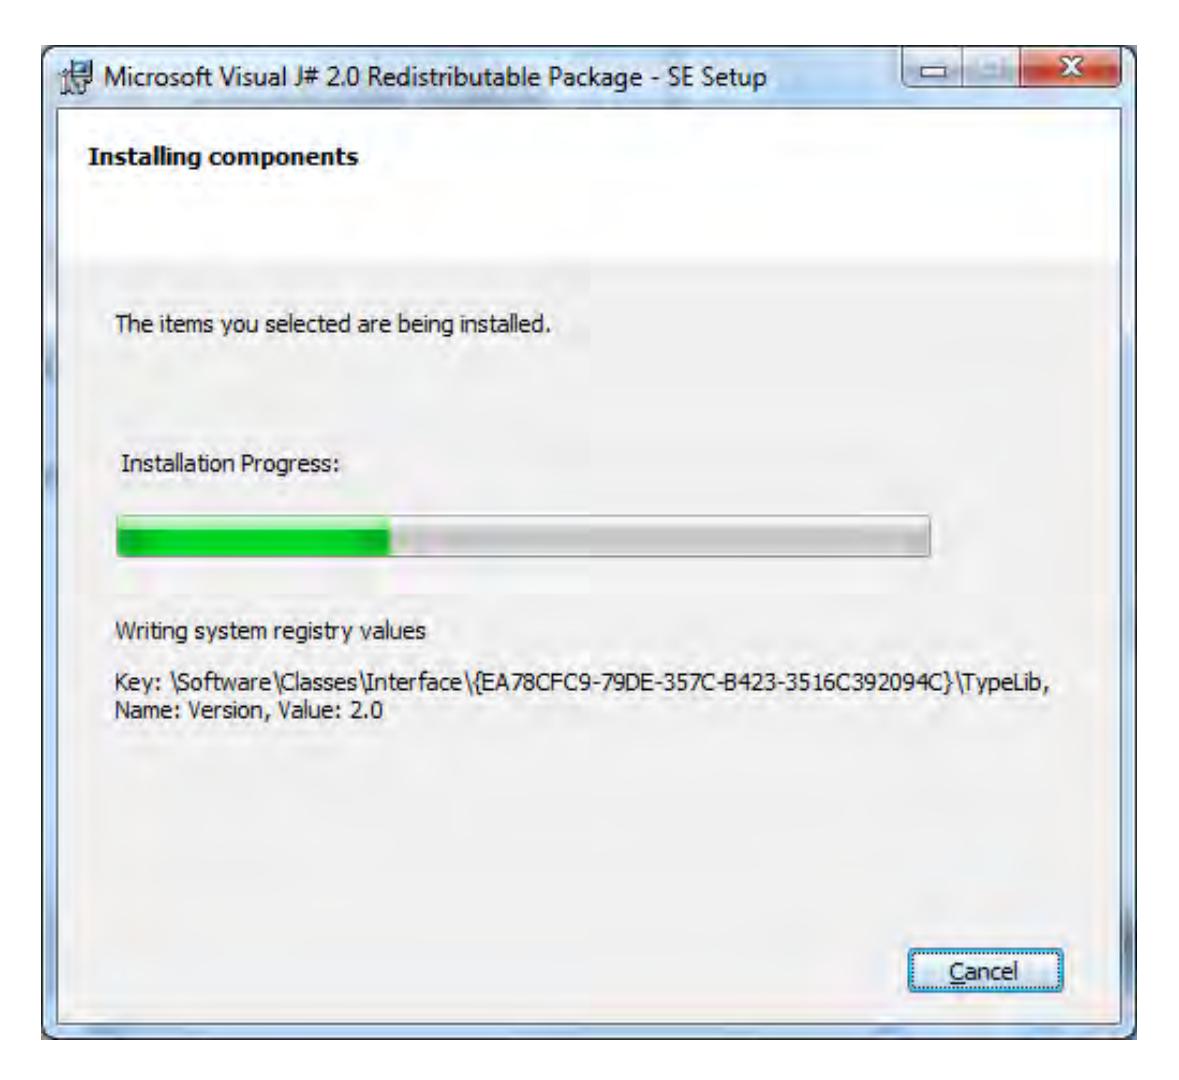
Once all of the components have been installed, the Setup Complete screen is displayed.
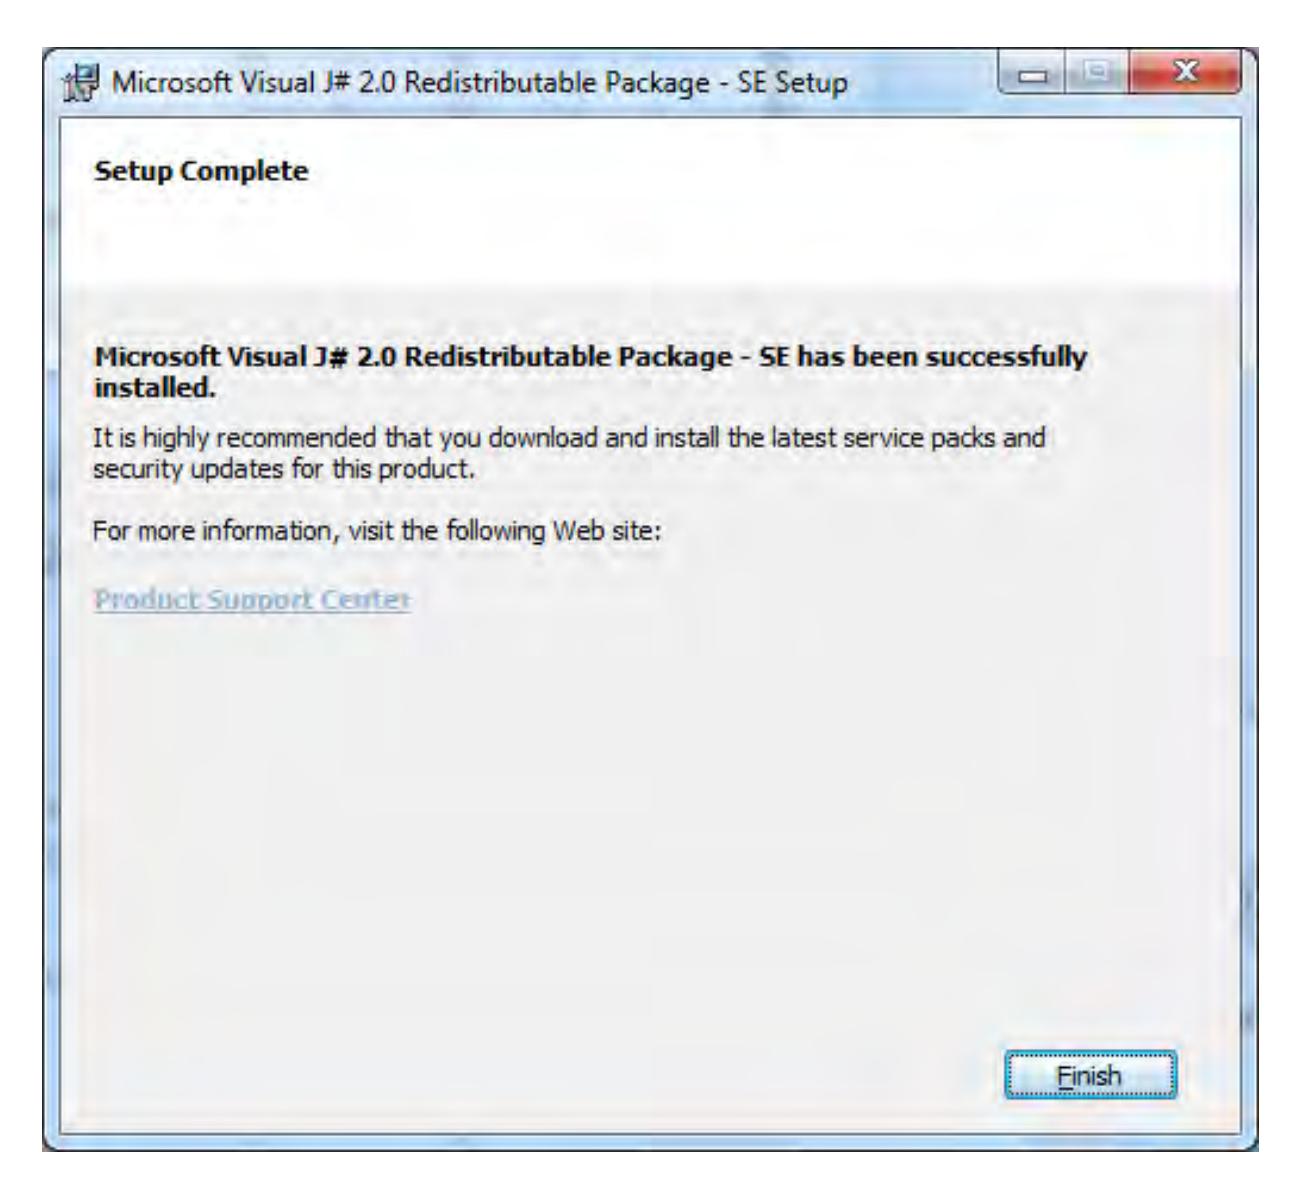
7. Click on the Finish tab to complete the Visual J# installation.
The InstallShield Wizard "Software Setup" screen is displayed.
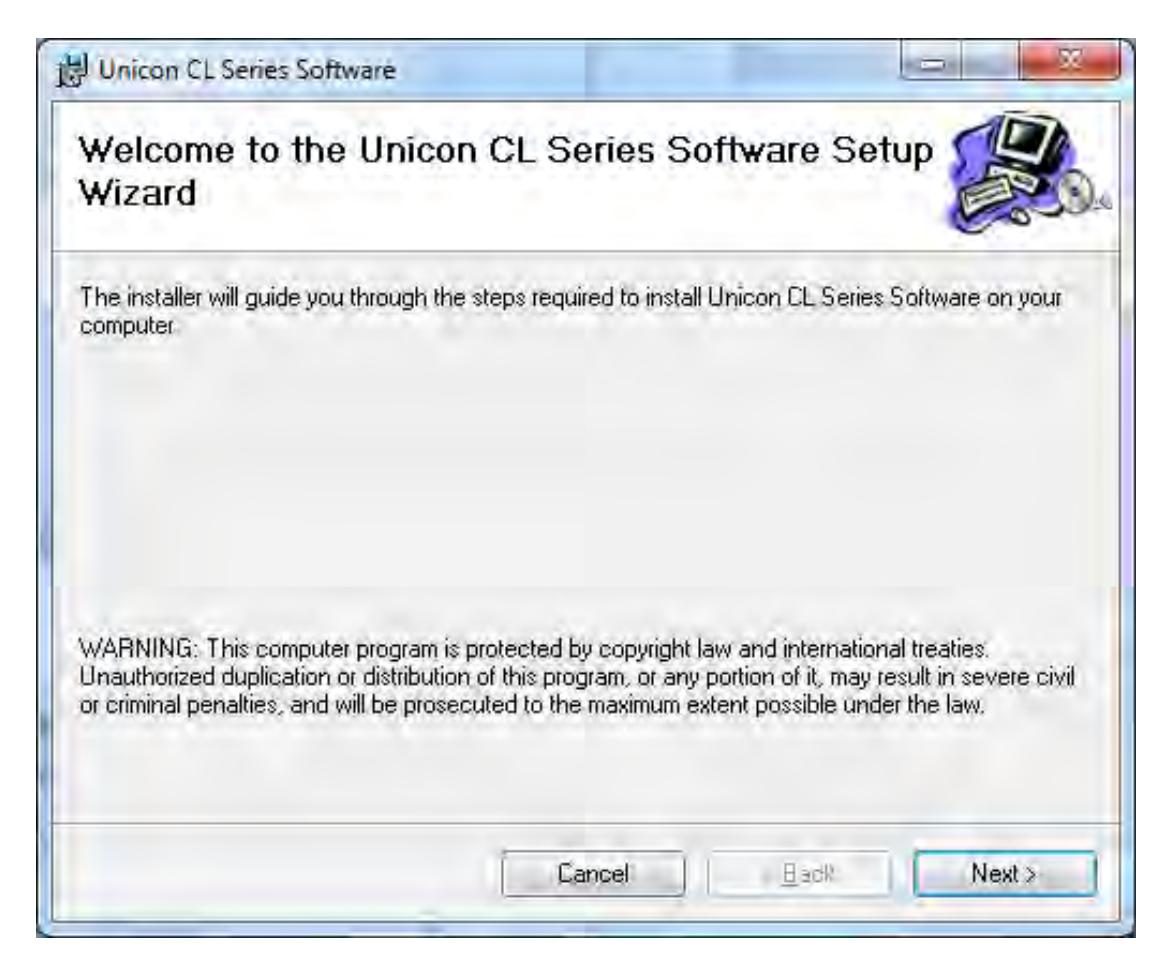
8. Click on Next to continue with the installation.
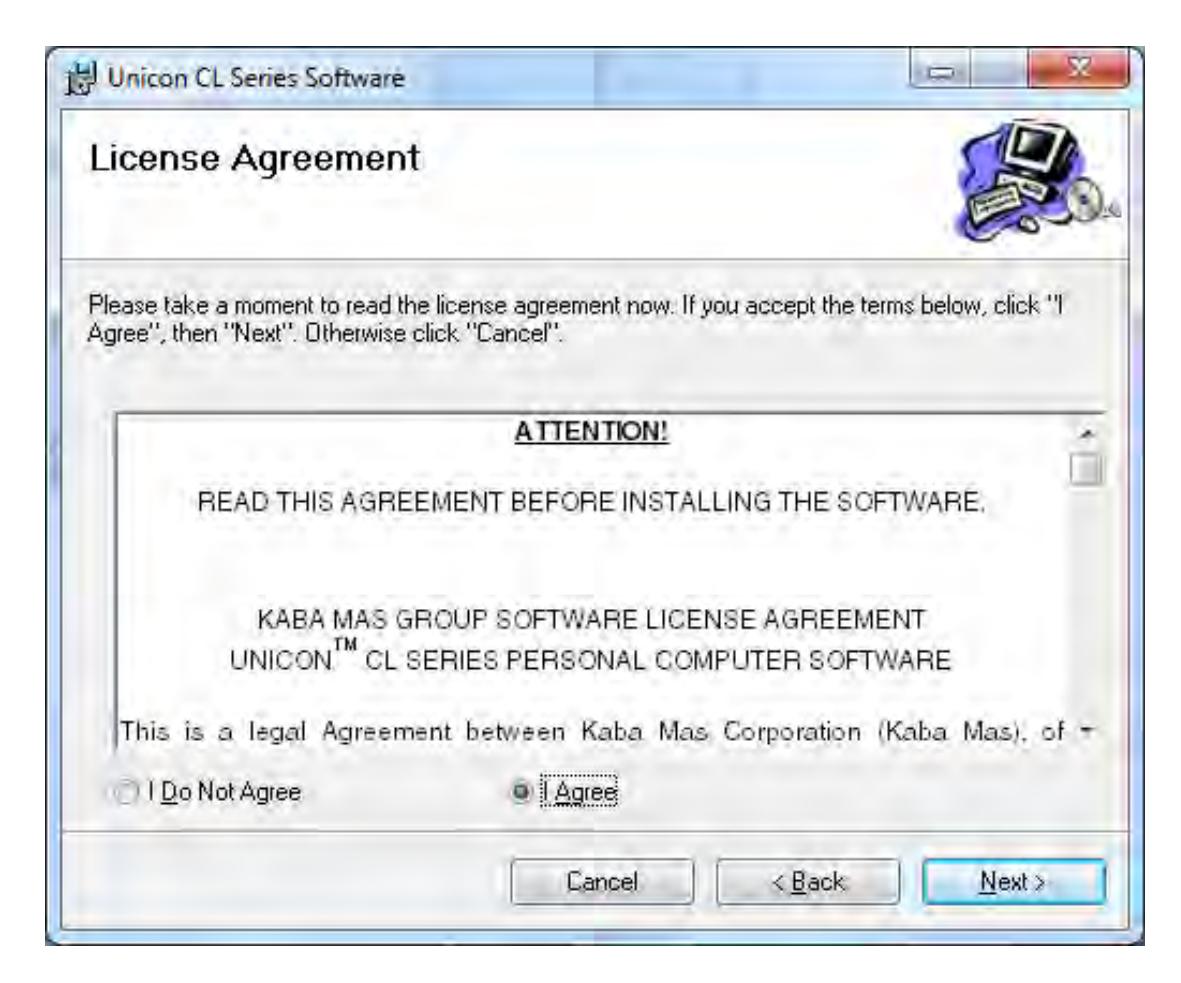
The Software License Agreement acceptance screen is displayed.
9. Read the Software License Agreement and then click on the "I Agree" button to accept the terms of the agreement.
10. Click on the Next> button to continue.
The Select Install Folder window will be displayed to allow you to select the program folder to which the Unicon CL Series Software program will be added.
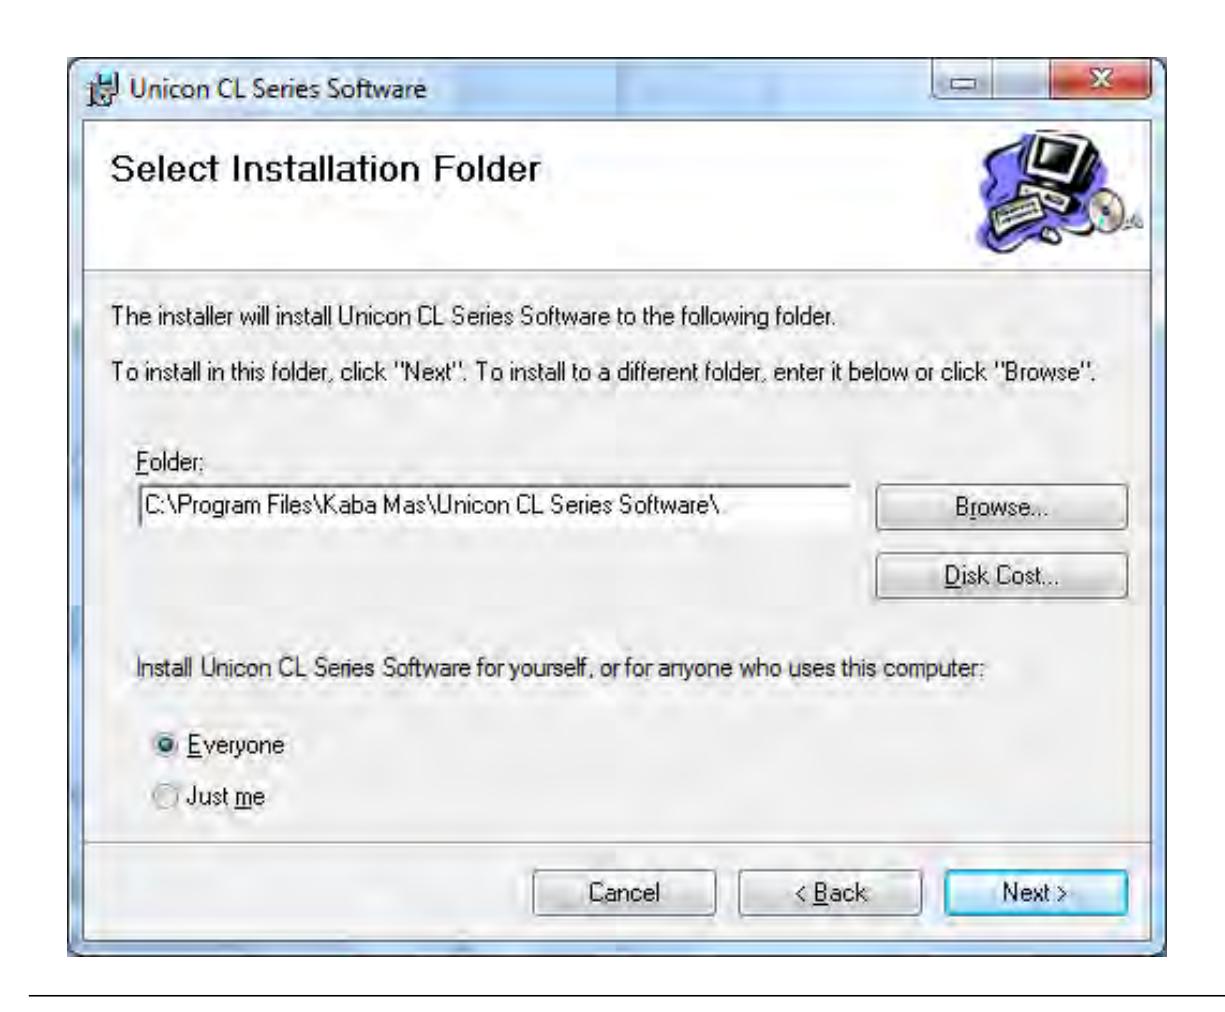
Note: The default installation directory is shown. If you want the Unicon CL Series Software installed in another directory, click on the Browse button and select the new path. Also, the default value for who can use the software is "Just Me". If you need to have the software available to everyone who uses the computer, select "Everyone".
11. Click on the Next> button to add the programs to the designated folder and initialize software access.
The "Confirm Installation" screen is displayed indicating that the installer is ready to install the program.
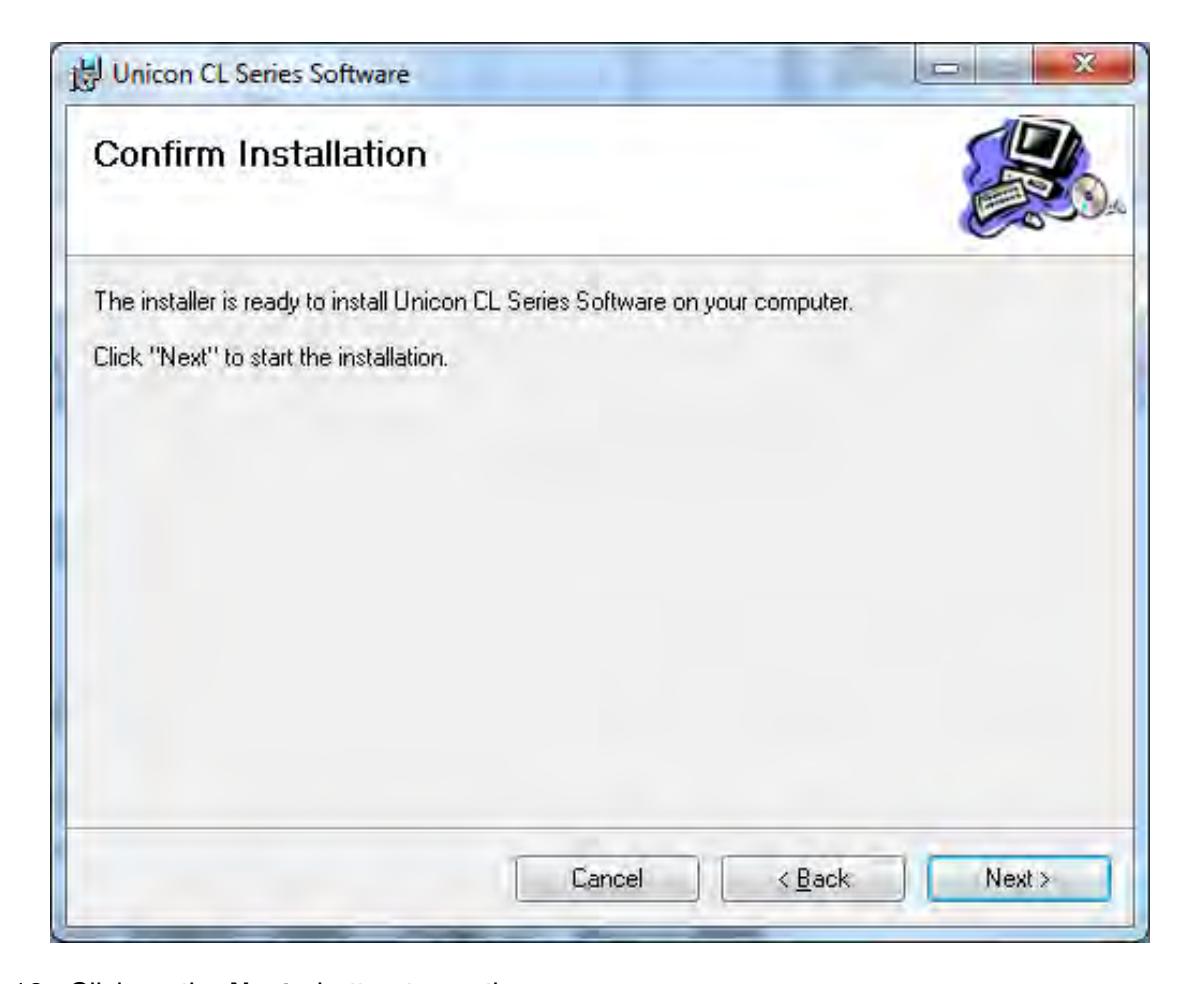
12. Click on the Next> button to continue.
Messages will be displayed while the program is being installed.
The Installation Complete screen is then displayed indicating that the Unicon CL Series Software has been successfully installed.
Note: You should use Windows Update to check for updates to the .NET Framework on a regular basis.
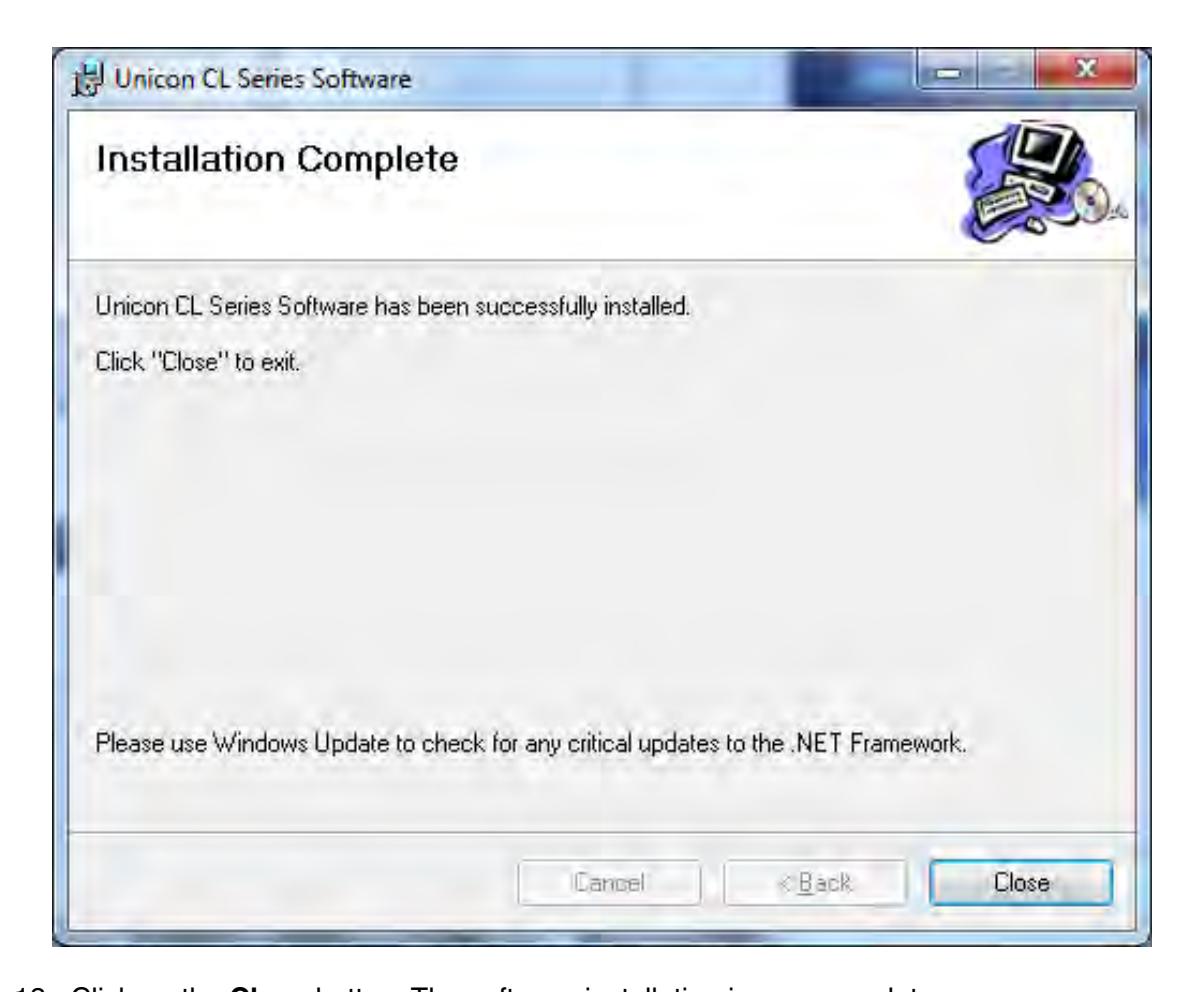
13. Click on the Close button. The software installation is now complete.
The Unicon CL Series Software programs will be added to the Windows Program Menu Folder. A desktop icon in addition to a menu item will be created for Unicon CL Series Software. Within the menu item, there will be two available options. Unicon CL Series Software can be used to start the Unicon CL Series program, and the second option will allow you to view or print the Unicon CL Series Software Reference Manual .

Install Microsoft SQL Server 2005 Express
Note: If you are upgrading Microsoft SQL Server 2005 Express from a previous version to a new version, you may not be prompted with all of the screens shown in this section.
1. Select the Install SQL Server 2005 Express menu item.
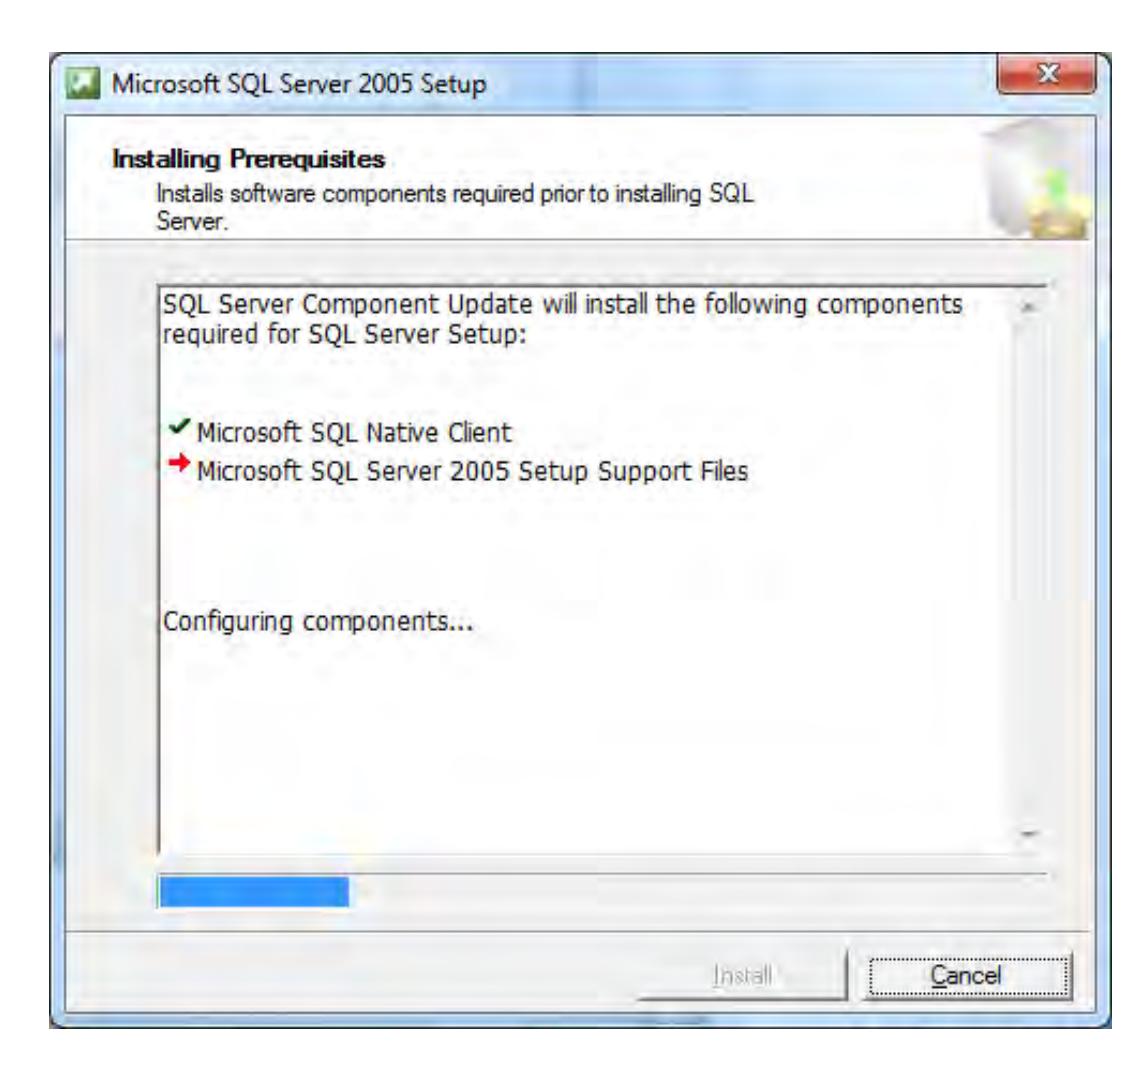
Informational windows will be displayed followed by the Installing Prerequisites screen.
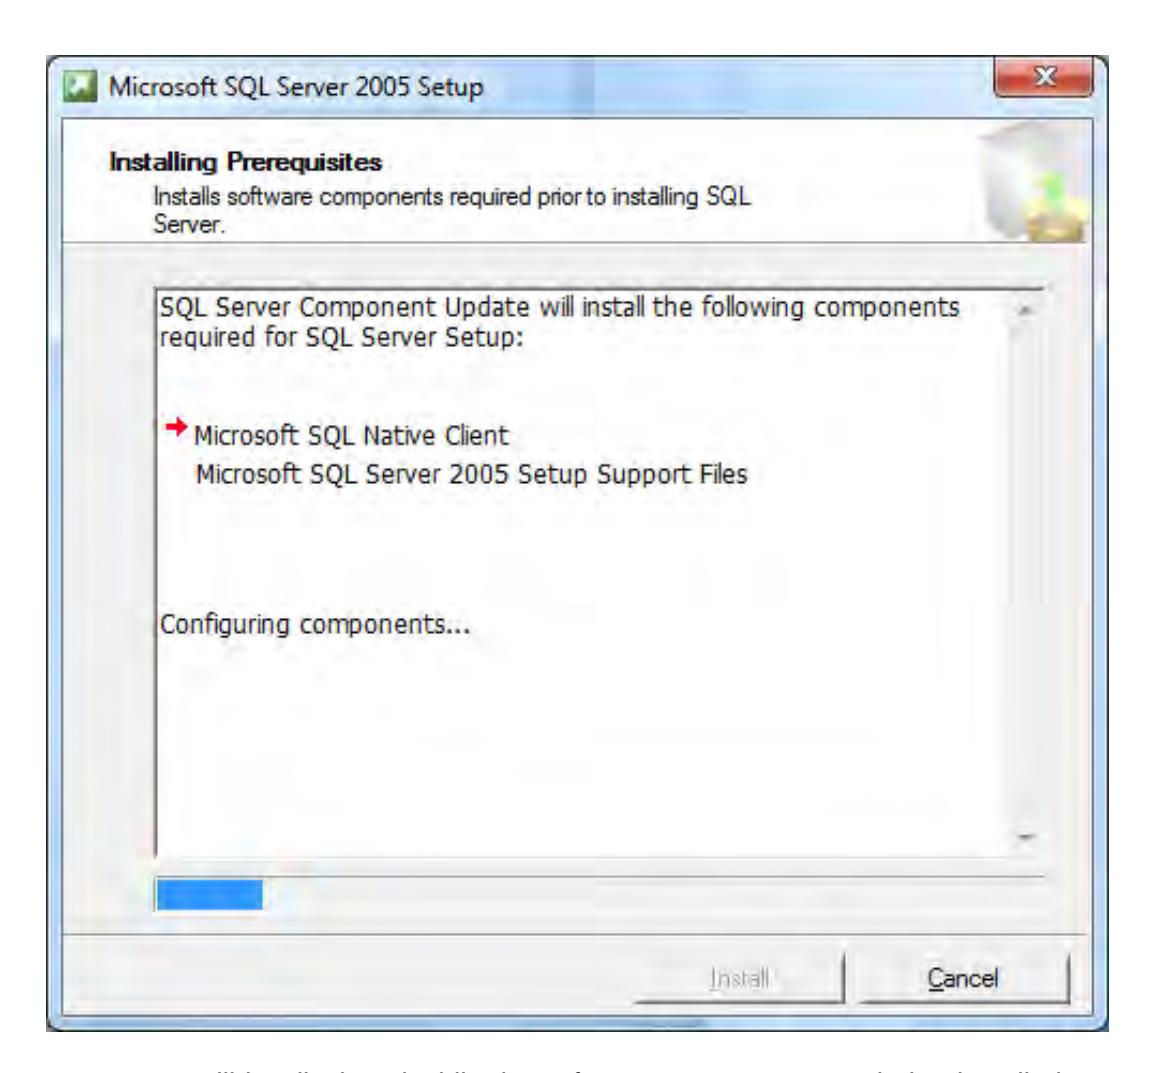
Various messages will be displayed while the software components are being installed.
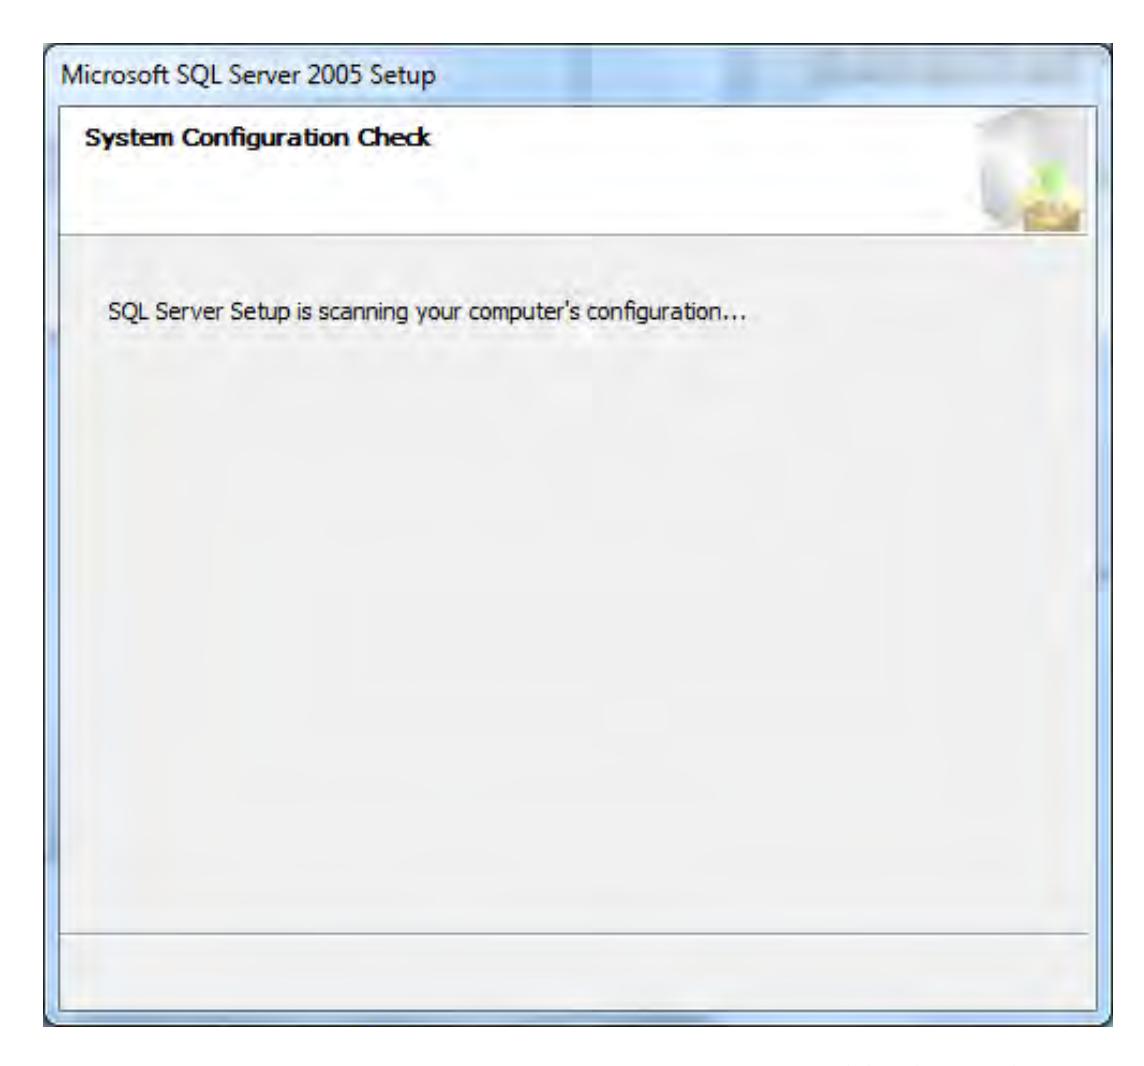
Once the Support files have been installed, the system configuration check will automatically be initiated. Messages will be displayed while the system configuration check is completed.
Once the system configuration check has completed, the Microsoft SQL Server Setup Progress screen is displayed.
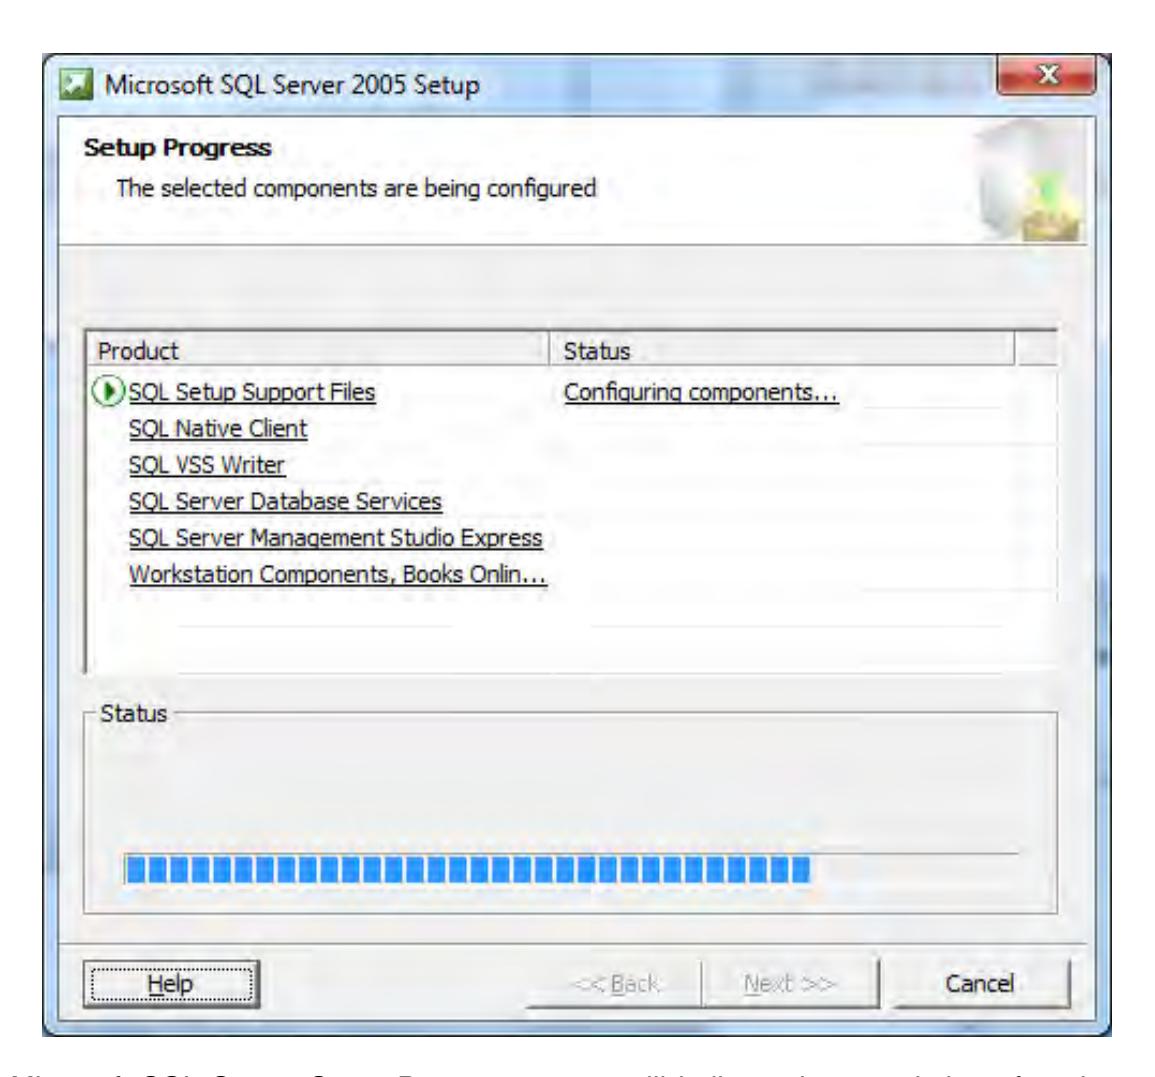
The Microsoft SQL Server Setup Progress screen will indicate the completion of each product configuration as it occurs.
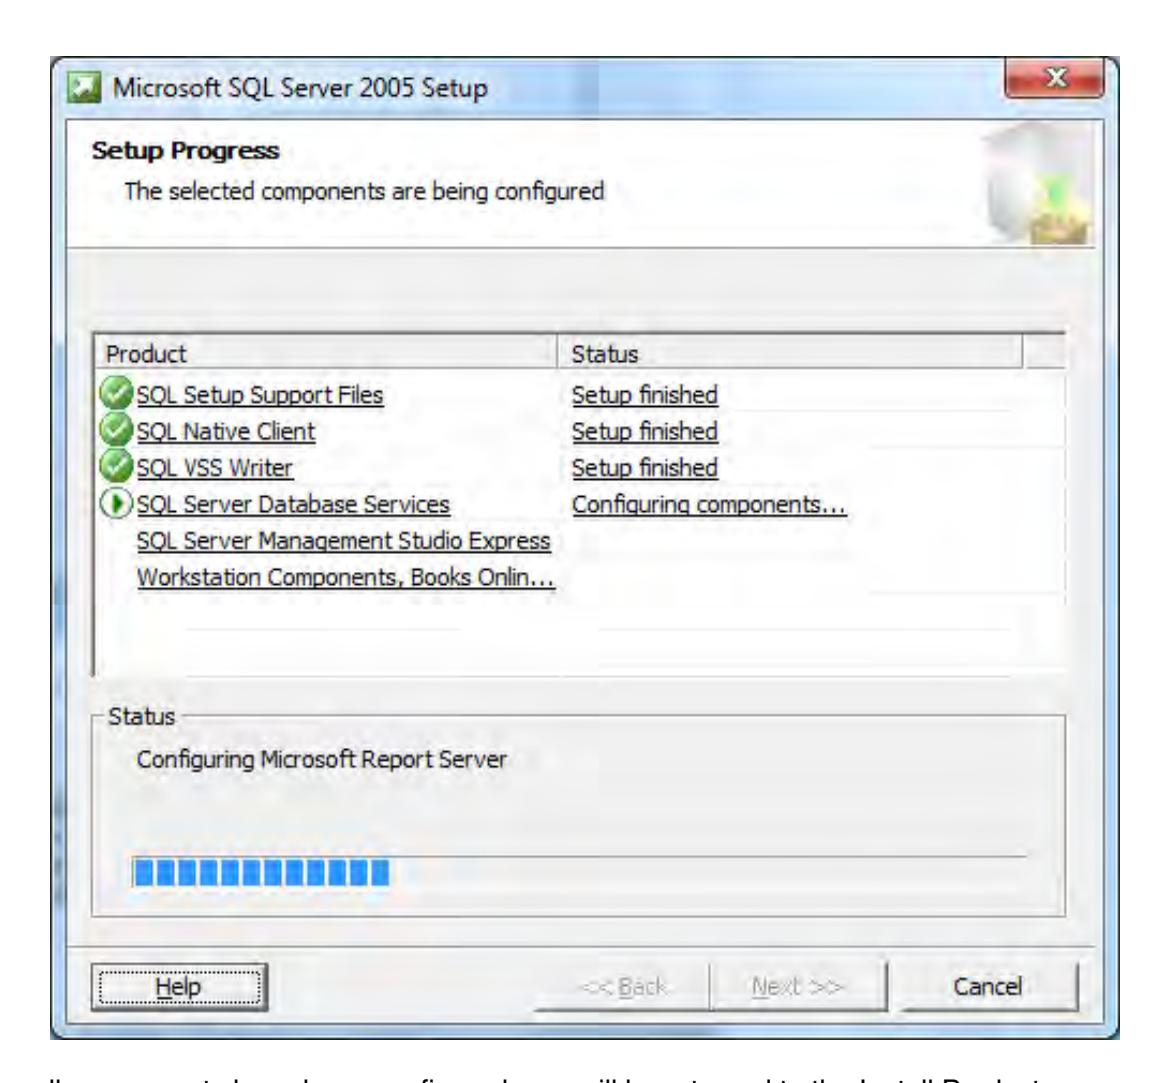
Once all components have been configured, you will be returned to the Install Products menu of the install browser.
Note: The Unicon CL Series Software installer defines a default SA user and password for the Unicon instance of the database. Contact Technical Support for more detail if needed for database administration.

Install Unicon CL Series Database
1. Select the Install Unicon Database menu item.
The Unicon Database Installation program is loaded.
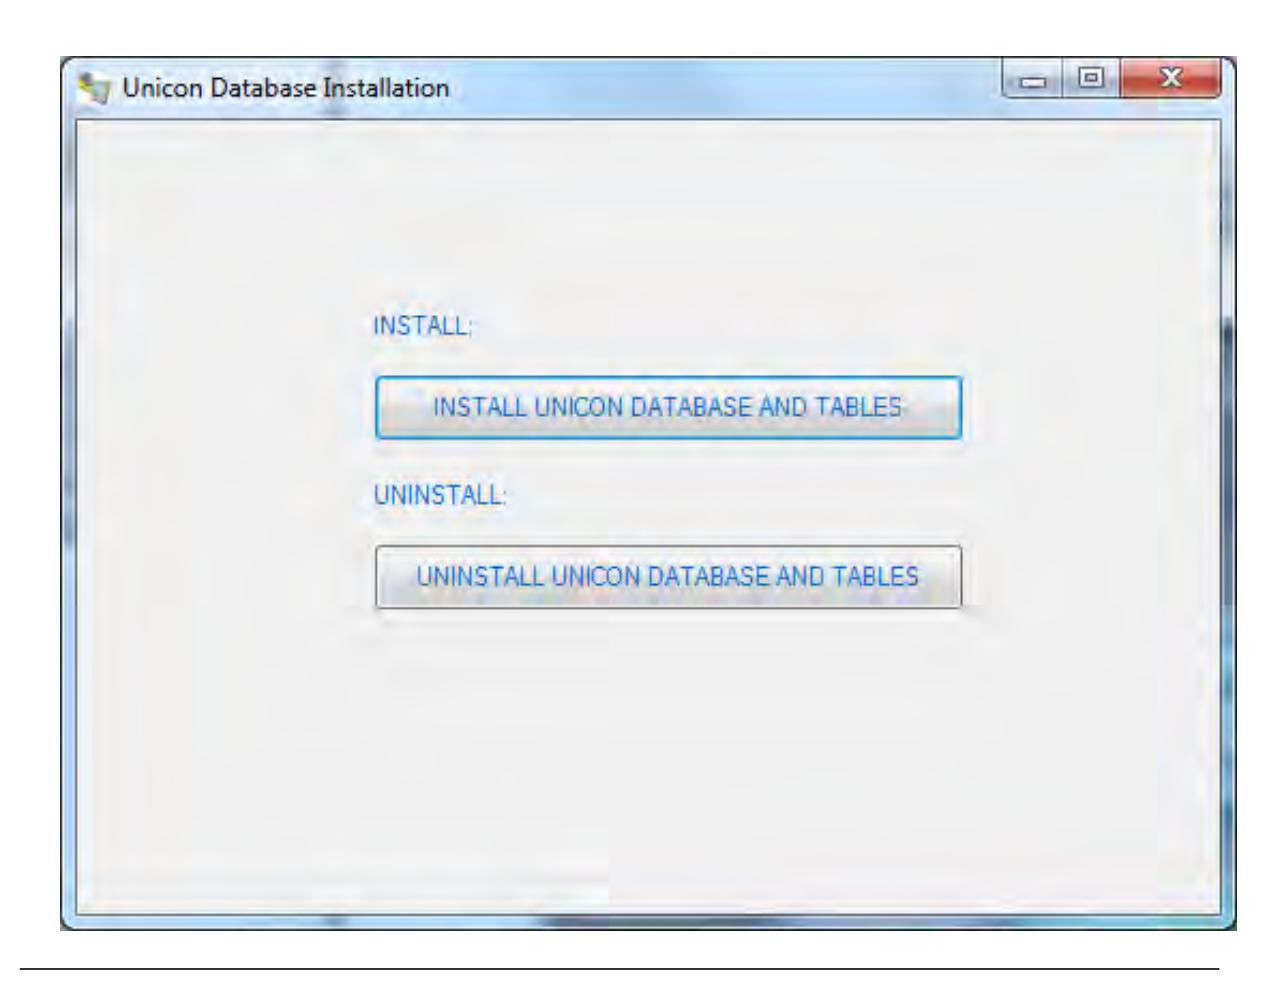
Warning: The Uninstall Unicon Database and Tables option will remove the data from the Unicon database. This option should only be used to remove data from an old system where the data is no longer needed.
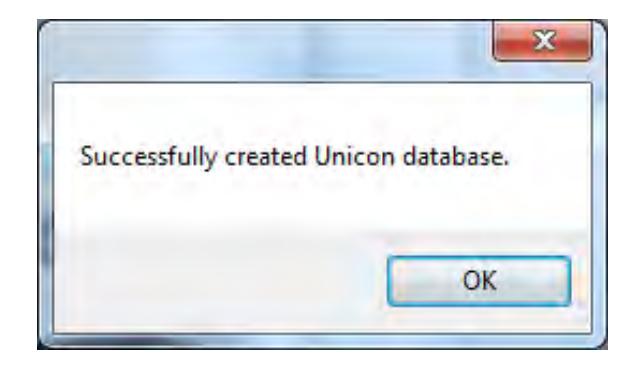
2. Select the bar to Install Unicon Database and Tables.
The new Unicon database is created and an informational window is displayed.
If the Unicon database already exists and is just being updated, the following informational window is displayed.
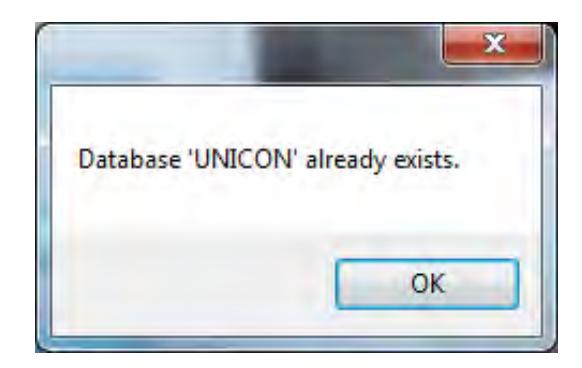
3. Click on OK to continue.
If this is a new Unicon database, the Unicon tables are created and the following informational window is displayed.
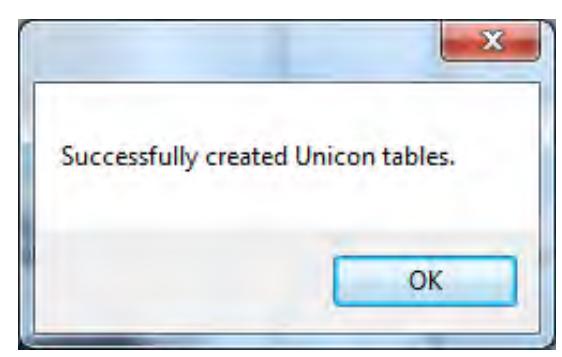
4. Click on OK to continue.
Once the Unicon database has been installed, an informational window is displayed.
If the Unicon tables already exist and are just being updated, the following informational window is displayed.
5. Click on OK to return to the Install Product menu of the install browser.

Install Dallas 1-Wire API
Note: If you are upgrading the Dallas 1-Wire Drivers, you must first remove the previously installed version via the "Add or Remove Programs" option on the Control Panel. Once the previously installed drivers have been removed, you can proceed with the following section.
1. Select the Install Dallas 1-Wire Files menu item.
The 1-Wire Drivers Setup Wizard screen is displayed.
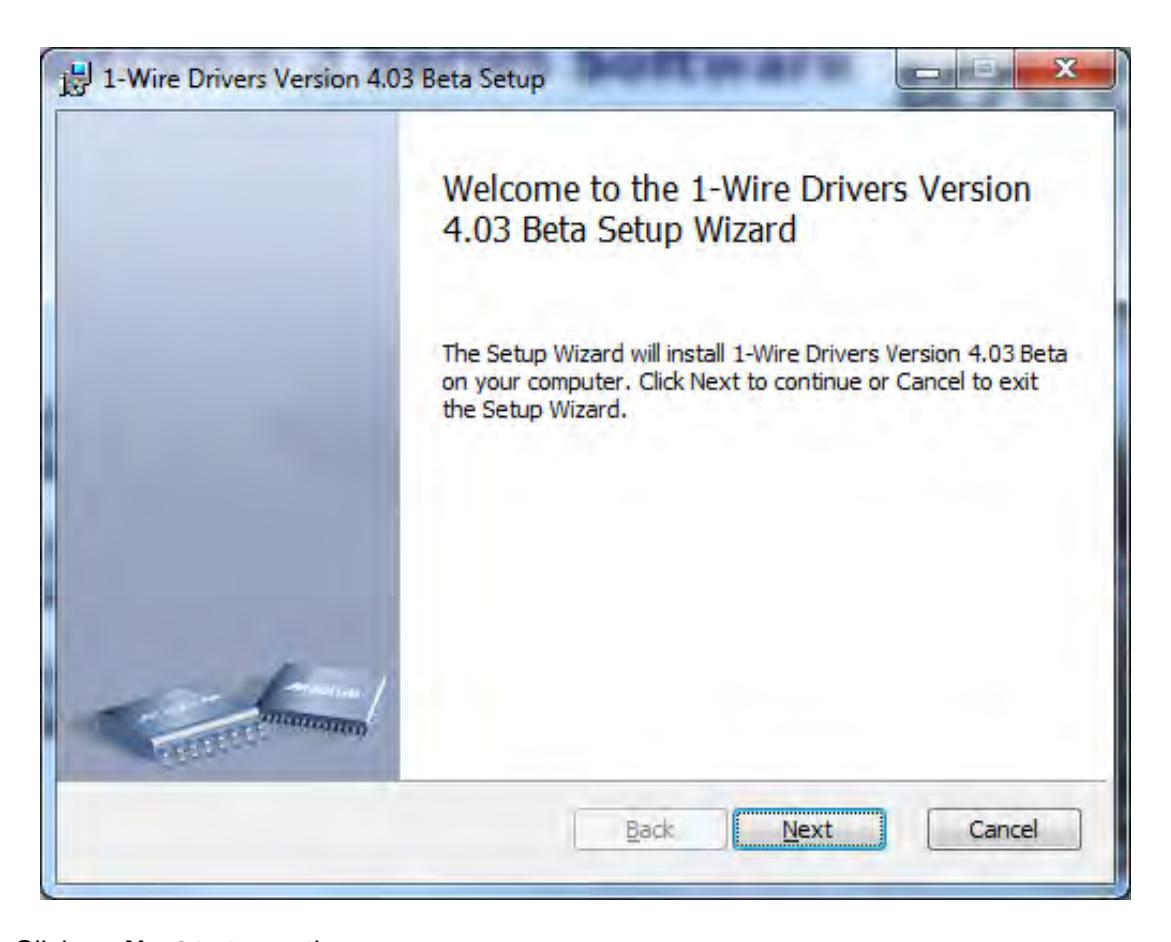
2. Click on Next to to continue.
The Maxim License Agreement screen is displayed.
3. Read the Maxim End-User License Agreement and then click on the box to indicate that you "accept the terms in the license agreement."
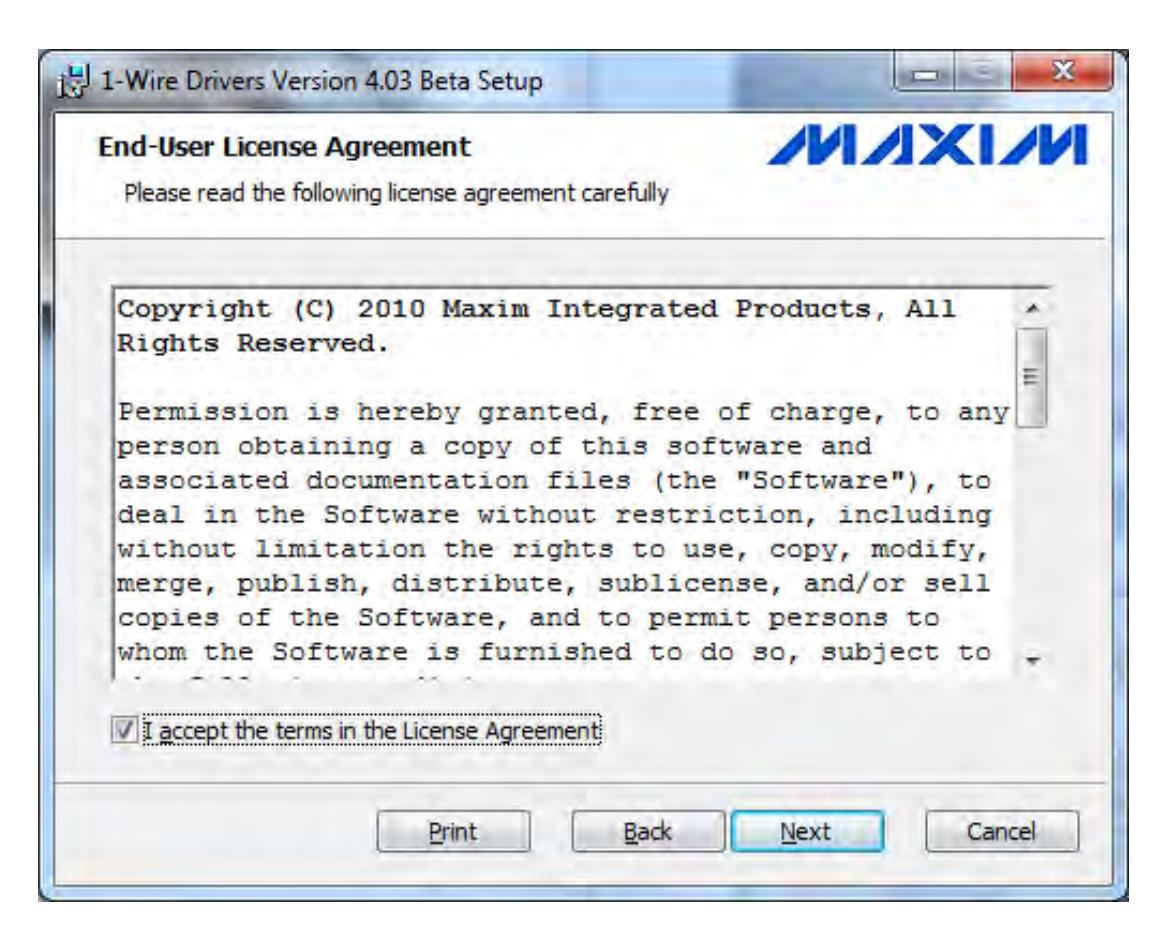
4. Click on Next to continue.
The Destination Folder window will be displayed to allow you to select the program folder to which the 1-Wire Driver will be added.
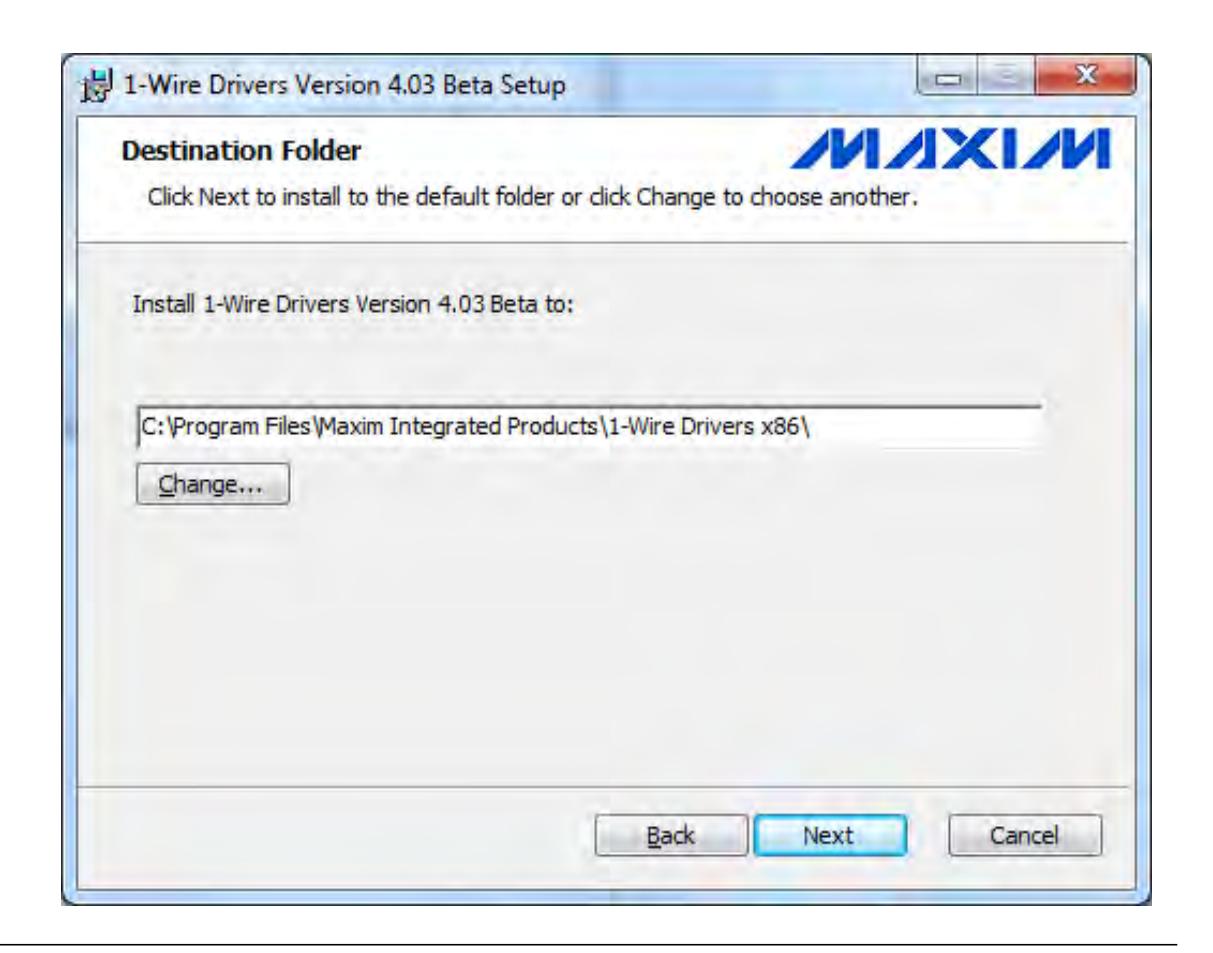
Note: The default installation directory is shown. If you want the 1-Wire Driver installed in another directory, click on the Change button and select the new path.
5. Click on Next to add the driver to the designated folder.
The Unplug 1-Wire Adapters screen will be displayed to instruct you to unplug all 1-Wire adapters before continuing.
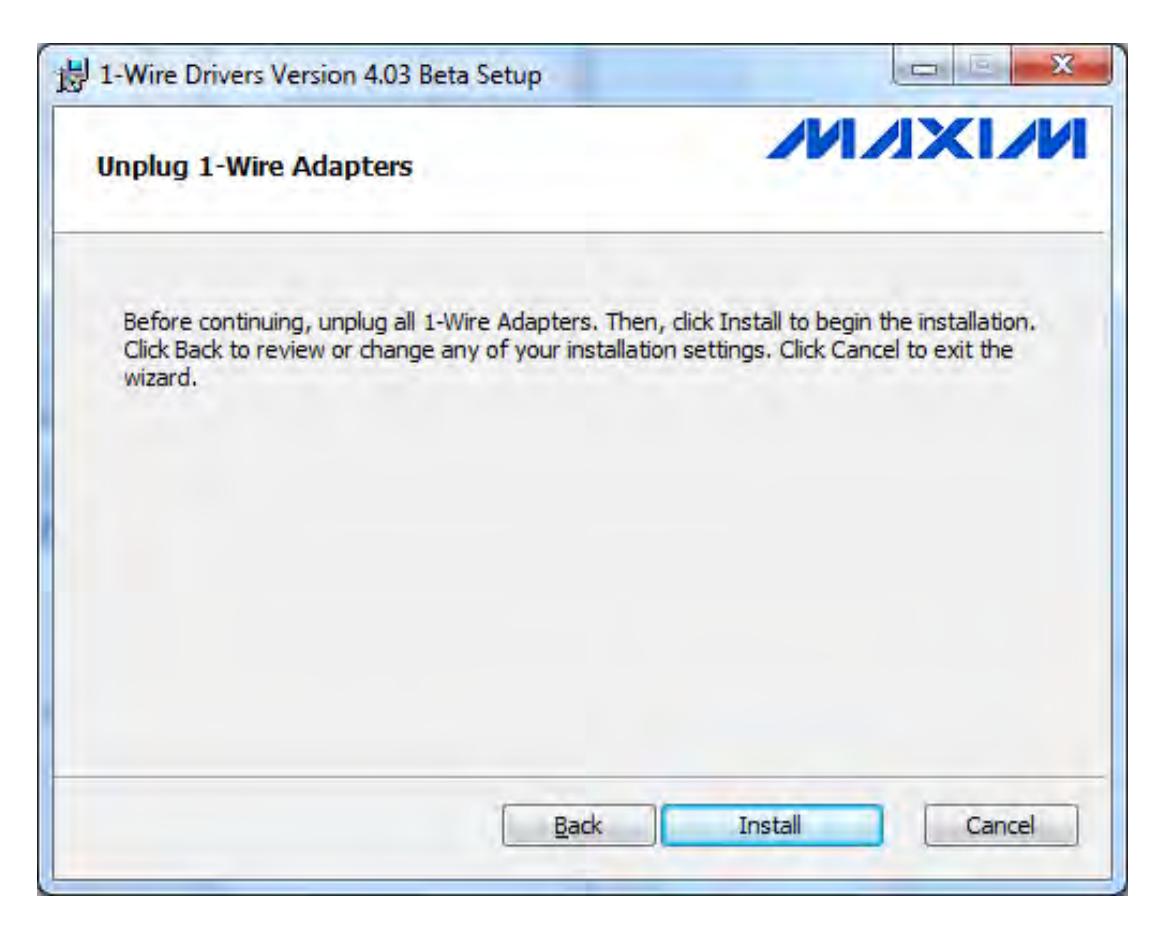
6. If you wish to change any of your installation settings, click on the Back button. Otherwise, click on the Install button to install the driver with the designated settings.
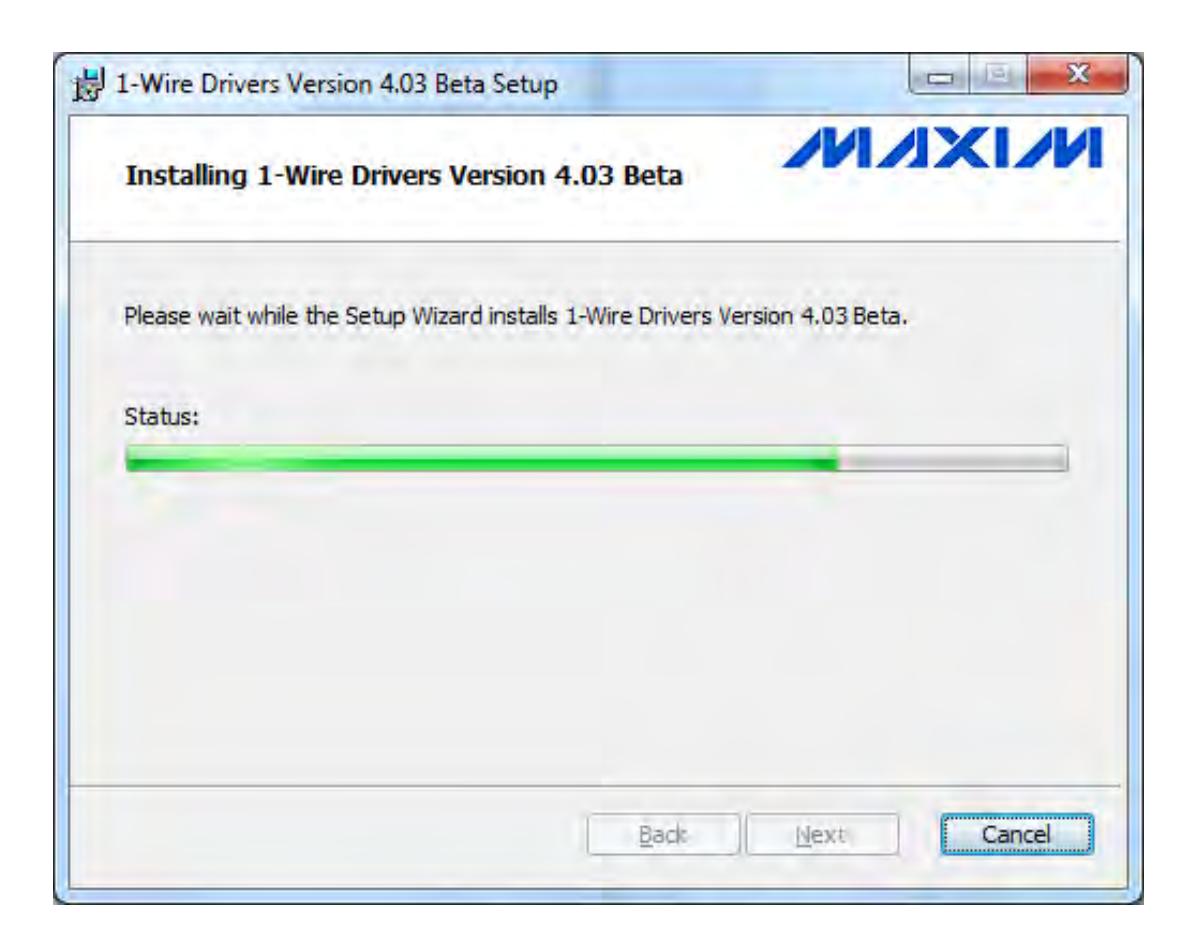
The Setup Status screen is displayed and will show several different status messages as the installation progresses.
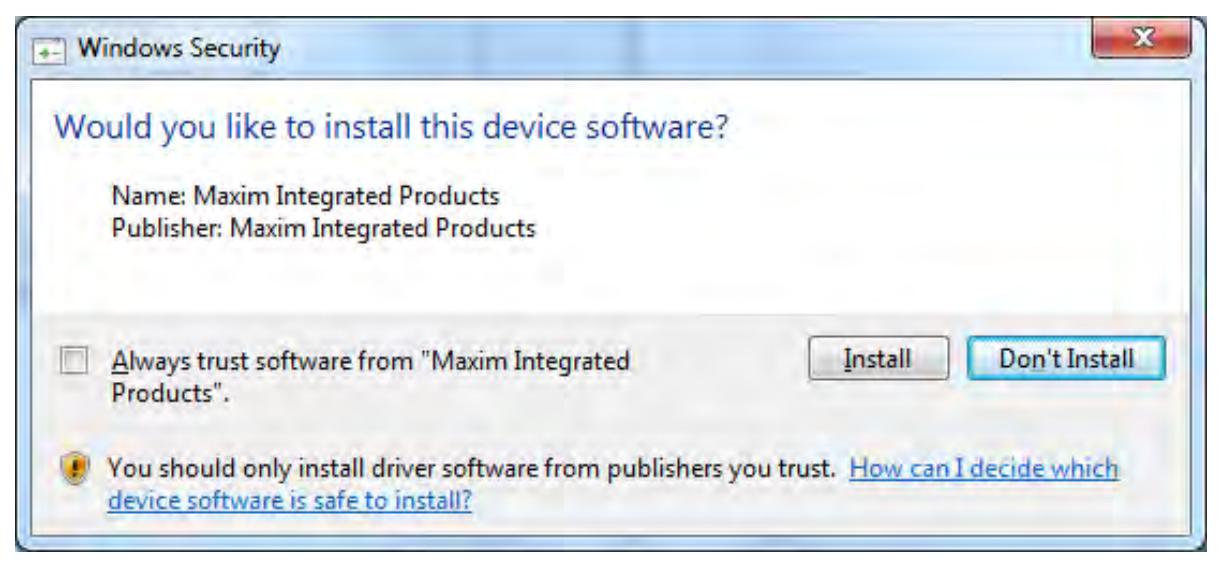
The Windows Security screen may be displayed depending on your current system setttings. If so, click on the Install button to accept install of the device software.
The Setup Wizard Completion screen is displayed indicating that the driver installation has completed and indicating that you should now attach the 1-Wire USB Adapter.
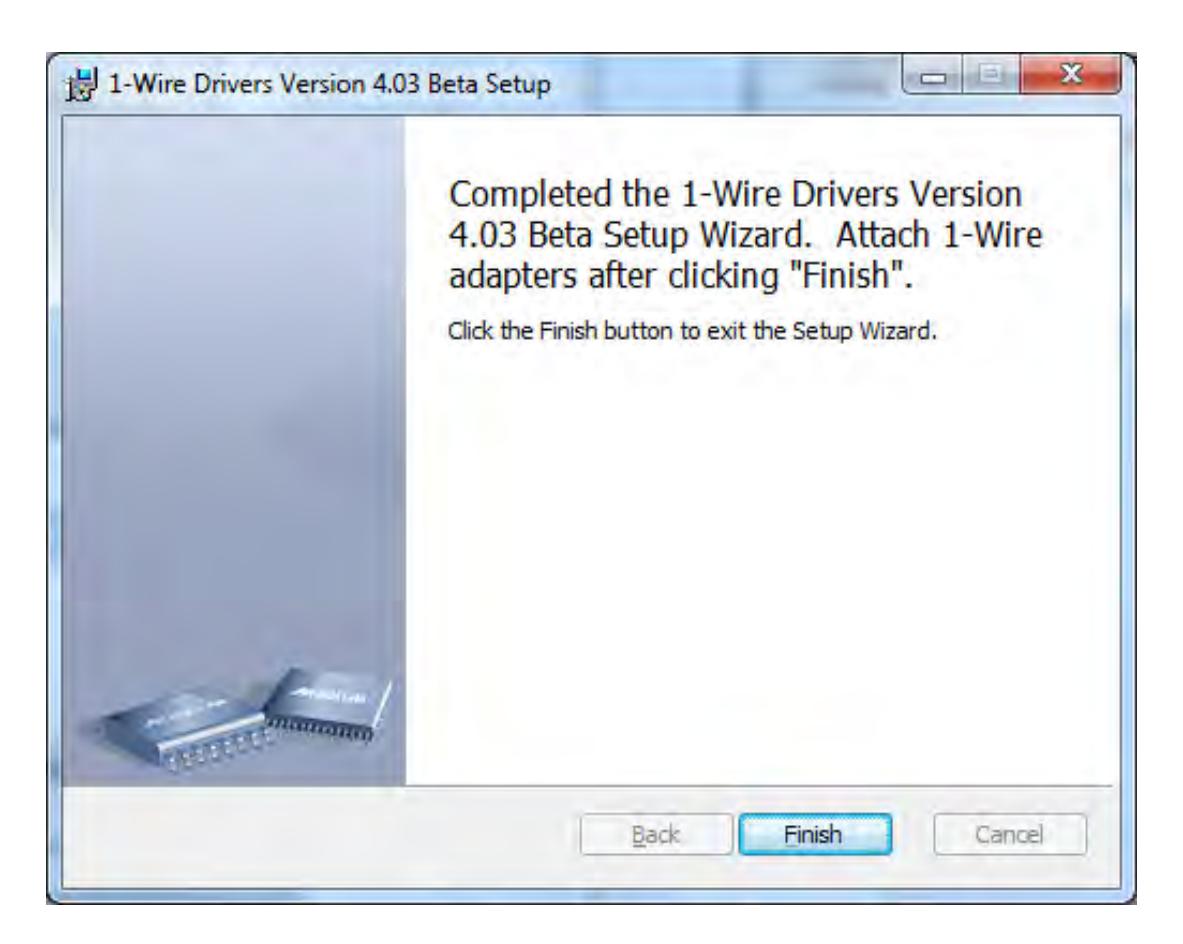
7. Click on Finish to exit the Setup Wizard.
PC Hardware Installation
Note: A USB Adapter has been included with your implementation kit. If you do not have an available USB port on your PC but you do have an available serial port, the serial port adapter (P/N 202124) can be installed as an alternate to the USB adapter. This item is ordered separately.
1. Install the adapter and data cable.
For a Serial Port Adapter: Locate the Serial Port Adapter that was ordered separate from the Unicon CL Series Software package and connect it to the Unicon Data Cable. Plug the adapter into the serial port on your PC that corresponds to one of the serial Com ports (COM1 through COM4).
For a USB Adapter: Locate the USB Adapter that came with the Unicon CL Series Software package and connect it to the Unicon Data Cable. Plug the adapter into a USB port on your PC. Complete the installation of the USB Adapter if prompted by the "Found New Hardware" Install Wizard. You should have the Wizard point to the following location to install the USB device with the correct drivers: C:\Program Files\Dallas Semiconductor\1-Wire Drivers 4.01Beta Version 4.01Beta .
Helpful Hint: The Data Cable should be positioned near your keyboard for easy access.
Once the new hardware device has been found, a message bubble or window will display to indicate that the USB Host Adapter for 1-Wire Network has been installed and is ready to use.
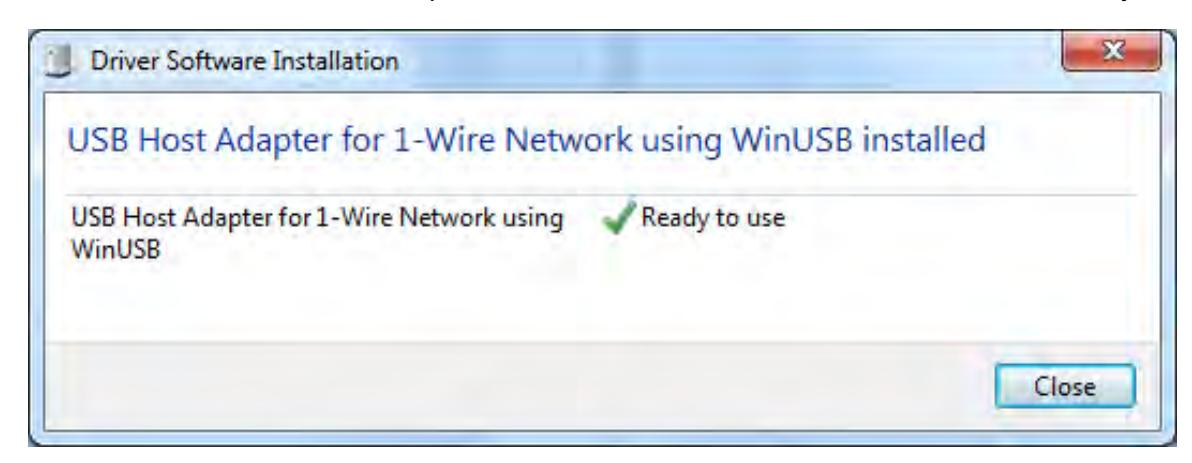
Click on Close to close the Driver Software Installation window if displayed.
If your system did not indicate that the hardware device has been installed, you should be prompted by the Found New Hardware Wizard.
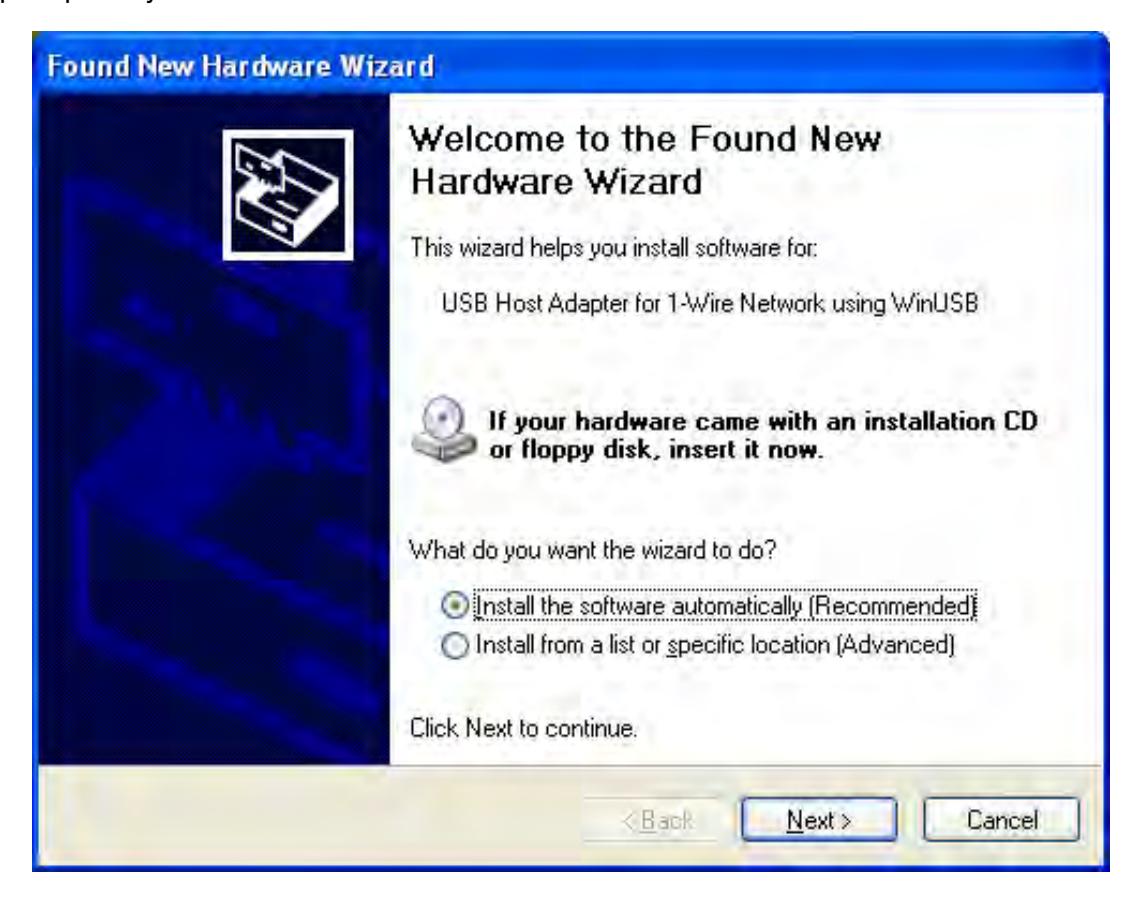
Note: The screen shown above was captured on a Microsoft Windows XP system. If your PC is running under a different operating system, your screens may look slightly different and the Wizard may follow a slightly different process to install the hardware device.
Follow the instructions of the Wizard to install the new hardware device. Click on Next> to continue.
Once the driver software installation has completed, click on Finish to close the wizard.
2. Shut down the The Unicon CL Series Software Installation Browser now by clicking on Menu and then Exit .
Enable Remote Connections*
- * Not required for a Standalone PC installation Single Unicon client with SQL Server 2005 Express Edition. These steps must be performed only on the "server PC" in a multiple PC configuration.
- 1. Click Start , point to Programs , point to Microsoft SQL Server 2005 , point to Configuration Tools , and then click SQL Server Surface Area Configuration .
- 2. On the SQL Server 2005 Surface Area Configuration page, click Surface Area Configuration for Services and Connections .
- 3. On the Surface Area Configuration for Services and Connections page, expand Database Engine . Under the UNICON instance designation, click Remote Connections , click Local and remote connections , click the appropriate protocol to enable for your environment, and then click Apply .
A message will be displayed indicating that "Changes to Connection Settings will not take place until you restart the Database Engine service."
- 4. Click on OK to continue.
- 5. On the Surface Area Configuration for Services and Connections page, expand Database Engine under the UNICON instance designation, click Service , click Stop , wait until the MSSQL$UNICON service stops, and then click Start to restart the MSSQL$UNICON service.
Enable the SQL Server Browser Service*
- * Not required for a Standalone PC installation Single Unicon client with SQL Server 2005 Express Edition. These steps must be performed only on the "server PC" in a multiple PC configuration.
- 1. Click Start , point to Programs , point to Microsoft SQL Server 2005 , point to Configuration Tools , and then click SQL Server Surface Area Configuration .
- 2. On the SQL Server 2005 Surface Area Configuration page, click Surface Area Configuration for Services and Connections .
3. On the Surface Area Configuration for Services and Connections page, expand the SQL Server Browser instance, click on Service , click Automatic for Startup Type , and then click Apply .
Note: When you select the Automatic option, the SQL Server Browser service starts automatically every time you start Microsoft Windows.
4. Click Start , and then click OK .
Create Unicon Firewall Exceptions*
* Not required for a Standalone PC installation - Single Unicon client with SQL Server 2005 Express Edition. All of these steps must be performed only on a Windows XP "server PC" in a multiple PC configuration, if the firewall is on. The steps to create a firewall exception for the msdtc.exe executable must also be performed at all Windows XP client PC(s), if the firewall is on.
These processes are only necessary if the Windows Firewall is being used. If a firewall other than Windows Firewall is being used, consult the documentation for that firewall.
Note: System Administrator privileges may be required to complete these activities.
An exception must be created for both the UNICON instance and the SQL Server Browser service. To create an exception for the UNICON instance in the Windows Firewall, you must first determine the instance ID of the UNICON instance and the instance ID for the SQL Server Browser service.
Determine the instance ID for the UNICON instance.
- 1. Click Start , point to Programs , point to Microsoft SQL Server 2005 , point to Configuration Tools , and then click SQL Server Configuration Manager .
- 2. In SQL Server Configuration Manager, click the SQL Server (Unicon) service in the right pane, right-click the instance name in the main window, and then click Properties .
- 3. On the SQL Server (Unicon) Properties page, click the Advanced tab, locate the instance ID in the property list, and then click OK .
Determine the instance ID for the SQL Server Browser Service.
4. Repeat the above steps to determine the instance ID for the SQL Server Browser service.
Once the instance ID of the UNICON instance and the SQL Server Browser Service are known, an exception in the Windows Firewall needs to be added for each of them. Complete the following steps:
5. Open the Windows Firewall. Click Start , click Run , type firewall.cpl , and click OK .
Create the exception for the UNICON instance.
- 6. In Windows Firewall, click the Exceptions tab, and then click Add Program .
- 7. In the Add a Program window, click Browse .
8. Click the C:\Program Files\Microsoft SQL Server\MSSQL.x\MSSQL\Binn\sqlsvr.exe executable program, click Open , and then click OK .
Note: The path may be different depending on where SQL Server 2005 is installed. Also, the instance represented by "MSSQL.x" should be replaced with the instance ID for the given service as determined above.
Create the exception for the SQL Server Browser.
- 9. In Windows Firewall, click the Exceptions tab, and click Add Program .
- 10. In the Add a Program window, click Browse .
- 11. Click the C:\Program Files\Microsoft SQL Server\90\Shared\sqlbrowser.exe executable program, click Open , and then click OK .
Note: The path may be different depending on where SQL Server 2005 is installed.
Create an exception for the msdtc.exe executable in Windows Firewall.
The Unicon CL Series Software requires the Distributed Transaction Coordinator service. For this reason an exception needs to be added to the Windows Firewall (at the server PC and at all Client PCs) for the msdtc.exe executable file.
- 12. In Windows Firewall, click the Exceptions tab, and click Add Program .
- 13. In the Add a Program window, click Browse .
- 14. Browse to the C:\Windows\System32 folder and click on the msdtc.exe file. Click Open and then click OK .
Note: The drive where Windows is installed may be different than indicated above.
Add Login Accounts for Users*
* Not required for a Standalone PC installation - Single Unicon client with SQL Server 2005 Express Edition. These steps must be performed only on the "server PC" in a multiple PC configuration.
Note: The Unicon CL Series Software uses Windows Authentication; therefore, client users must be recognized by the "server PC".
Complete the following steps to add Login Accounts at the "server PC":
1. Click Start , point to Programs , point to Microsoft SQL Server 2005 , and then click on SQL Server Management Studio Express .
The Connect to Server window is displayed.
2. Click on Connect to connect to the UNICON instance of the Microsoft SQL Server Database Engine.
The SQL Server Management Studio Express Object Explorer is displayed.
The administrator responsible for installation of a Unicon instance on the server should now add Login accounts for all users in the domain who need to have access to the Unicon database.
- 3. Expand Security, right-click on Logins , and click on New Login.
- 4. Enter the Login Name of the user. If the user logs on to the client PC as a local user, the format of the Login Name is SERVER NAME\User Name. If not logging on as a local user, the client must be on the same domain as the server so as to log on as a domain user. If the user logs on to the client PC as a domain user, the format of the Login Name is DOMAIN\User Name.
Note: In the case where the client and server are on the same domain, Active Directory must be implemented across the domain to provide central authentication and authorization services.
If a user logs on to the client PC as a local user, the user must also be added to the server PC as a local user. The password on both the client PC and the server PC should be the same. To add a local user to a PC:
- Right click on My Computer and choose Manage .
- Expand on Local Users and Groups and then add the user under the Users folder by right clicking on the Users folder and then clicking on New User .
- 5. Select the Default Database as UNICON.
- 6. Select the User Mapping page. Check on UNICON under Users mapped to this Login and db_datawriter, db_datareader under Database role membership for: UNICON . public database role membership is checked by default.
- 7. Click on OK.
The new login account will now appear as a Login under Security .
8. Repeat steps 3-7 to add a separate login account for each user wishing to access the UNICON database.
Configure MSDTC Security Settings*
* Not required for a Standalone PC installation - Single Unicon client with SQL Server 2005 Express Edition. The MSDTC security settings need to be configured for Windows XP only on both client PC(s) and the server PC where the UNICON instance of SQL Server 2005 Express is installed.
The Distributed Transaction Coordinator (MSDTC) service needs to be running for Unicon CL Series Software database operations on both the workstation running the Unicon CL Series Software application and on the workstation that is serving the UNICON instance where the Unicon database resides.
Note: System Administrator privileges are required to change the MSDTC settings.
Complete the following steps to set the security settings for the MSDTC service:
1. Click Start , click Run , type in dcomcnfg.exe , and click OK .
- 2. In the tree-view on the right side of the Component Services window, double click on Component Services , and then double click on Computers .
- 3. Right-click the My Computer node and click Properties .
- 4. Click the MSDTC tab, and click the Security Configuration... button.
- 5. Ensure that the MSDTC security settings are set as shown in the following screen. See the accompanying Note for exceptions.
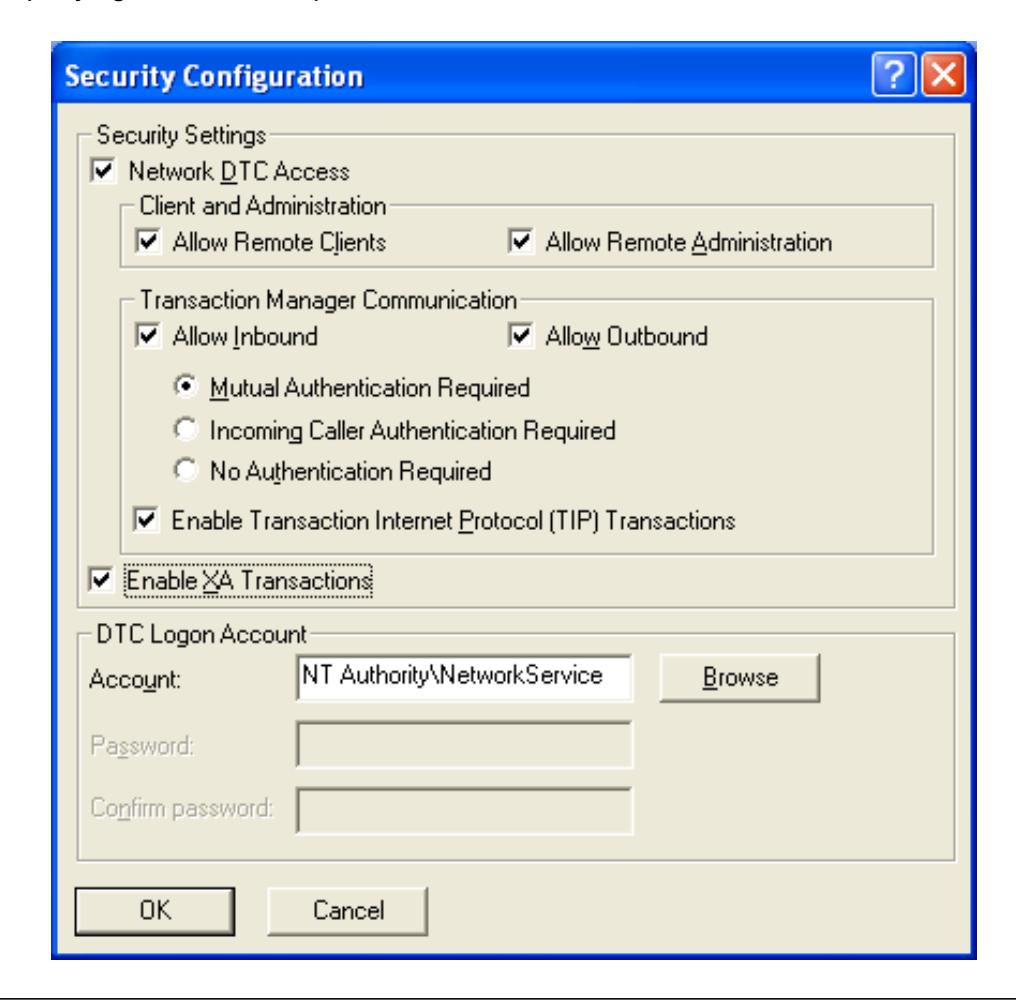
Note: The above settings have the Mutual Authentication Required setting selected, which gives a higher level of security and is recommended for systems configured where all PCs involved are operating under Windows XP. This setting is not appropriate for all other environments. In situations where a PC or PCs with Windows 2000 are a part of the Unicon system configuration, as either a server or a client, the setting for No Authentication Required should instead be selected for the Windows XP machines. In other situations where you are unsure about this setting, the System Administrator should be consulted.
Restart Server PC*
- * Not required for a Standalone PC installation Single Unicon client with SQL Server 2005 Express Edition. If the server PC is operating under Windows 2000, you must restart the server PC. (Not required for a Windows XP server.)
- 1. Click Start, click Shutdown , and then select Restart from the dropdown menu.
- 2. Click OK to restart.
Start the UniconTM CL Series Program
To start the Unicon CL Series Software program, you can select the Unicon CL Series Software icon from the desktop or you can complete the following steps:
- 1. Select the Start icon from the Windows task bar.
- 2. Select the Programs menu item.
- 3. Select the Unicon CL Series Software menu item.

4. Select the Unicon CL Series Software icon.

Default Lock Selection Setting
The Unicon CL Series Software allows programming and reporting for both Model CL10 and Model CL20 locks. When you first load the Unicon CL Series Program, you will be prompted to select the default lock model for your activity. This setting determines whether the CL10 or the CL20 lock interface for the software will be presented when you start the program. This default setting will be associated with your User profile as it is known to the Windows operating system. This setting will determine the lock interface that is presented for you when the software is loaded.

5. Select your personal default lock setting for the Unicon CL Series software and click on Save.
Note: The default lock setting can be changed at any time from the Settings Menu after the software is loaded.
Distributed Transaction Coordinator Service
The Distributed Transaction Coordinator (MSDTC) service needs to be running for Unicon CL Series Software database operations. On program startup, the Unicon CL Series Software checks to see if the Distributed Transaction Coordinator service is running. If it is not running, the following message is displayed to give the user the option to start the service.
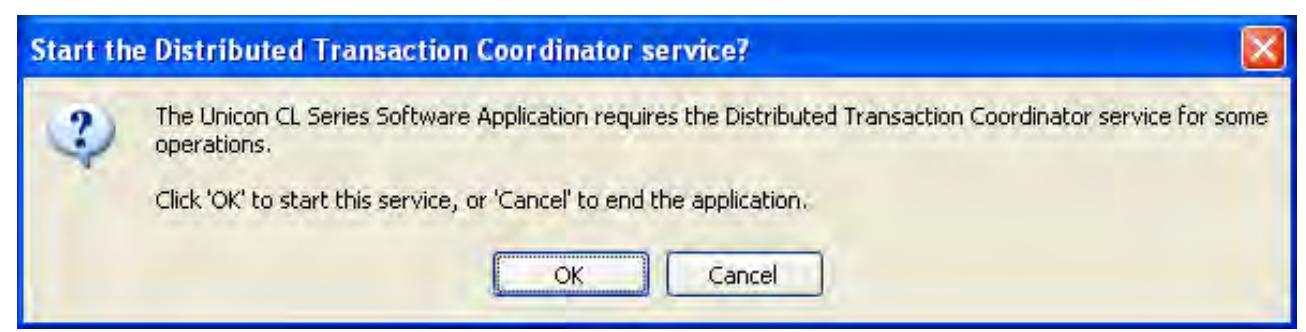
6. Click on OK to start the Distributed Transaction Coordinator and continue loading the Unicon CL Series Software.
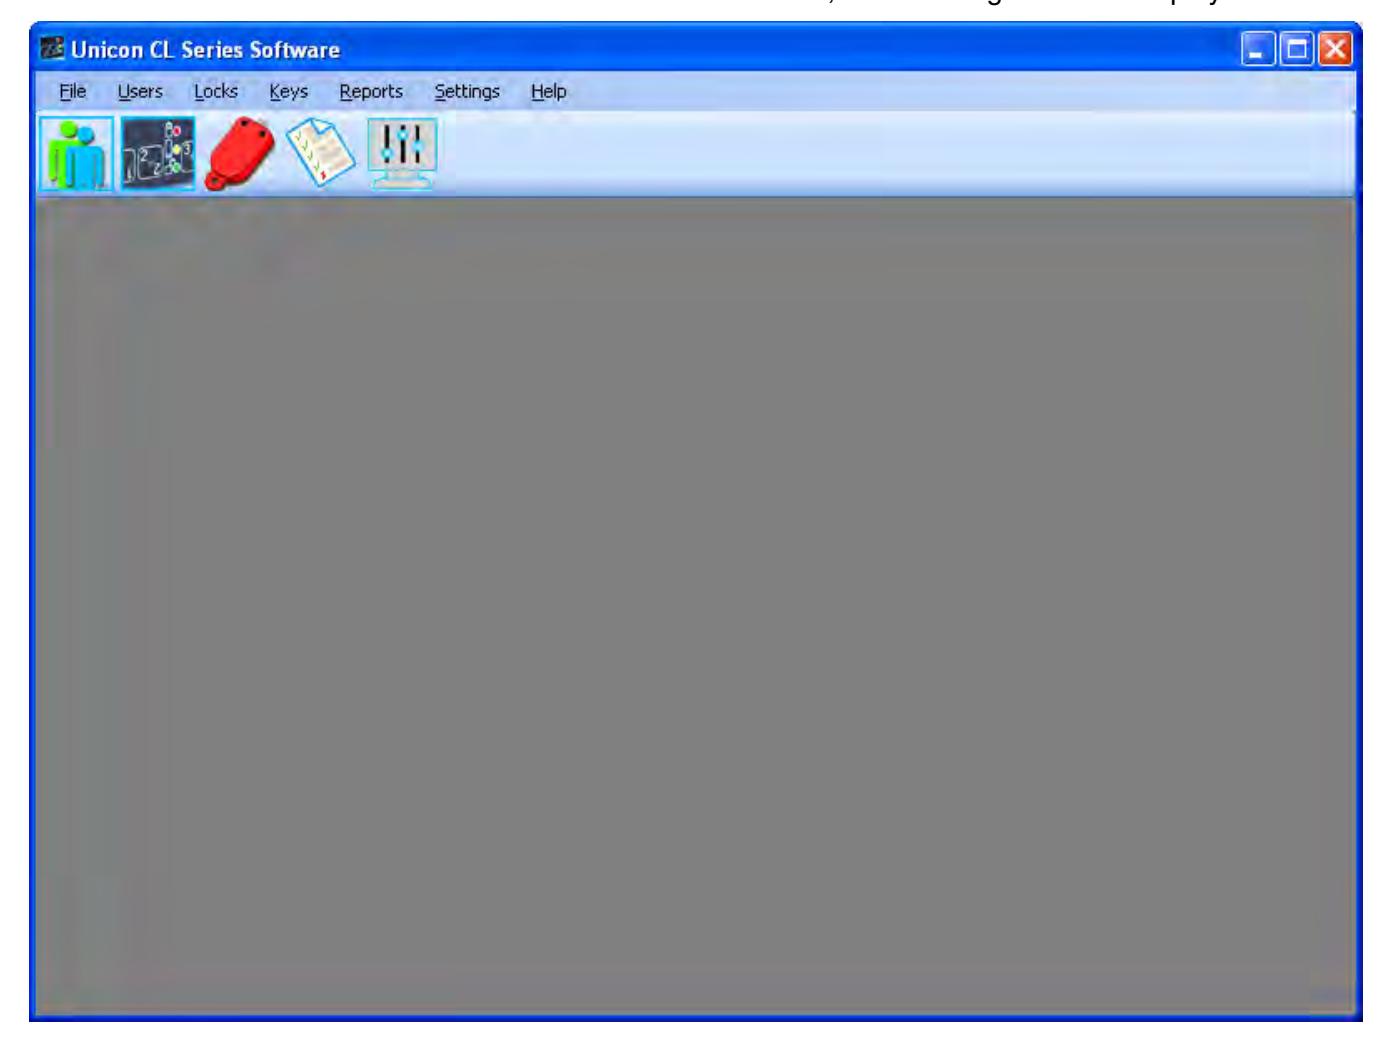
Unicon CL Main Menu
The Unicon CL Main Menu that is displayed will vary depending on whether you chose the Model CL10 lock as your default selection or the Model CL20.
For Default Lock Interface selection of the Model CL10 , the following screen is displayed.
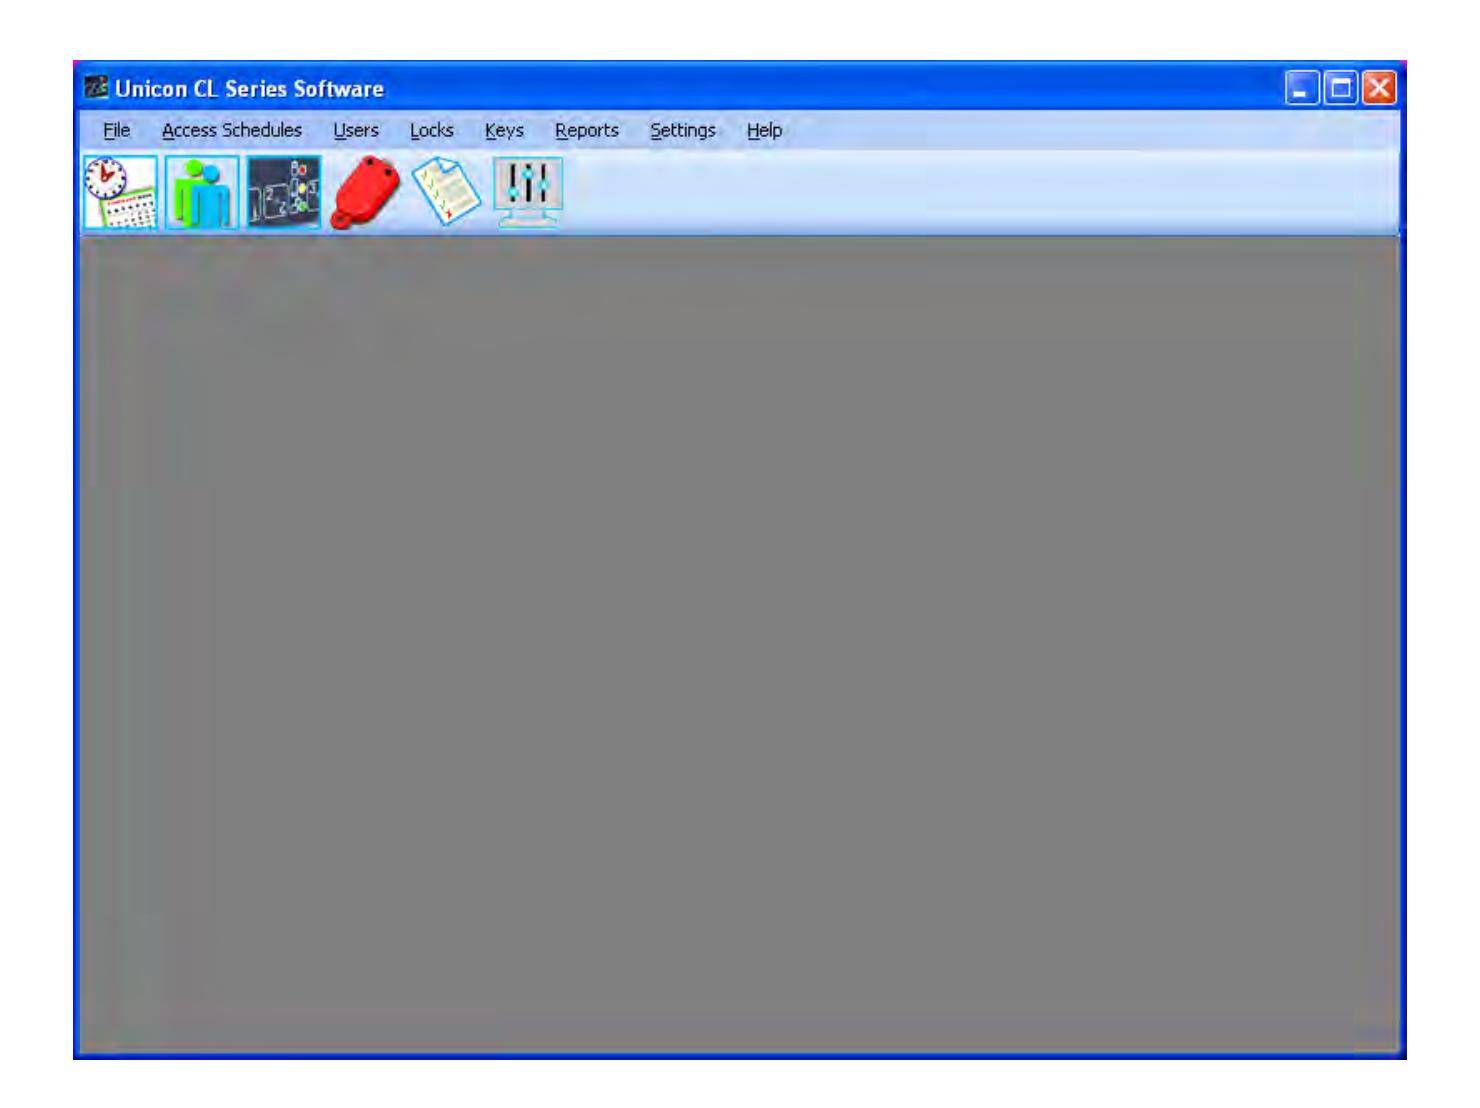
For Default Lock Interface selection of the Model CL20 , the following screen is displayed.
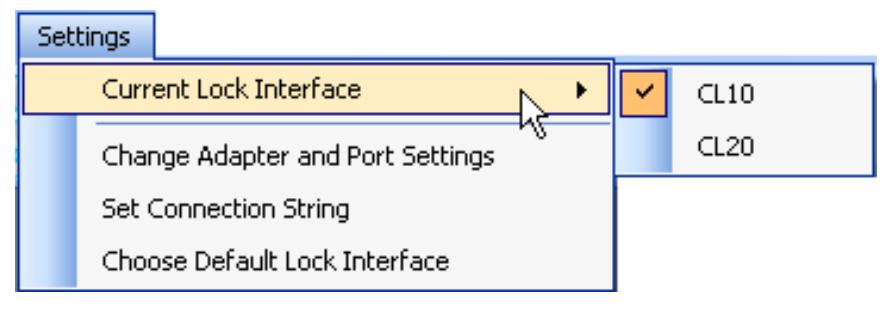
Current Lock Interface
The Current Lock Interface setting indicates whether the CL10 or the CL20 lock interface for the software is currently presented. At program startup this setting defaults to the Default Lock Interface setting, as defined in the user profile of the user who is logged on to the PC.
The current lock interface can easily be toggled at anytime during operation of the software for customer applications where both types of locks are installed. This option is available from the Settings Menu.
Configure System Hardware and Software Settings
On the initial load of the Unicon CL Series Software, you will be expected to configure the hardware and software settings. From the Main Menu:
1. Select the Settings Menu or the toolbar icon.

The System Settings screen will be displayed.
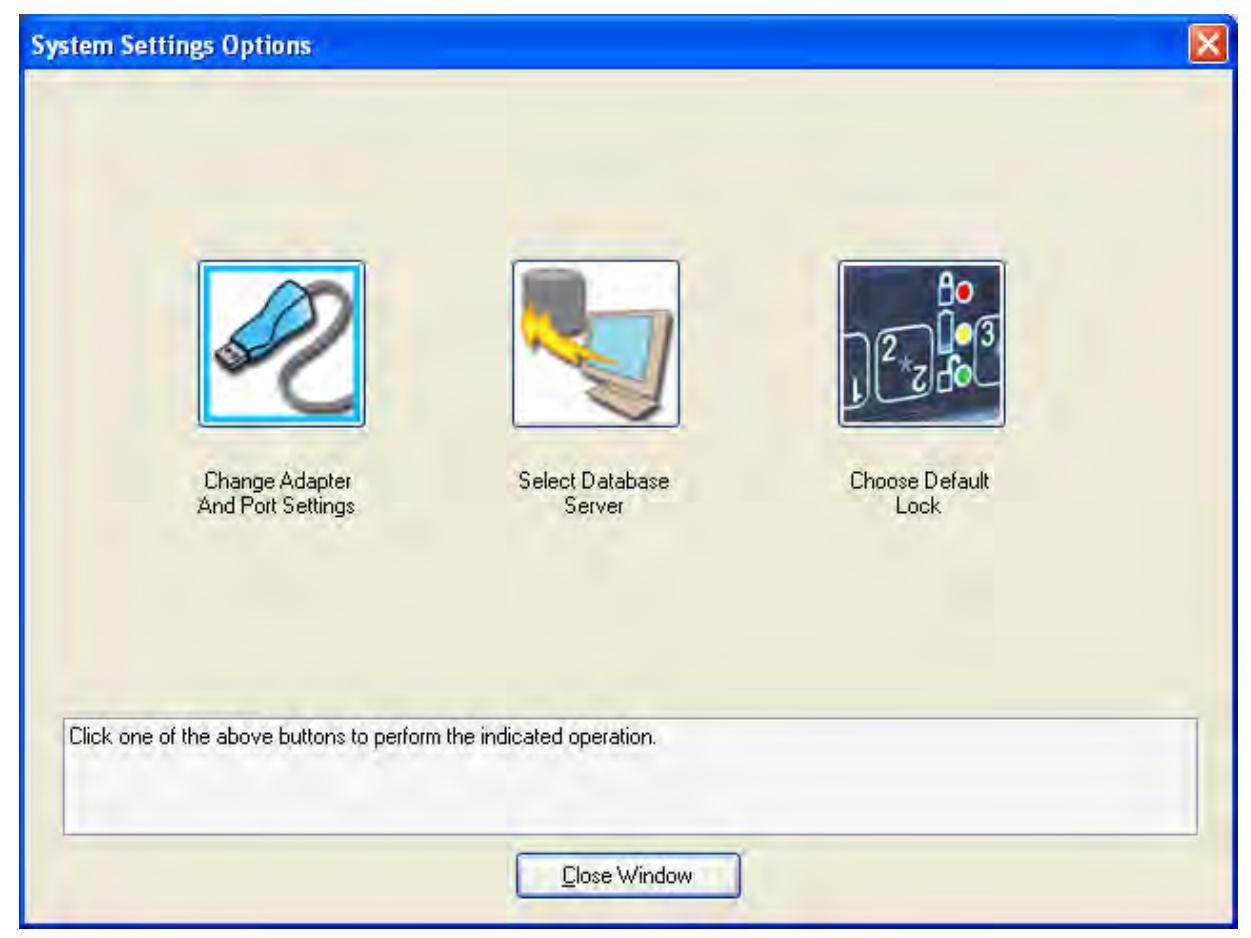
From the Settings Menu or the System Settings screen, you can select the following options.
Change Adapter and Port Settings
This option is used to change the adapter and port settings in case the adapter type is changed or the adapter has to be moved to a different port.
1. Select Change Adapter and Port Settings .
The Change Adapter/Port Settings screen is displayed. This window prompts you to specify what type of data cable adapter you have and where it is installed.
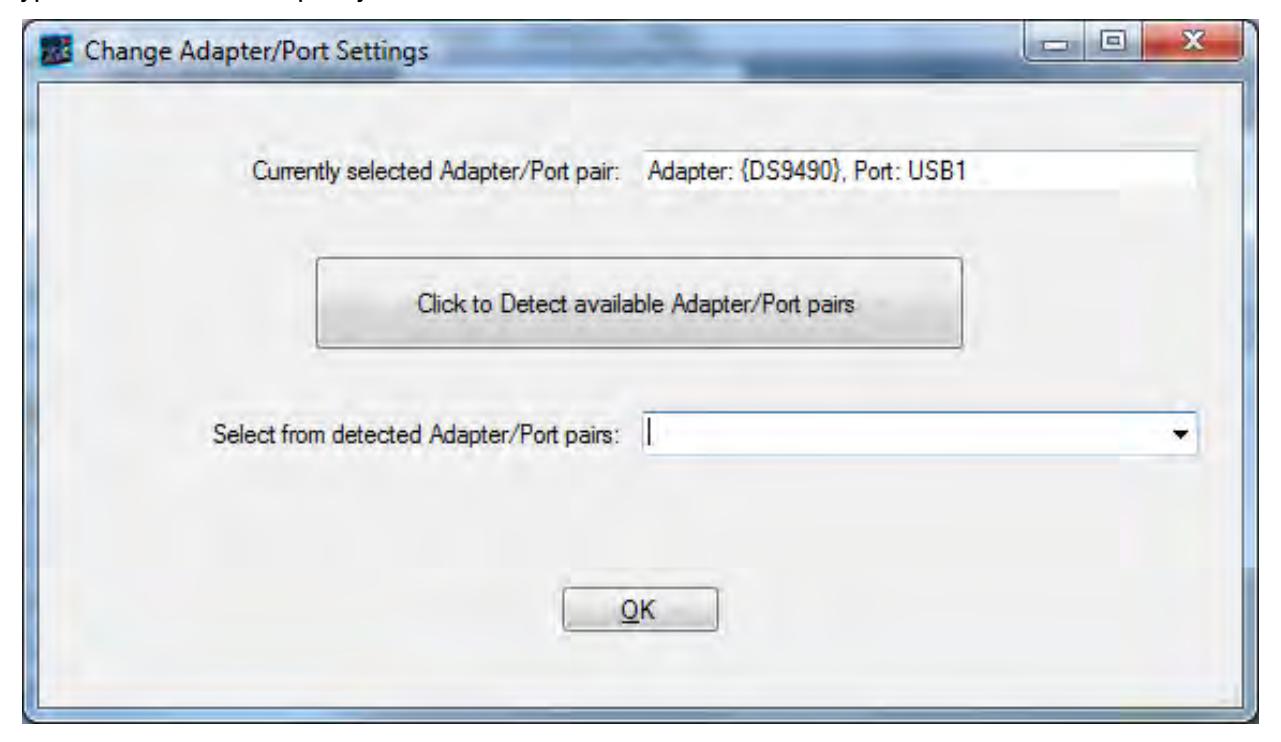
- 2. Select the tab for the Adapter Type that you have installed with your system. The default value for the Adapter Type is the DS9490 USB Adapter. If the Adapter Type is different from the default, change it at this time.
- 3. If you are using a Serial Adapter, select the Com Port number where the key reader was installed. The default value for the Serial Port is Com1 . If the Serial Port that you are using for the key reader is anything other than Com 1, change it at this time.
- 4. If you have updated the adapter and port settings, click on the OK button to save the changes. Otherwise, you can Cancel.
Note: You can test communication between the data cable and the key fobs by selecting one of the Key Menu options to initialize a key. See the Menu Options section for more detail. If you get a TMEX error when performing the test, you may need to just try again or reboot.
Select Database Server
This option allows you to change the database server for this software application.
1. Select Select Database Server .
The Select Database Server screen will be displayed.
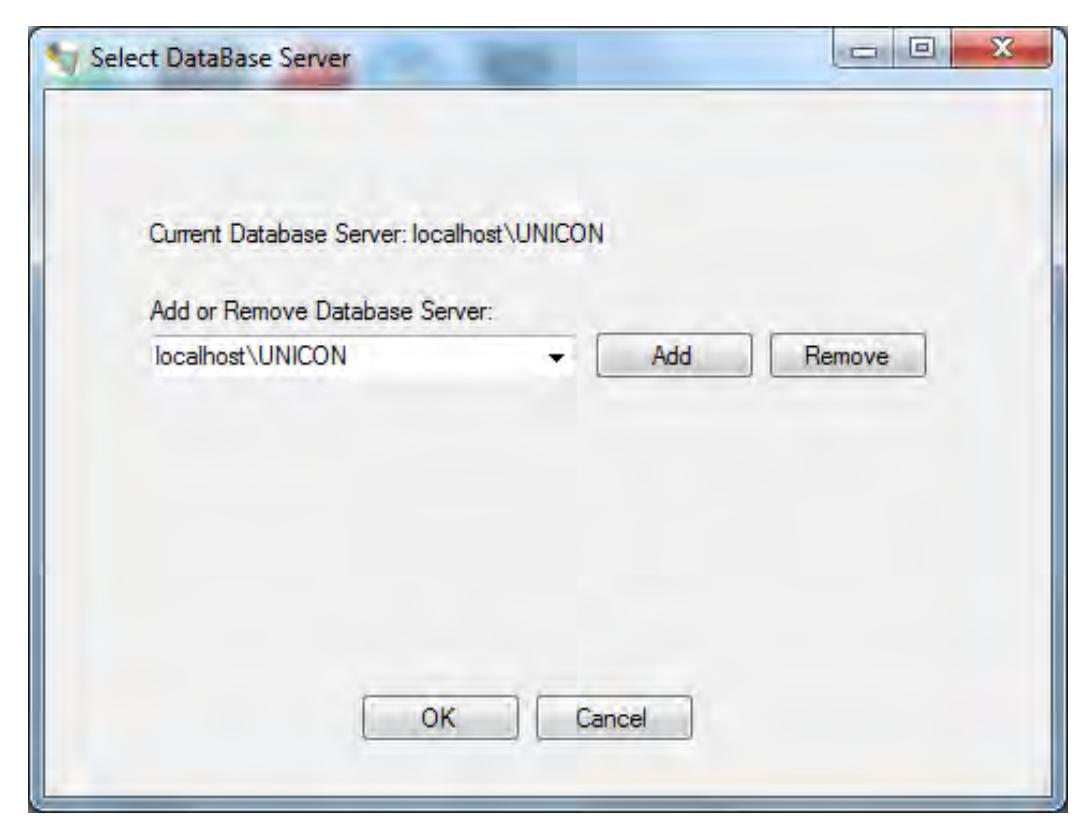
2. If you wish to select a different database server, click on the drop down arrow to view available servers for selection. The default value is the local host instance of the Unicon database.
Note: If the required database server is not shown in the list, type in the database server name (Computer Name\UNICON) and click on the Add button.
- 3. Select the database server name from the list.
- 4. Click on the OK button to process the selection. An informational window prompt is displayed indicating the database server specified.
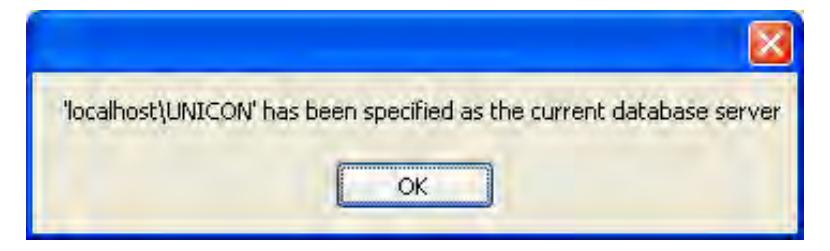
4. Click on OK .
Menu Bar Options
The Menu Bar displays the available menu options. Menu options will vary for the CL10 lock interface and the CL20 lock interface. Some of these options are also available from the toolbar. The menus available from the Unicon CL Series Software menu bar are listed below and the corresponding toolbar icon (if applicable) is located to the left of each menu description:
File - Exit Unicon CL Series Software

Access Schedules - Manage Access Schedules ( CL20 Only )

Users - Manage Users or Users Groups
Locks - List Locks or Program Lock Information

Keys - Initialize or Delete Reporting Keys
Reports - View or Print Reports
Settings - Define or Maintain System Settings & Data
Help - 1) Display the Unicon CL Series Software basic program information, version number and copyright or 2) access the online system help information.
You can select an option on the menu bar by 1) positioning the mouse pointer on the option name and clicking the left mouse button one time 2) using the shortcut keys underlined on the option's label. For example, for the option label Locks, you can select the option by pressing the Alt and L keys at the same time (Alt + L).
Toolbar Options
The Toolbar is located directly below the menu bar and displays the icons for the menu bar options. You can select an icon on the toolbar by positioning the mouse pointer on the icon and clicking the left mouse button one time. The available toolbar icons are pictured and described in the previous Menu Bar section.
Notes
Document Number 3063.016 Rev. C - 10/10

Kaba Mas LLC 749 W. Short Street, Lexington, KY 40508 USA Phone: (859) 253-4744 FAX: (859) 255-2655 Customer Service: (800) 950-4744 www.kaba-mas.com