iu_digitech_setup_01_eng
Open the original PDF document
View PDFDIGITECH SETUP SOFTWARE

REFERENCE MANUAL

www.tecnosicurezza.it
Contents
| 3 |
|---|
| 3 |
| 4 |
| 4 |
| 4 |
| 7 |
| g |
| 10 |
| 10 |
| 12 |
| 14 |
| 14 |
| 16 |
| 17 |
1 DigiTech setup software overview
The DigiTech setup software allows is used to configure all the parameters of the DigiTech safe lock system or to reset it.
This can be done directly via a cable connection or by creating setup or reset Dallas keys.
2 DigiTech setup software: main toolbar
The DigiTech setup software has a toolbar with the following commands:

New: Create a new configuration file. Save: Save the current configuration file. Open: Open an existing configuration file.
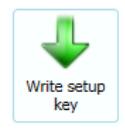
Write setup key: Write a setup Dallas key to be used for the programming of the lock.
Write reset key: Write a reset Dallas key to be used during the procedure to reset the MiniTech
locks.
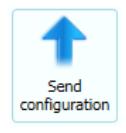
Send configuration: Send the configuration to the DigiTech directly by means of the N42170/M magnetic Dallas key connection cable or the T42146/J molex/jack connection cable.
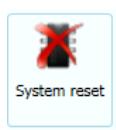
System reset: Reset the DigiTech lock directly by means of the N42170/M magnetic Dallas key connection cable or the T42146/J molex/jack connection cable.
Language: Select the language for the DigiTech setup software.
About: Show the version of the DigiTech setup software.
On the right side of the toolbar there are 3 further commands/indicators, that is the command to check for the software updates, the indication of the USB interface and the drop-down list where you can select which version of DigiTech you want to program.
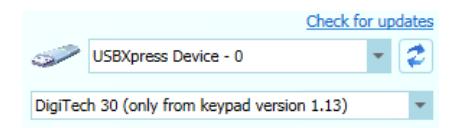
The first one is Check for updates. By clicking on this link it is possible to check for SW updates (if the PC is connected to internet, the software automatically checks for updates).
Below that, at the side of the icon there is a field where is indicated the Tecnosicurezza USB interfaces (N42180/T) connected to the computer. In case there are no interfaces plugged in (or in case of a problem with the USB interface driver), it indicates "No USB device found". In case there are more interfaces connected, from the drop-down list you have to select which one to use.
At the bottom there is a drop-down list where you have to select which version of DigiTech you are going to program. If you do not know the version of your DigiTech, press and hold the button no. 8 in the keypad to show the firmware version in the display.
Below the main toolbar there is the main screen, divided into 4 different screens whose content depends on which tab is selected.
The main screen is explained in detail in the next paragraph.
3 Main screen
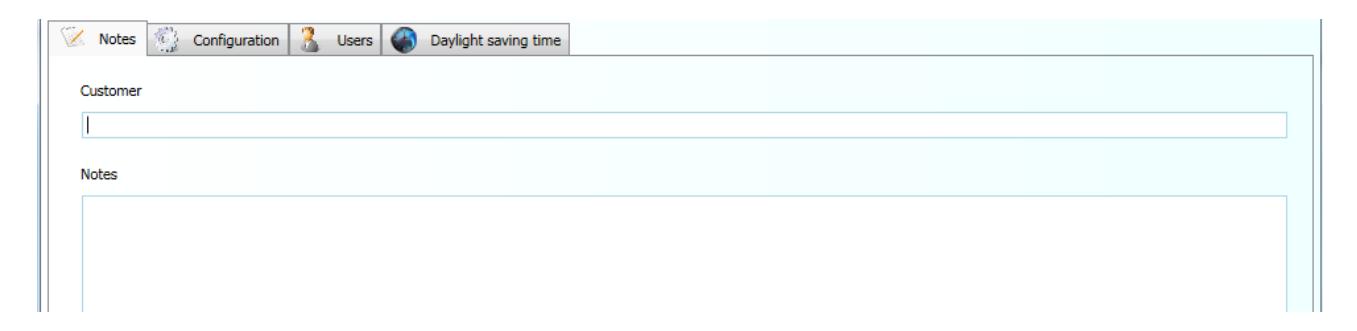
The main screen consists of four different screens called up by clicking on the specific tab. At the starting of the software, it is shown the Notes screen.
3.1 Notes screen
The Notes screen is made up of the fields Customer and Notes.
In the Customer field you can write down the customer to whom it is intended the lock you are programming.
In the Notes field you can write down notes related to the programming.
3.2 Configuration screen
This is the screen where the main settings are located.
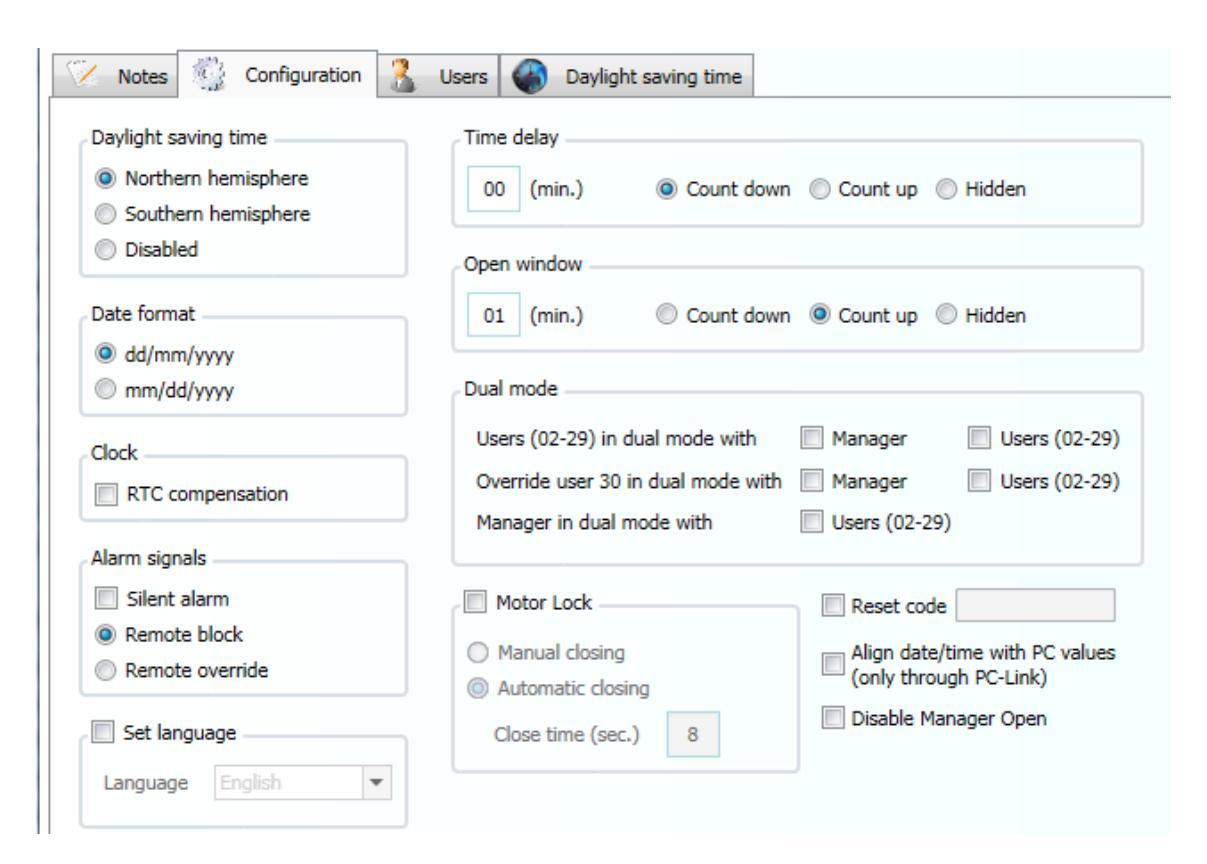
Below you can find all the explanations of the various settings, section by section, starting from the top left.
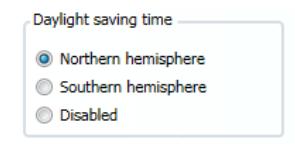
Daylight saving time : Here you have to select the hemisphere where the look will be installed. This function refers to the automatic activation of the Daylight Saving Time (DST). If you select the check-box Disabled, the DST will not be activated. By default, this option is set to Northern hemisphere.
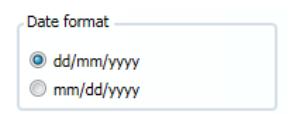
Date format : Here you have to select the desired date format (dd/mm/yyyy days, months, years or mm/dd/yyyy months, days, years). By default, the date formant is set to dd/mm/yyyy.
RTC recovery: If selected, in case of failure of the real time clock of the system, you can manually re-synchronize the clock of the system. It is advisable to keep this check box selected.
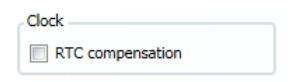
RTC compensation: Not supported.
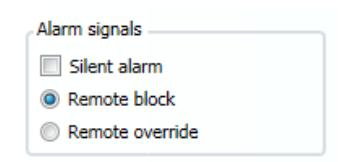
Silent alarm : If selected, it will be possible to use the duress code, which is equivalent to the traditional PIN code with the last digit increased by 1 (e.g. normal code 111111, duress code 111112).
When the duress code is entered the lock will open following the normal programmed parameters and simultaneously will activate the output signal of the alarm interface (N077/A, T6005, T7005).
Remote block : If selected, when a signal is received at the input of the alarm interface (N077/A, T6005, T7005), the keypad will be blocked.
Remote override : If selected, when a signal is received at the input of the alarm interface (N077/A, T6005, T7005), the time delay is bypassed (if present) and all users can open immediately.
Set language: Not supported
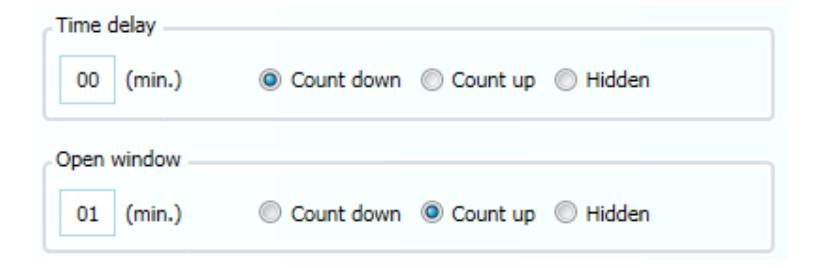
Time Delay: Here you can enter the value of Time Delay in minutes (from 0 to 99). You can also select if and how the Time delay counting is shown on the keypad's display. By default, this option is set to Count down.
Open Window: Here you can enter the value of the Open Window in minutes (from 1 to 19). You can also to select if and how the Open Window counting is shown on the keypad's display. By default, this option is set to Count up.
Dual mode: Here you can select which users work in dual mode and with whom. In dual mode two different codes are required to open the safe. When set, the lock requires that two users enter their individual codes, one after the other, before the lock opens. You can choose that a standard user opens with manager or with another standard user. You can choose that the override user opens with manager or with a standard user. You can choose that manager opens with a standard user.
| Dual mode | ||
|---|---|---|
| Users (02-29) in dual mode with | Manager | Users (02-29) |
| Override user 30 in dual mode with | Manager | Users (02-29) |
| Manager in dual mode with | Users (02-29) | |
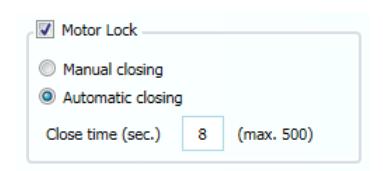
Motor Lock: Select this option if you are programming a motorized lock (T5200/M, T5200/M/S).
Manual closing: If select, the motor lock will stay open until you press and hold the button →.
Automatic closing: If selected, the motor lock will close automatically after the seconds set in the Close time field.
Close time (sec.): Here you set the time in seconds (max. 500) for the automatic reclosing of the bolt after an opening.
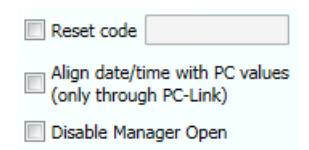
Reset code: If selected, a 6 digits PIN will be requested for resetting the lock.
Align date/time with PC values: if selected, the time and date of the keypad is synchronized with the time and date of the PC during the uploading of the programming.
Disable Manager Open: For the manager user you can choose if manager can open or not. If the check-box is selected, manager can not open.
3.3 Users screen
In the Users screen there are all settings related to the users.
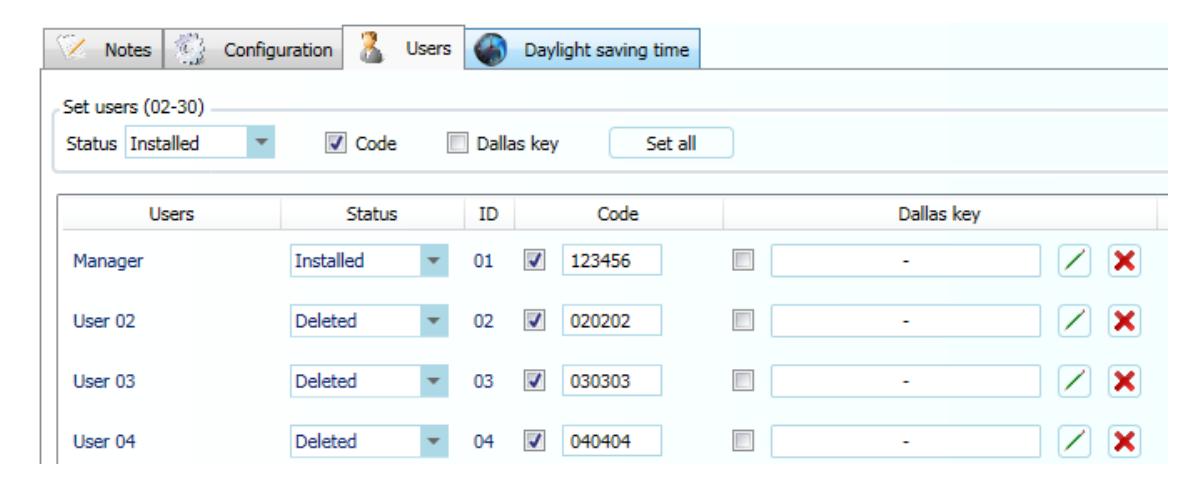
A the top there are a few basic settings that can be transferred to all users.

Status: from the drop-down list you can choose the status of the users. Users can be:
Installed: User programmed and installed (active).
Deleted: User programmed and not installed (not active), but can be installed (activated) from the keypad.
Blocked: User not programmed. It cannot be installed (activated) from the keypad.
Code: If selected, all users will have a numeric code.
Dallas key: If selected, all users will have the Dallas key.
Click the Set All button to transfer the previous settings to all users.
Below these settings there is the list of all users, where it is possible to apply the settings for each user.
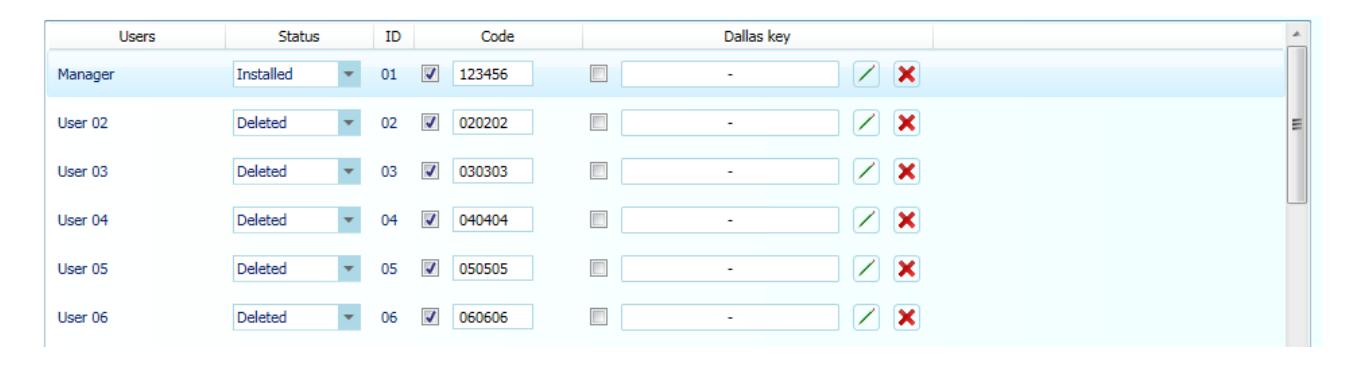
Users: In this column is indicated the user.
Status: In this column is indicated the status for that user. The status can be:
Installed: User programmed and installed (active).
Deleted: User programmed and not installed (not active), but can be installed (activated) from the keypad.
Blocked: User not programmed. It cannot be installed (activated) from the keypad.
ID: In this column is indicated the ID of the user, consisting of 2 digits.
When you open the lock, in the keypad first you have to enter the ID of the user and then its 6 digits code. Manager is the ID 01.
Code: If the check-box is selected, the user will have a numeric code.
At the right side of the check-box there is a field with the default user code (6 digits).
Click on the field and enter the desired default code if you want to change the suggested default code.
N.B. Users with only Dallas key (no code) must be set in dual mode with another user that has a code.
Dallas: If the check-box is selected, the user will have a Dallas key.
At the right side of the check-box, there is the field indicating the Dallas key code. This code can be red from the Dallas key or can be enter manually.
To associate a Dallas key to the user, you have to push the button and then either enter the Dallas key code manually or getting the Dallas key code by reading the Dallas key with the Dallas key reader (USB interface N42180/T + Dallas key reader with molex connector N42170/D) connected to the computer (see picture below).
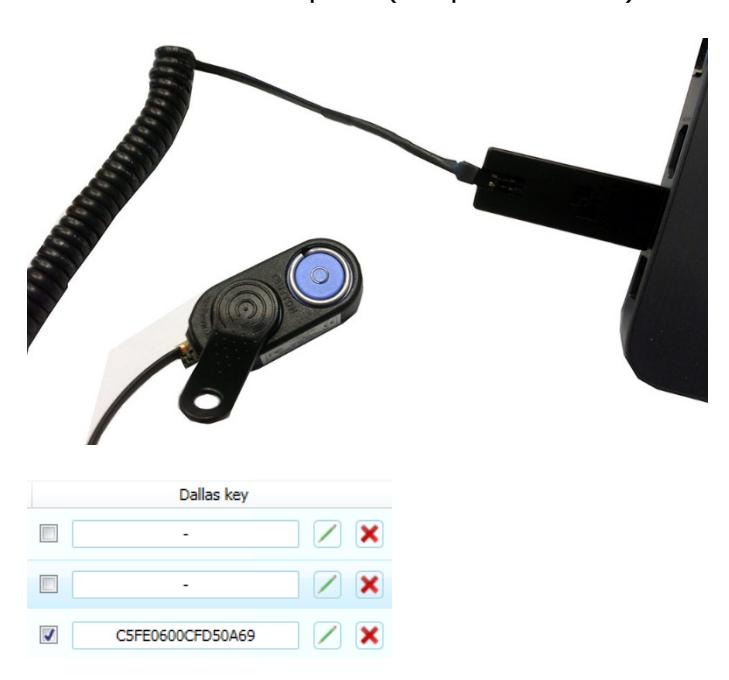
To remove a Dallas key click on the button .
3.4 Daylight saving time screen
In the Daylight saving time screen there are the settings for the Daylight saving time.
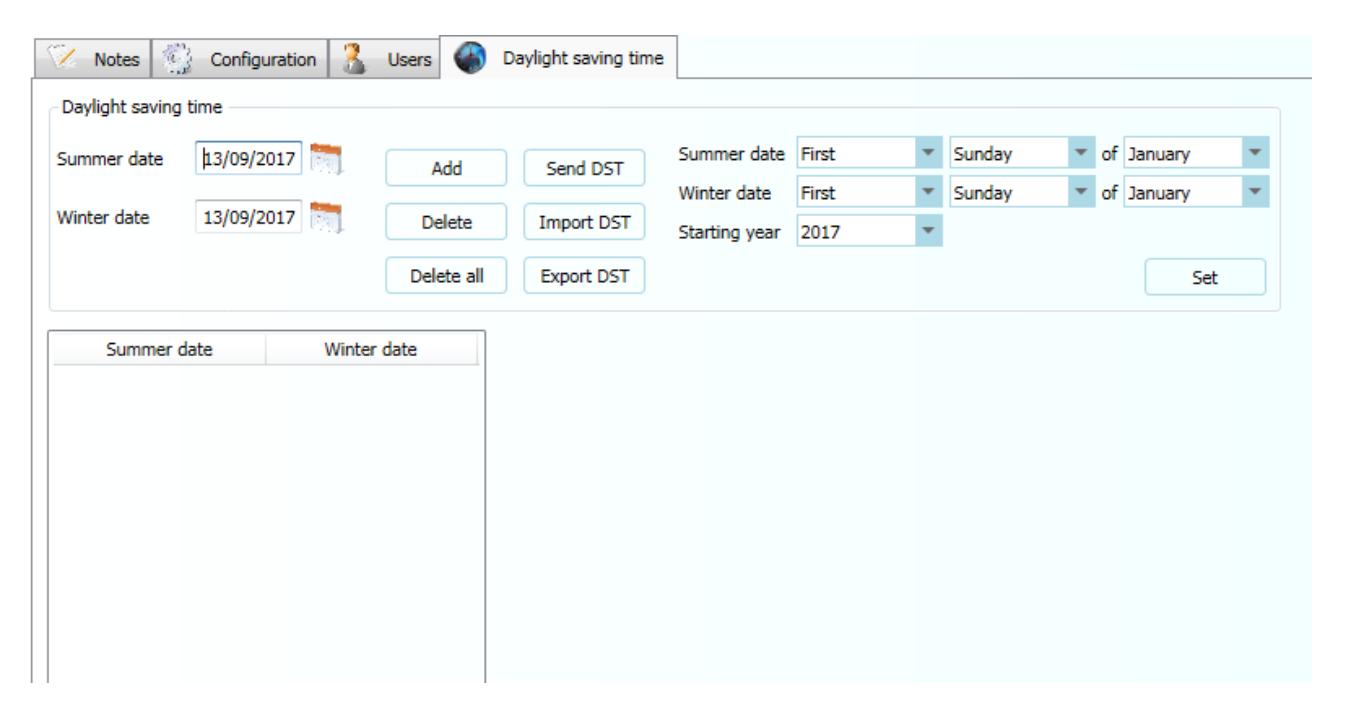
By default the system will use the parameters for the Italian Daylight saving time (from the last Sunday of March to the last Sunday of October).
If these parameters are not correct for your country, you can enter new dates in the table. Since these parameters can not be recursive, you must manually fill the table with the dates for the next 31 years (20 for DigiTech with firmware version lower than 1.13).
To facilitate the operation, you can import data from files that were previously exported.
4 Lock reset procedure
There are 2 different ways to reset the lock of a DigiTech:
- 1) Using a reset Dallas key.
-
2) With direct connection by means of the N42170/M magnetic Dallas key connection cable or the T42146/J molex/jack connection cable.
- N.B. This mode is available only for DigiTech with firmware 1.13 onwards.
4.1 Lock reset with Dallas key
1) Create a Reset Dallas key.
In order to do that, you have to place a N1996 or N1996RM Dallas key on the Dallas key reader (USB interface N42180/T + Dallas key reader with molex connector N42170/D) connected to the computer, as shown in the picture below.
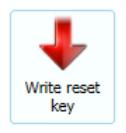
After this, click on the Write reset key button.
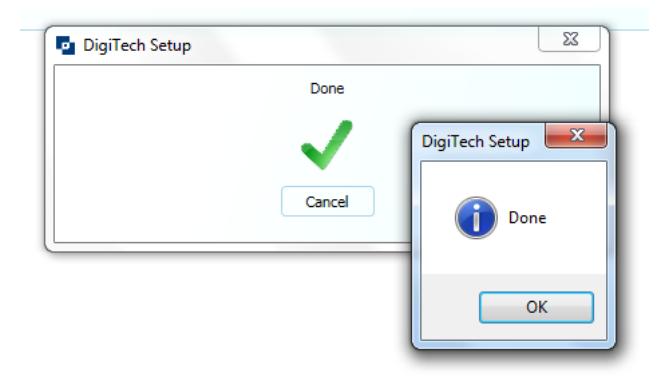
A message will inform you when the creation of the reset key is completed.
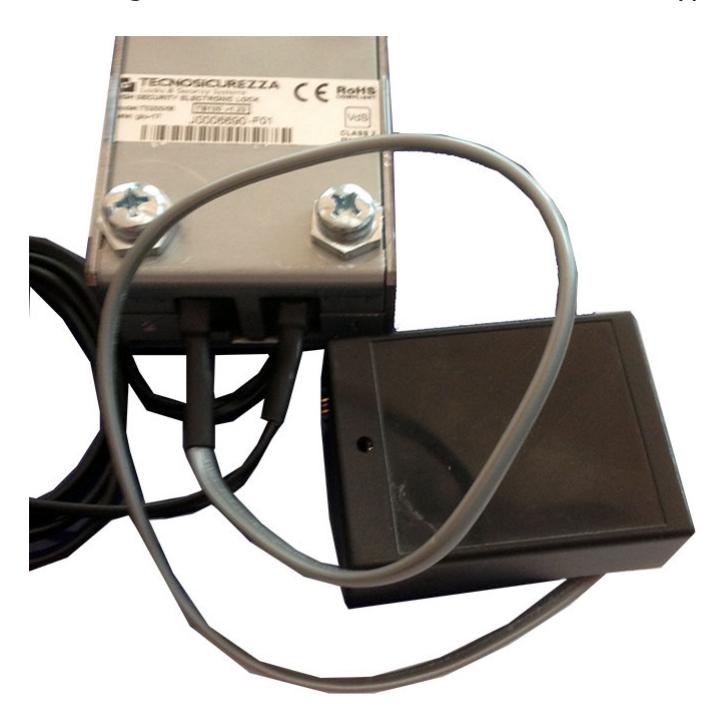
2) Connect the reset box (L4002/RB) to the secondary connector (BAT) of the lock you want to reset, leaving the other connector connected to the keypad.

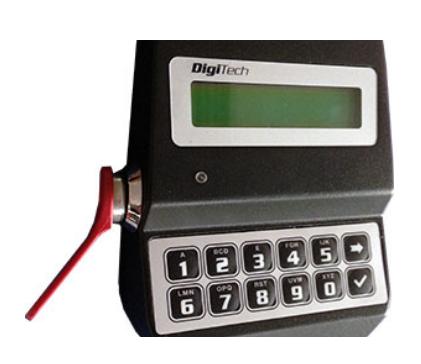
- 3) Press and hold the button no. 2 on the DigiTech keypad. The LCD display of the keypad will show the message SYSTEM SETUP…
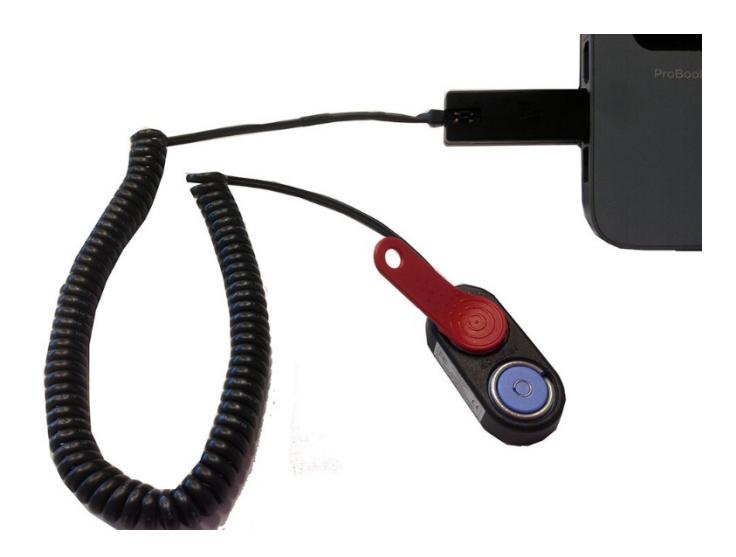
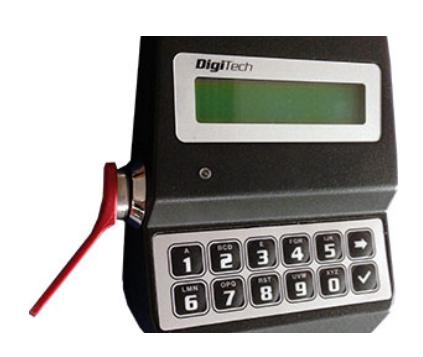
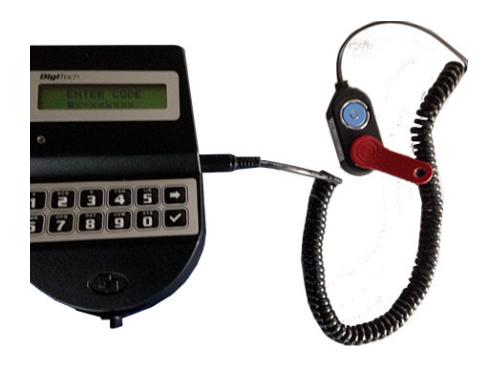
- 4) Place the Reset key on the Dallas key reader either the inbuilt reader (left picture) or the external one (right picture) if your keypad has not the Dallas key reader.

If the DigiTech was previously programmed to have a reset security code, the LCD display of the keypad will show the message RESET CODE , then you have to enter the reset code. If you enter a wrong reset code, a message will inform you that the reset code is wrong and the operation will be aborted.
If you enter the right reset code, the lock will start to execute the reset.
5) The LCD display of the keypad will show the message SYSTEM RESET .
The lock is reset and it is now in pre-setup mode. In pre-setup mode, you can open the lock simply pressing the button no. 1 on the keypad.
4.2 Lock reset with direct connection
1) Connect the reset box (L4002/RB) to the secondary connector (BAT) of the lock you want to reset, leaving the other connector connected to the keypad.
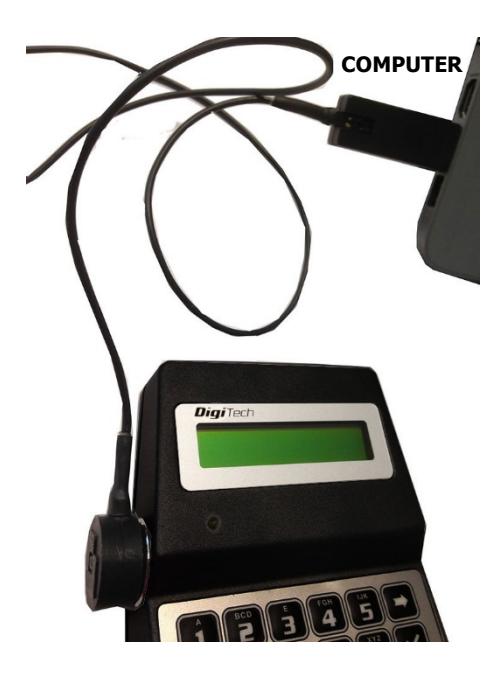
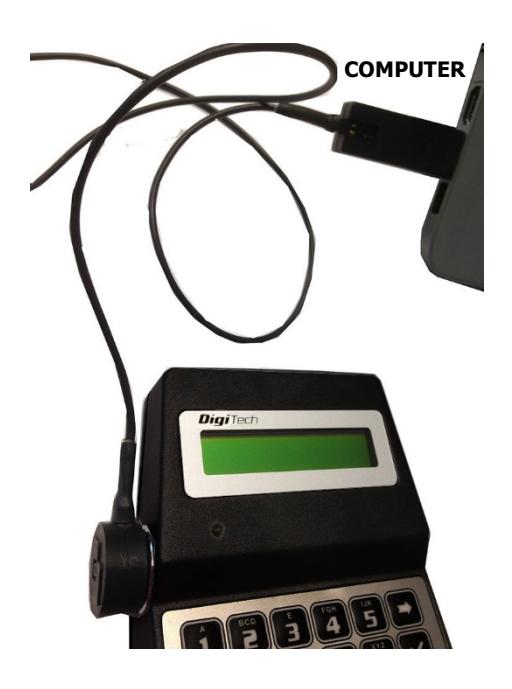
2) Connect the N42170/M magnetic Dallas key connection cable to the Dallas key reader or the T42146/J molex/jack connection cable as shown in the picture below.
3) Activate the PC link on the DigiTech.
In order to activate the PC link, push and hold the button no. 7.
The LCD display of the keypad will show the message LOCK AUDIT and you will be requested to enter the manager code. Enter the manager code.
The LCD display of the keypad will show the message ENTER DALLAS…
Click twice the button → .
The LCD display of the keypad will show the message PC LINK….. Now the PC link is activated.
4) Click on the System reset button.
5) If the DigiTech was previously programmed to have a reset security code, a new window will ask you to enter the reset code.
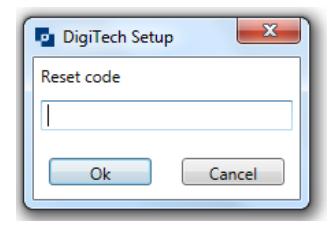
If you enter a wrong reset code, a message will inform you that the reset code is wrong and the operation will be aborted.
If you enter the right reset code, the lock will start to execute the reset.
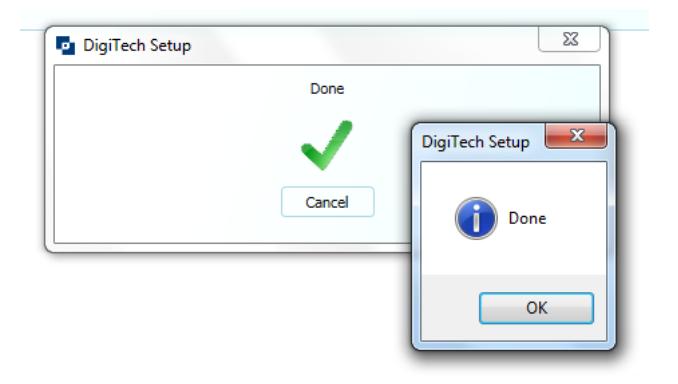
6) A message will inform you when the reset is concluded.
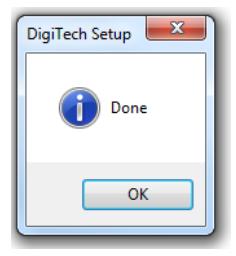
The lock is reset and it is now in pre-setup mode. In pre-setup mode, you can open the lock simply pressing the button no. 1 of the keypad.
5 Lock programming procedure
Programming the DigiTech, as for the reset, can be performed in two different ways:
- 1) Using a reset Dallas key.
-
2) With direct connection by means of the N42170/M magnetic Dallas key connection cable or the T42146/J molex/jack connection cable.
- N.B. This mode is available only for DigiTech with firmware 1.13 onwards.
5.1 Lock programming with Dallas key
1) Create a Setup Dallas key.
In order to do that, you have to place a N1996 or N1996RM Dallas key on the Dallas key reader (USB interface N42180/T + Dallas key reader with molex connector N42170/D) connected to the computer, as shown in the picture below.

After this, click on the Write setup key button.
A message window showing the progress of the programming will appear on the screen.
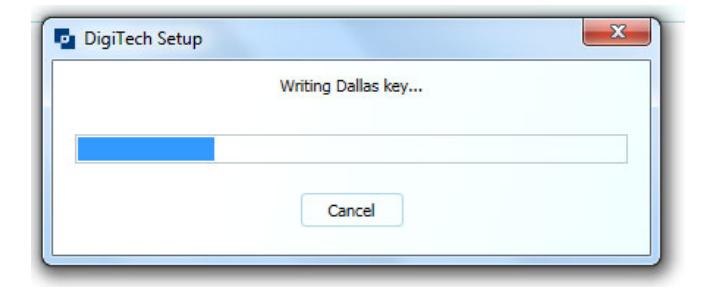
Then a new message will inform you when the programming is concluded.
- 2) Press and hold the button no. 2 in the DigiTech keypad. The LCD display of the keypad will show the message SYSTEM SETUP…
- 3) Place the Setup key on the Dallas key reader either the inbuilt reader (left picture) or the external one (right picture) if your keypad has not the Dallas key reader. If you are using the inbuilt reader, it is important that the Dallas key is firmly in contact with the reader for the entire duration of the upload. Otherwise, an error will occur and the programming will be aborted.
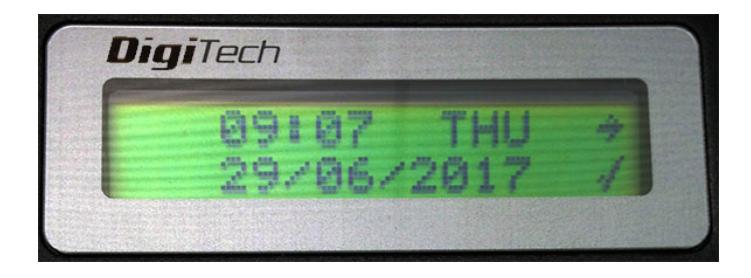
4) The LCD display of the keypad will show the current time and date. Click the button → to enter a new time and date or click √ to confirm the time and date proposed.
5) On the LCD display will be shown the percentage of uploading and then when finished it will be shown the message OPERATION DONE .
After it will be shown for a few seconds the firmware date and version.
The DigiTech is programmed.
5.2 Lock programming with direct connection
1) Connect the N42170/M magnetic Dallas key connection cable to the Dallas key reader or the T42146/J molex/jack connection cable as shown in the picture below.
2) Activate the PC link on the DigiTech.
In order to activate the PC link, push and hold the button no. 7.
The LCD display of the keypad will show the message ENTER DALLAS…
Click twice the button → .
The LCD display of the keypad will show the message PC LINK…..
Now the PC link is activated.
3) Click on the Send configuration button.
A message will inform you when the programming is concluded.
| 6 Notes | |
|---|---|
Before operating the lock, please read this manual thoroughly, and retain it for future reference.
Correct disposal of this product: (Waste Electrical & Electronic Equipment)
Applicable in the European Union and other European countries with separate collection systems.
This marking displayed on the product or its literature indicates that it should not be disposed with other wastes at the end of its working life. To prevent possible harm to the environment or human health from uncontrolled waste disposal, please separate this from other types of wastes and recycle it responsibly to promote the sustainable reuse of material resources.


Certified ISO 9001 : 2008