


ML2000 Series
Vandal Resistant Trim

WARNING
This product can expose you to lead which is known to the state of California to cause cancer and birth defects or other reproductive harm. For more information go to www.P65warnings.ca.gov.
08/2018
For installation assistance contact Corbin Russwin 1-800-543-3658 • techsupport.corbinrusswin@assaabloy.com
ML2000 Series
Vandal Resistant Trim
Installation Instructions

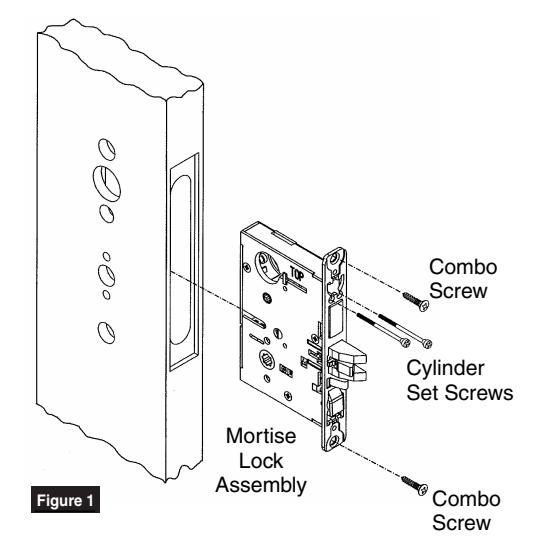
1 Install Lock
- 1. Mortise door for required lock and bore holes. Use template packed with lock.
- 2. Thread cylinder set screws partially into lock before inserting lock into mortise. Insert lock into mortise opening. (Figure 1)
- 3. Hand tighten combo screws. (Figure 1)
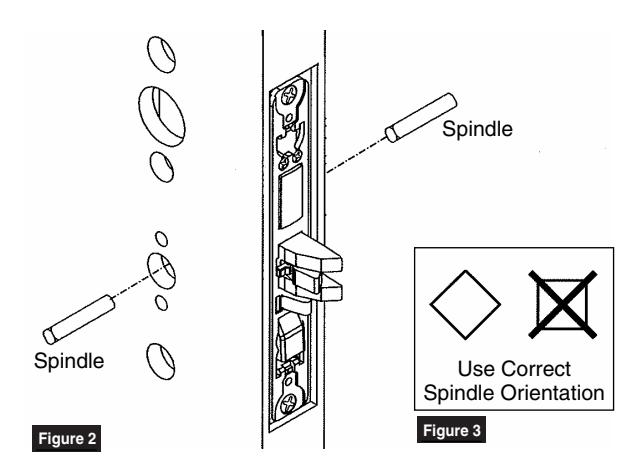
- 4. Install spindle from each side. (Figure 2) See detail for proper orientation. (Figure 3)
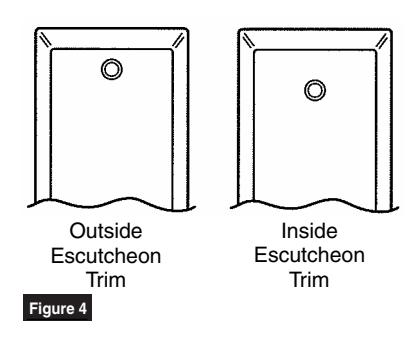
Note location for screws on each escutcheon. (Figure 4)
Installation Instructions

2
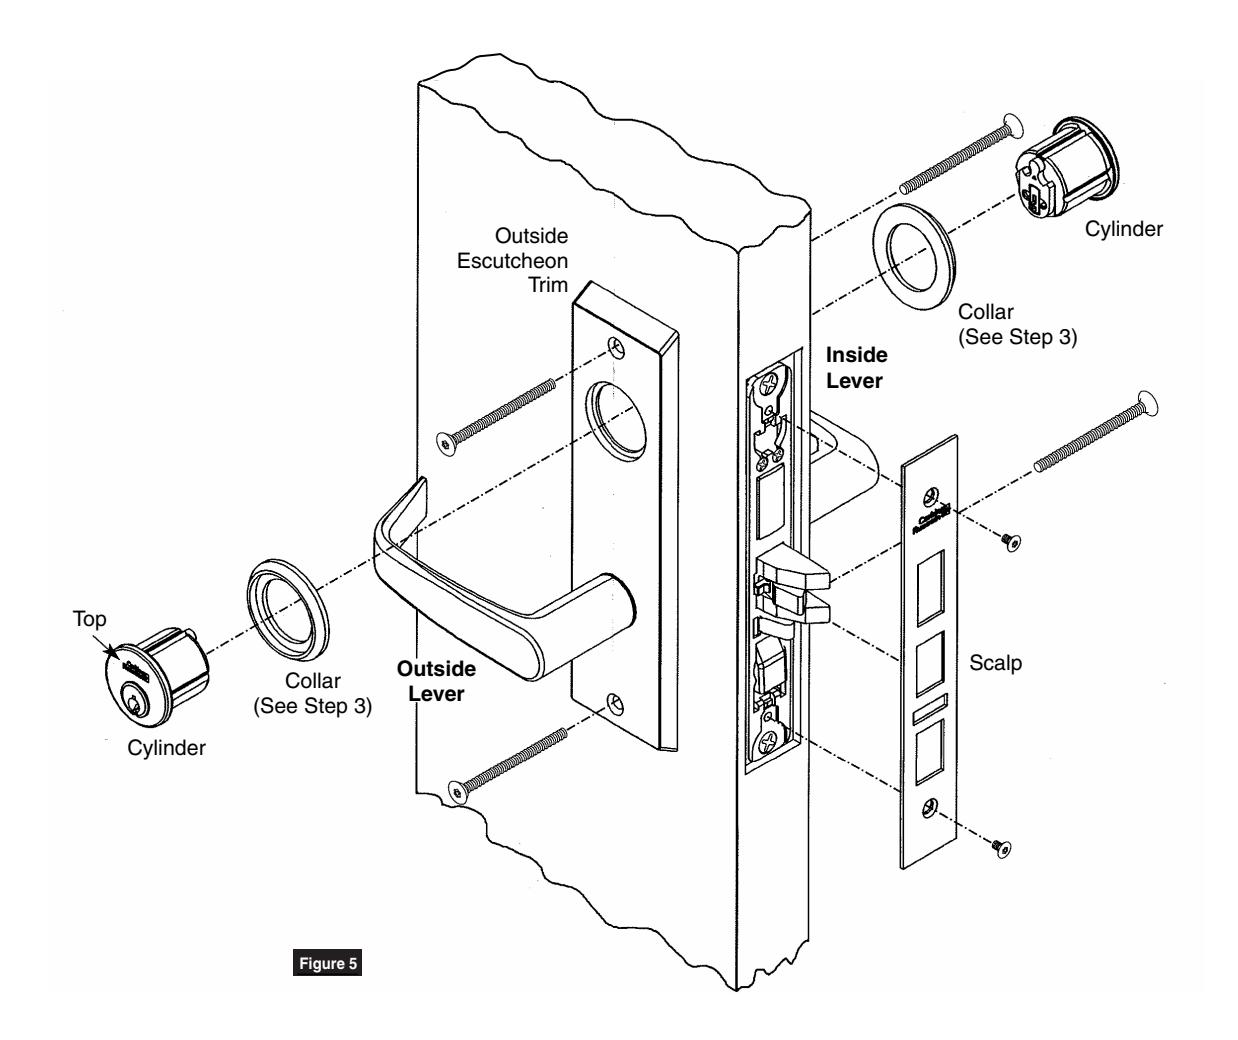
Install Trim (Figure 5)
- Install trim. Be sure appropriate trim is on appropriate side of door and handles are properly positioned.
- Fasten Torx screws. Hand tighten screws. There are four (4) tamper resistant screws total.
- 3. Install collar and cylinder from inside and outside if applicable.
- 4. Screw cylinders in flush with collar or escutcheon. (Corbin Russwin logo on top).
- 5. Secure cylinder with cylinder set screws.
- Check function from both sides using key and lever.
- 7. Tighten all screws on mortise lock and escutcheons. Check function from both sides using key or lever.
- Install scalp and strike. Tighten screws using #20 Torx bit. Check function from both sides using key and lever.
CAUTION: With door closed, VERIFY latchbolt and deadbolt will project into strike openings FREELY.

Corbin Russwin 225 Episcopal Road Berlin, CT 06037 Phone: 800-543-3658 Fax: 800-447-6714 corbinrusswin.com
Copyright © 2018 Corbin Russwin, Inc., an ASSA ABLOY Group company. All rights reserved. Reproduction in whole or in part without the express written permission of Corbin Russwin, Inc. is prohibited.