Installation Instructions
ED3200A Series Rim Type Exit Device
Corbin 7 Russwin 7
ASSA ABLOY
In U.S.: Corbin Russwin, Inc. 225 Episcopal Road Berlin, CT 06037 USA www.corbinrusswin.com
In Canada: ASSA ABLOY Door Security Solutions Canada 160 Four Valley Drive Vaughan, Ontario, Canada L4K4T9 www.assaabloy.ca
Technical Product Support: Phone: 888-607-5703
FM368 (05/14)


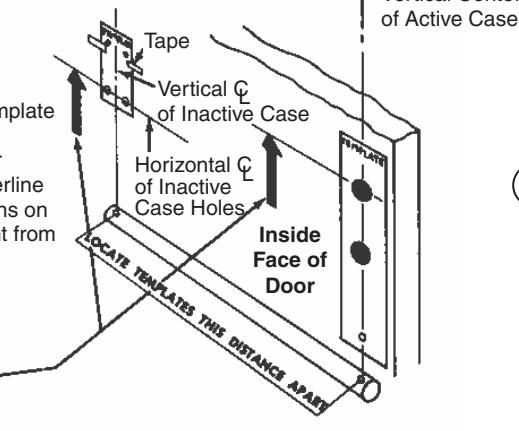
Using cross bar hole centers for measuring, locate vertical centerline of inactive case. (See dimensions on template to obtain correct height from finished floor.)
Obtain Dimension To Finished Floor From Template
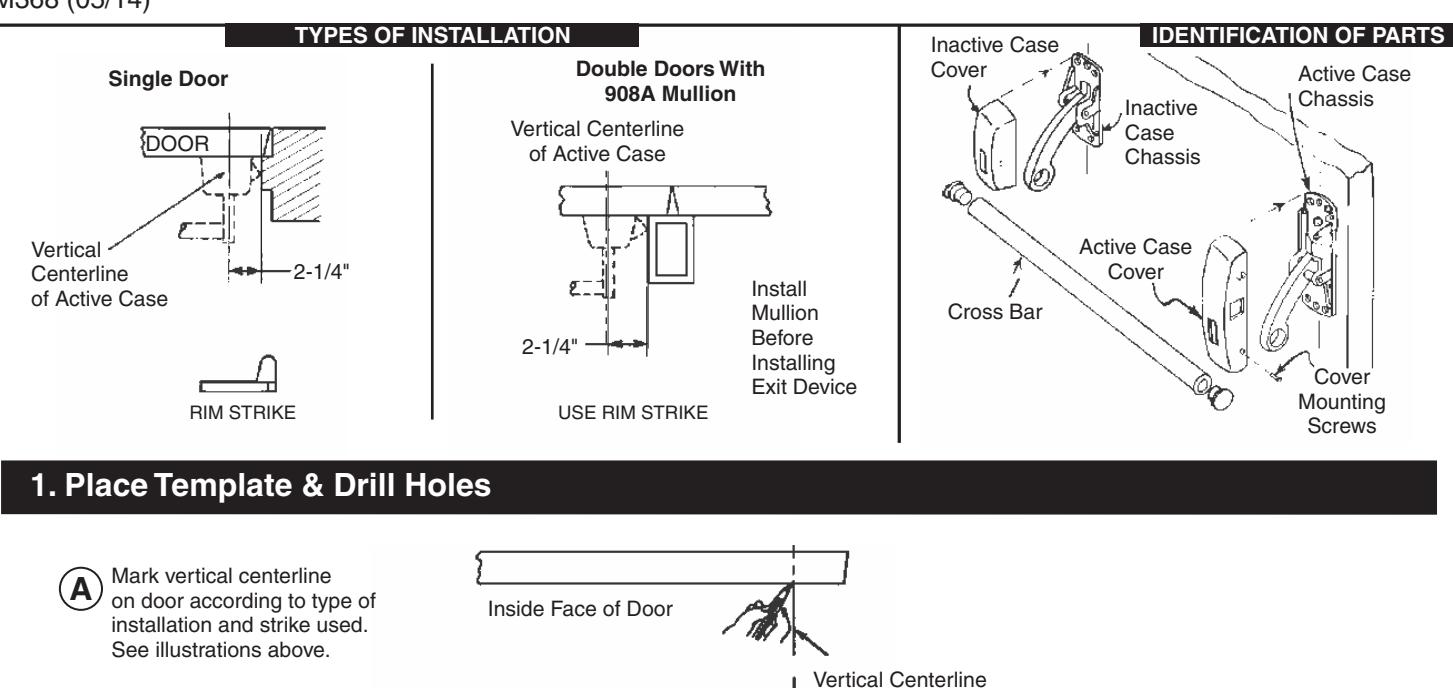
2. Mount Chassis
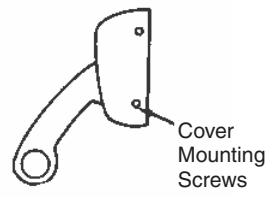
Remove cover from active case chassis and mount chassis to door.
Note: To remove or install active case cover, depress latch bolt, cover may now be removed or installed.
ED3200A Series Rim Type Exit Device

ASSA ABLOY
3. Attach Outside Trim (When Used)
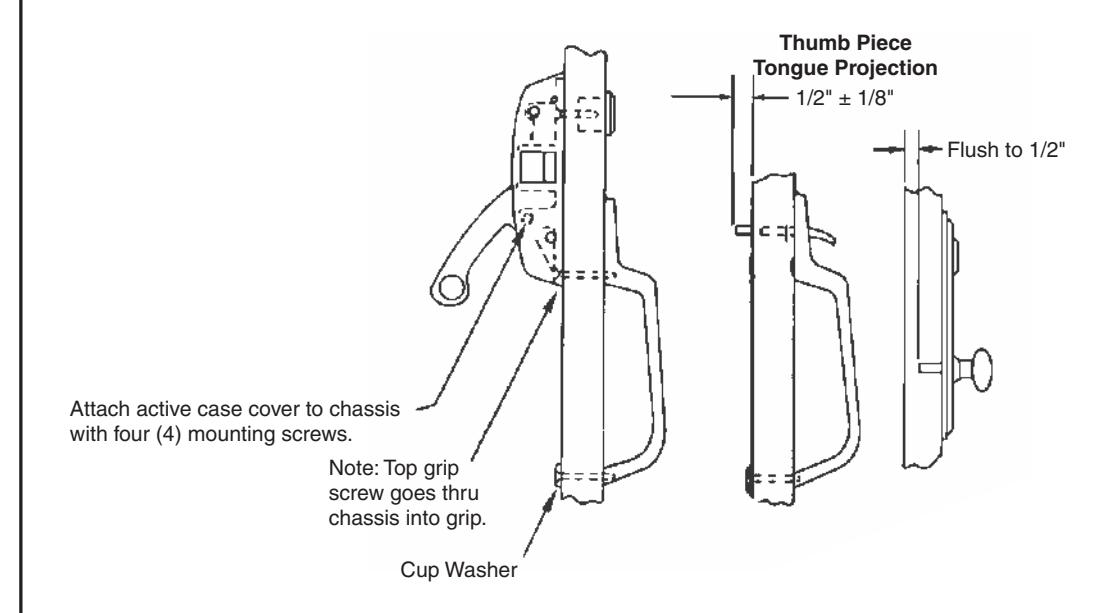
Note: For screwless rose outside trim see separate instruction sheet.
4. Attach Inactive Case Chassis & Cover, Cross Bar, & Strike
Mount inactive case chassis on door and attach cover to chassis.
5. Attach Cross Bar & Strike
- 1. Assemble and secure cross bar to arms.
- 2. Mount strike in central position to allow for future adjustment.