SL309 Installation Instructions English
Open the original PDF document
View PDFINSTALLATION INSTRUCTIONS Full Surface Pin and Barrel Continuous Hinge SL309

PRODUCT MUST BE INSTALLED ACCORDING TO ALL APPLICABLE BUILDING AND LIFE SAFETY CODES
All holes in door and frame must be drilled correctly and fasteners properly installed. Failure to use fasteners supplied by Select Products Limited will void UL or WHI fire rated listing.
Important Warranty Information:
The following actions will void any warranty, expressed or implied:
- Failure to install the hinge according to the manufacturer's specifications and requirements. (for more information, visit selecthingerequirements.com)
- Use of fasteners other than those supplied with the hinge.
- Unauthorized field modifications, including alteration of the original finish or painting the hinge.
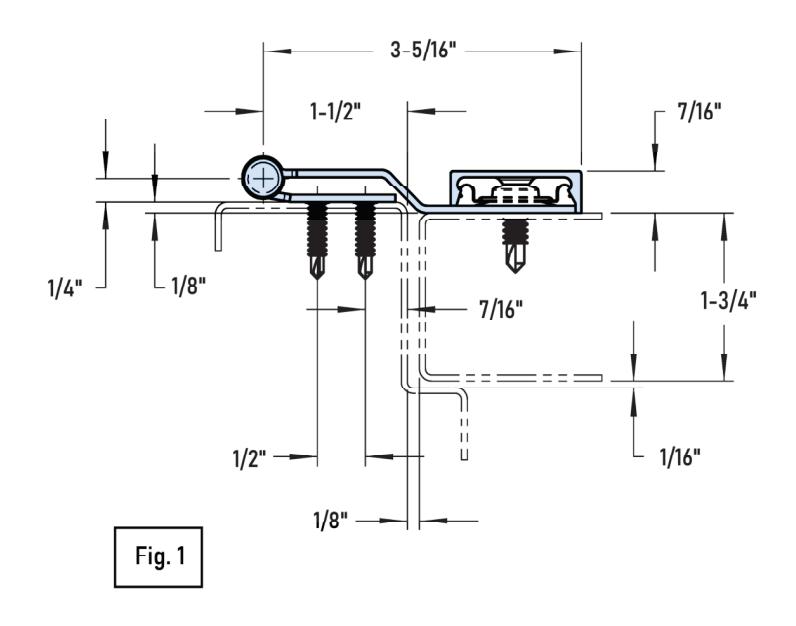
1. Frame Preparation and Mounting
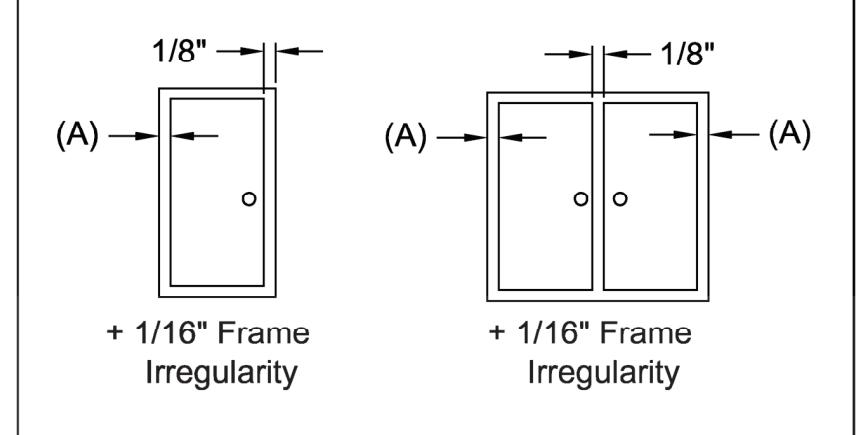
- A. Place hinge on frame as shown (Fig. 1) allowing for 1/8" between top of hinge and underside of header.
- B. Mark the position of the top and bottom holes with a center punch, then drill and fasten. The use of the center punch can help center the hole so that the fasteners will enter straight.
- C. After the top and bottom screws are installed, drill and fasten the balance of the holes.
2. Door Preparation and Mounting
- A. Fold the door leaf back over the frame leaf and place the door in the door frame.
- B. Place shims under the door to provide 1/8" clearance between the header and top of the door.
- C. Add shims at both the hinge and latch side of the door so that 1/8" clearance will be maintained on the lock side of the door.
- D. With the door held firmly in place, return the door leaf to the face of the door and repeat the drilling procedure described in steps (1B) and (1C) above.
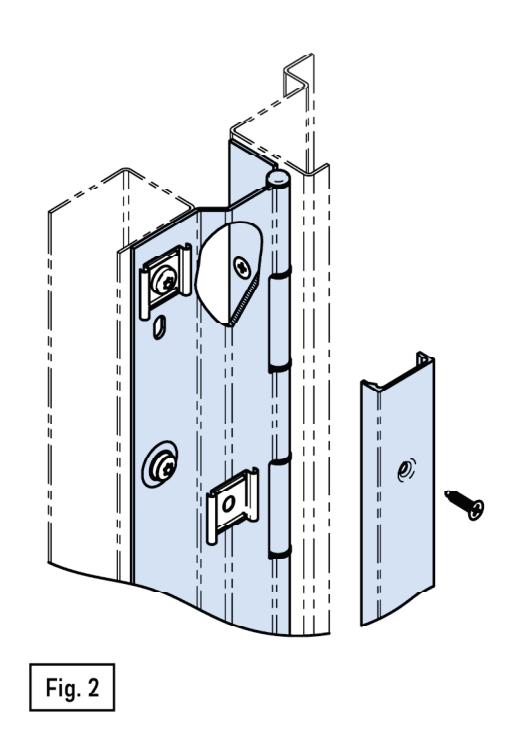
- E. Install five cover clips by passing a screw through the clip, hinge leaf and door (Fig. 2).
It is recommended that clips be positioned in the top, center and bottom holes, with the remaining clips spaced equally along the length of the hinge
- F. Install the Snap-On covers by engaging the side of the cover next to the hinge pin first.
- G. Insert a large screwdriver between the hinge knuckle and the cover. Using the screwdriver as a lever, twist it and snap the opposite side of the cover onto the clip.
- H. Start at the top and work downward until the entire length of each cover is firmly engaged.
- I. With the covers firmly in place, secure them at both ends through the hinge and into the door and frame with #8 3/4" Flat Head Undercut Self-Drilling Screws.


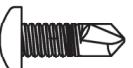
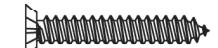
1/4-20 X 3/4" TORX PAN HEAD SELF-DRILLING SCREW (TKS14075R)

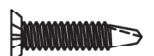
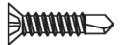
#12-24 X 11/16" FLAT HEAD UNDERCUT SELF-DRILLING SCREW (TKS1267SP10SS)

#8 X 3/4" FLAT HEAD UNDERCUT SELF-DRILLING SCREW (TKS8075Z)

_____
COVER CLIP (606 M22-0130-01)
OPTIONAL HARDWARE AVAILABLE UPON REQUEST

#12-8 x 1-1/2" FLAT HEAD UNDERCUT WOOD SCREW (PBS12150SP10SS)
SCREWPACK KMSSS AND SECURITY SCREWPACKS M91-0031MM, M91-0031WW, M91-0063-630
Model SL309
Standard "Non-Adjustable" application clearances
Total Under-Sizing Required
| Clearance (A) | Single Door | Pair of Doors |
|---|---|---|
| 1/8" | 5/16" | 7/16" |