Major HIT-32AL3 Drill Guide for Alarm Lock DL1200 Trilogy Instructions
Open the original PDF document
View PDF

1825 Via Burton Anaheim, CA 92806 714-772-5202 / fax 714-772-2302 www.majormfg.com mail@majormfg.com
Directions for HIT-32AL3 Drill Guide For Alarm Lock DL1200 Trilogy
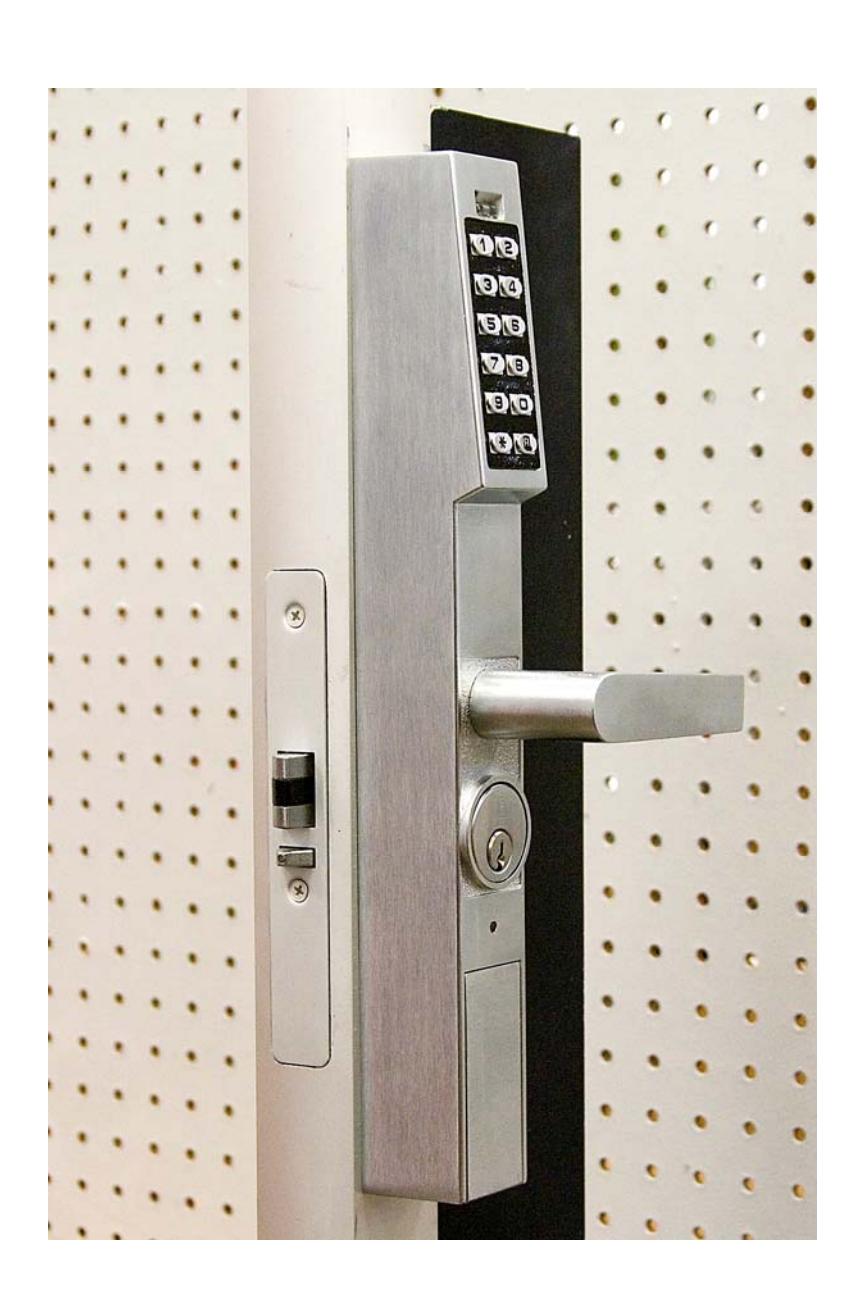
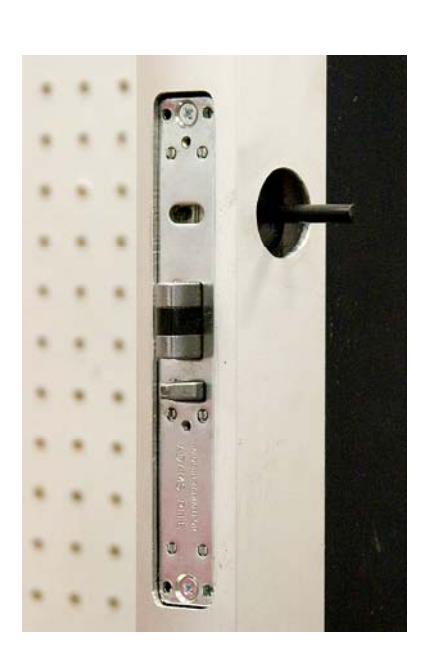
Aluminum door frame with dead latch installed.
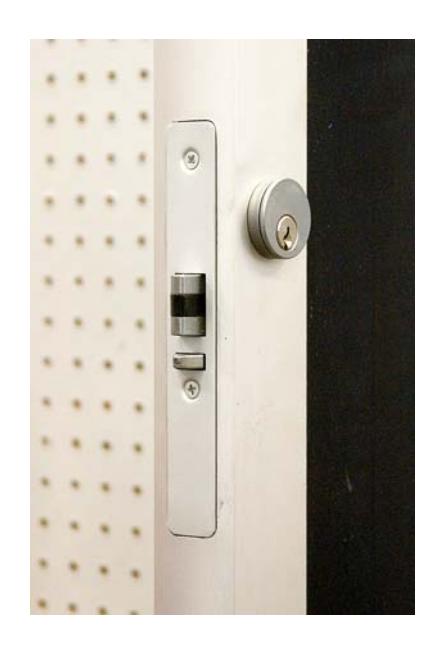
Remove faceplate and all inside and outside hardware
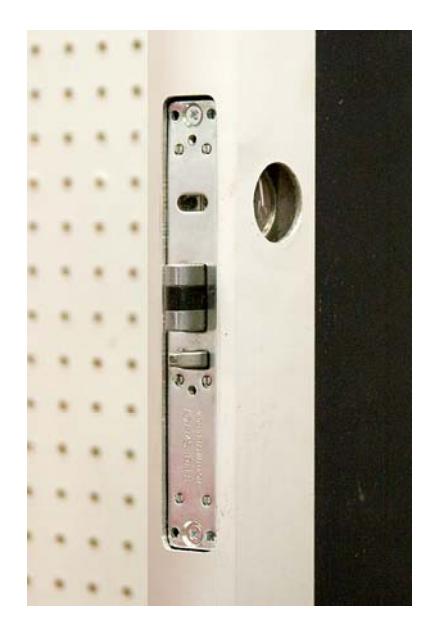
Fig 1
Fig 2
Alignment for the drill guide is achieved with the use of our HIT-22 mortise cylinder alignment tool. This devise will mount in the mortise cylinder hole.
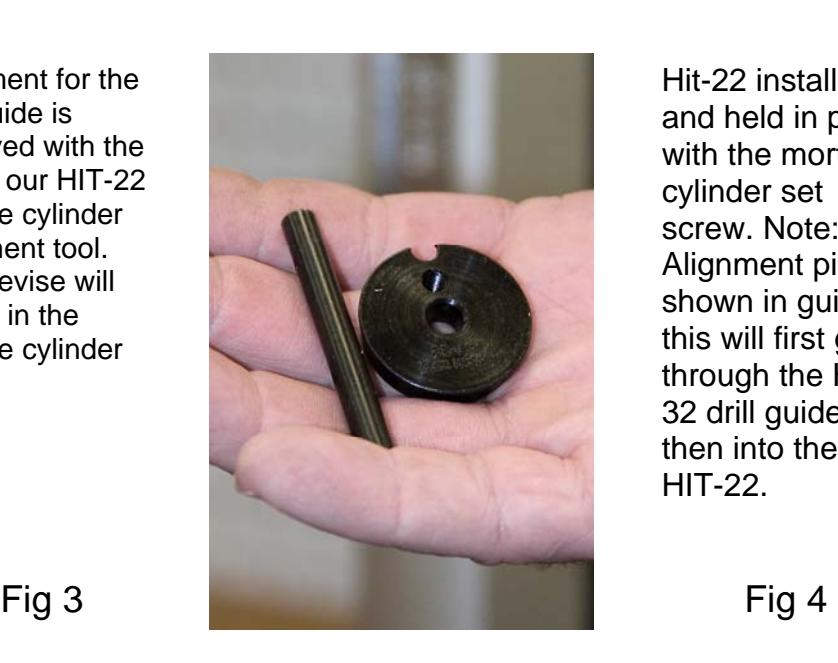
Hit-22 installed and held in place with the mortise cylinder set screw. Note: Alignment pin shown in guide, this will first go through the HIT-32 drill guide then into the HIT-22.
ENGRAVING
Using a combination square, square the drill guide to door. The backset will automatically be centered with the HIT-22. Do not let the guide slip in this step.
NOTE: MOUNT ON DOOR WITH ENGRAVING IN UPRIGHT POSITION.
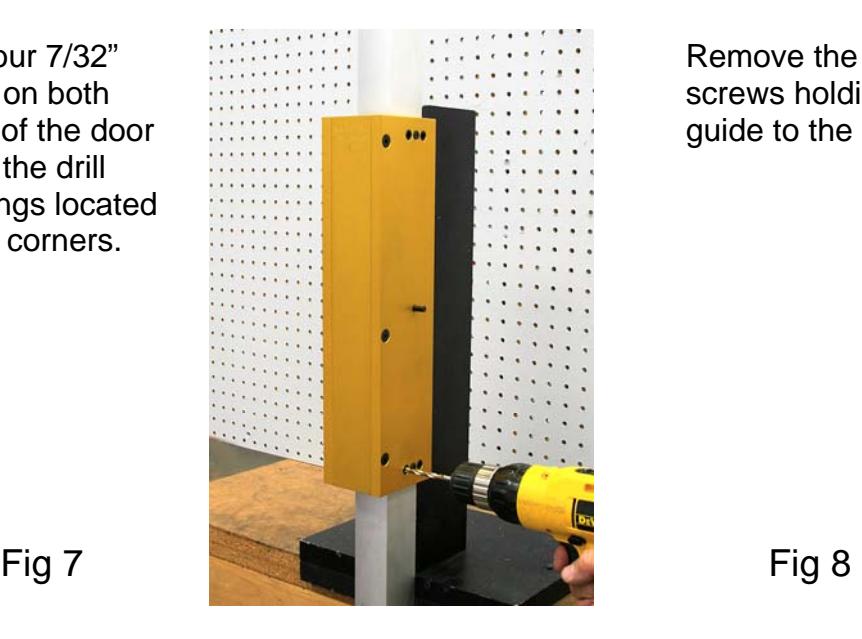
Drill four 7/32" holes on both sides of the door using the drill bushings located at the corners.

Remove the HIT-22 locating tool. A handle is supplied that makes the job easier.
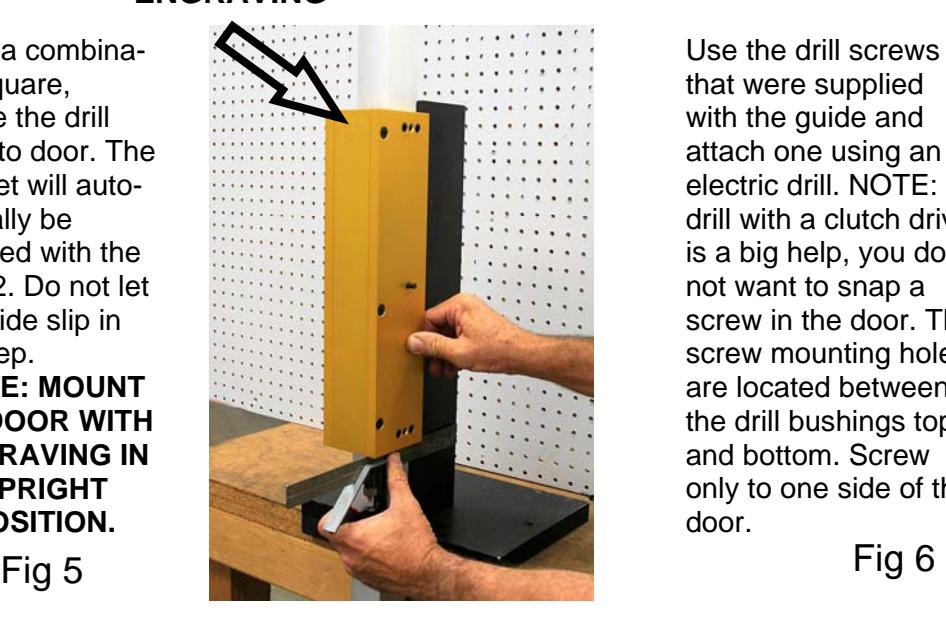
Use the drill screws that were supplied with the guide and attach one using an electric drill. NOTE: A drill with a clutch drive is a big help, you do not want to snap a screw in the door. The screw mounting holes are located between the drill bushings top and bottom. Screw only to one side of the door.
Remove the two drill screws holding the guide to the door.

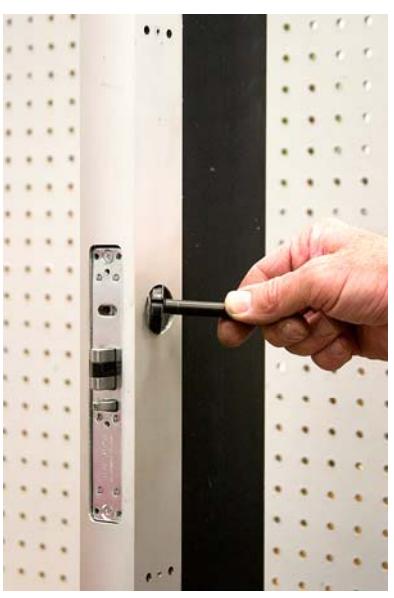
The door is now ready to install the Alarm Lock DL1200. Note: the screw holes used to mount the guide will be covered by the lock and will not be visible once the installation is completed. Install lock per manufacturers directions.


Fig 9
Completed installation.