Major HIT-146N Schlage Co Cylindrical Template Instructions
Open the original PDF document
View PDF

1825 VIA BURTON ANAHEIM CA 92806
714-772-5202 / FAX 714-772-2302 EMAIL: MAIL@MAJORMFG.COM
WEB: WWW.MAJORMFG.COM
INSTRUCTIONS FOR HIT-146N SCHLAGE CO CYLINDRICAL TEMPLATE
WHEN USING POWER TOOLS ALWAYS WEAR EYE AND EAR PROTECTION!!
Copyright 2016—Major Manufacturing
THINK SAFETY!!
WHEN USING POWER TOOLS ALWAYS WEAR EYE PROTECTION!!
Before attempting any installation know how to safely use the power tools involved. Be sure all bits and cutters are sharp and in good condition and all power tools and extension cords are in good working order and properly grounded. AND MOST IMPORTANTLY, BE SURE TO WEAR, EYE AND EAR PROTECTION.
Copyright 2016—Major Manufacturing Inc
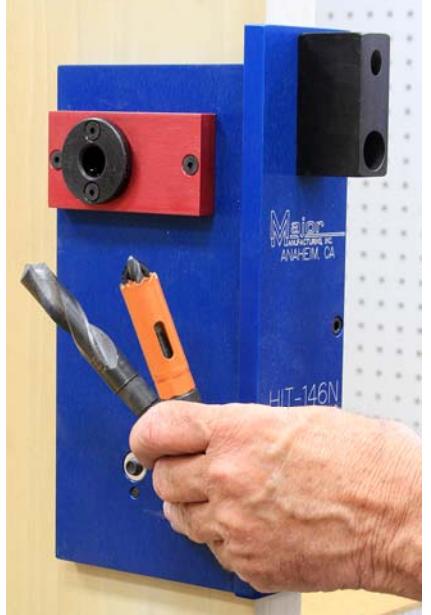
Drill Bit Types
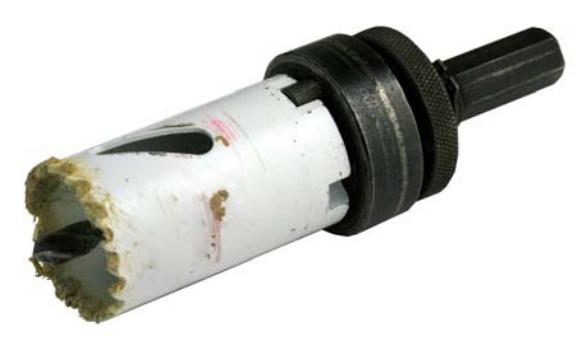
All hole saws are not created equal. A cheap hole saw from a home improvement center or one that has been dropped can be out of round and will not fit the drill bushings in our templates.
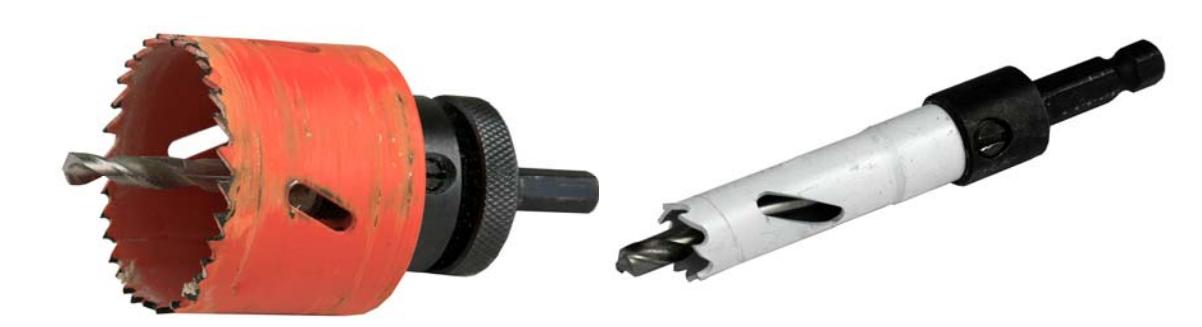

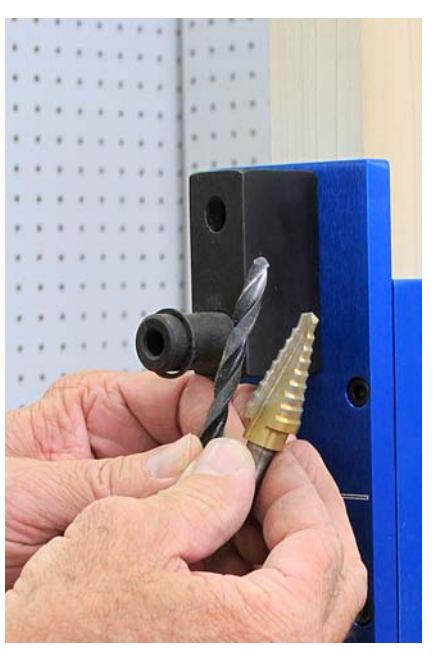
Shown above is a standard twist drill bit. They can be used on both wood or steel doors. Be sure to back out the bit when drilling to clear chips.
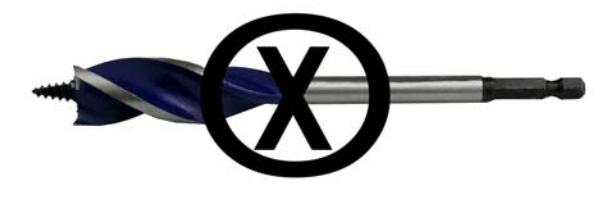
Shown above is a tri-flute drill bit. Do not attempt to use this in a drill guide. The lack of bearing surface will cause the bit to jam.
Copyright 2016—Major Manufacturing Inc

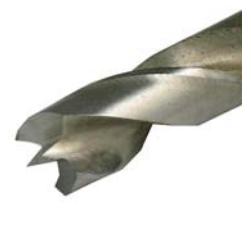
Shown above and at right is a brad point bit. They will produce a very clean hole in a wood door. Use at a low speed and back the bit out to clear chips. Do not use on a steel door.

Shown above is a spade or paddle type bit. Do not attempt to use this in any drill guide. There is no bearing surface and you will jam the bit.
Page 2
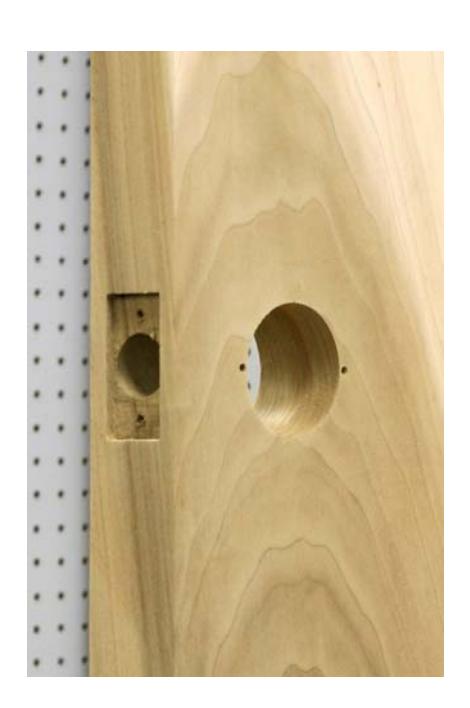
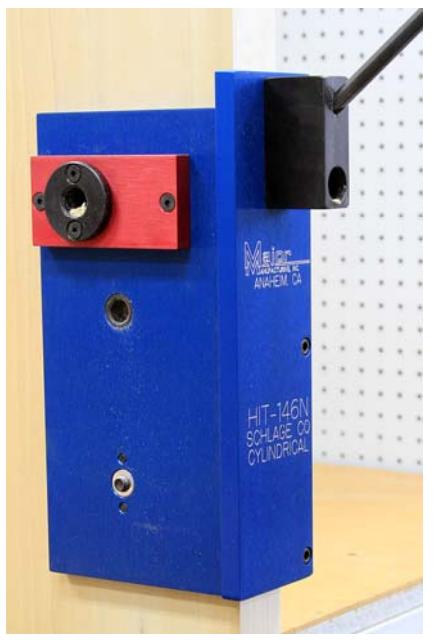
With the use of the HIT-146N, a standard 2-1/8" door prep can easily and accurately be retrofitted to accept the Schlage CO lock in just a few minutes.

The template set consists of both inside and outside drill guides. All required holes are lined with hardened bushings.
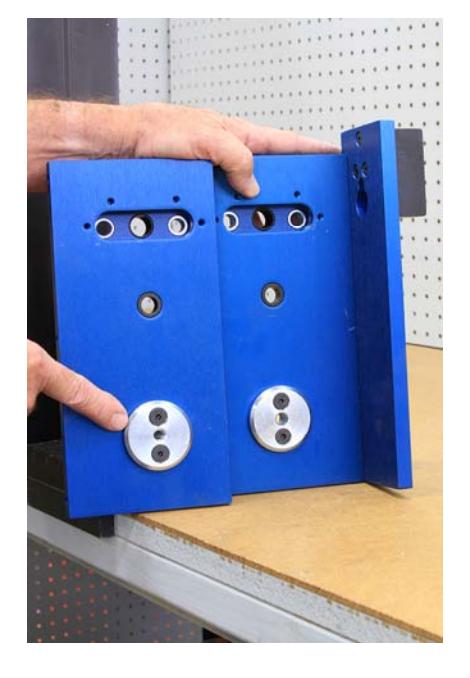
On the inside of the template set are alignment washers. They will drop into the existing cross bore and align the guide to the door.
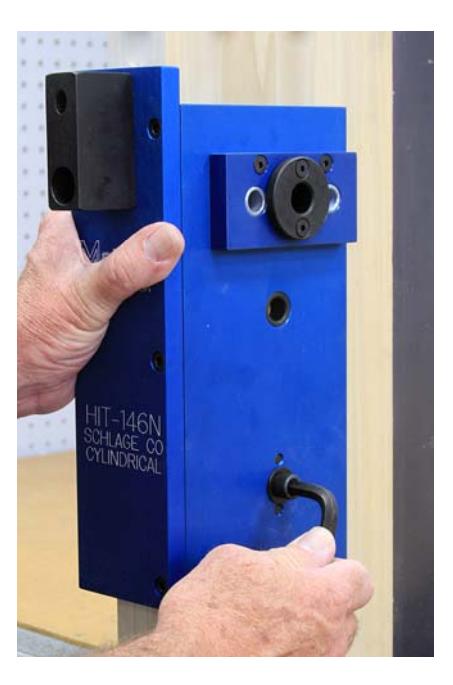
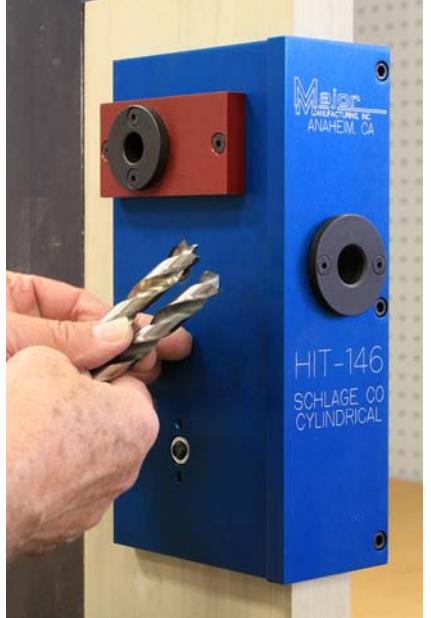
Install both templates to the door, and fasten in place with the supplied socket cap screw. Snug the two templates together with the Allen wrench.
Install the two blue templates to the HIT-146 guide with the use of the supplied 10-32 socket flat head screws. These templates are used to drill the two 7/16" thru-bolts. The center 5/8" drill guide is for steel door installations only. It is for the wire run. Do not drill on a wood door or outside of a steel door. If installing on a steel door, a hole saw may be used.
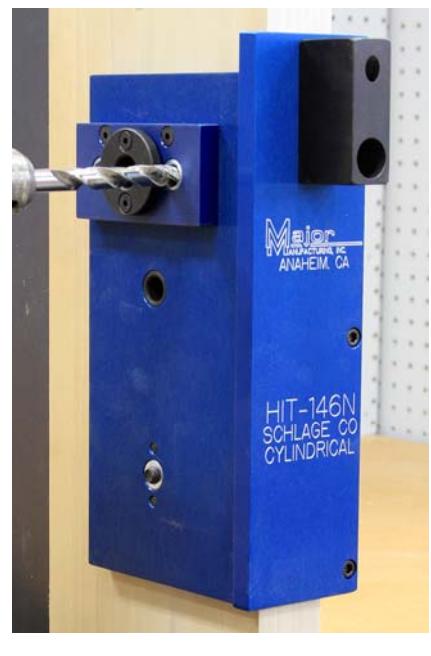
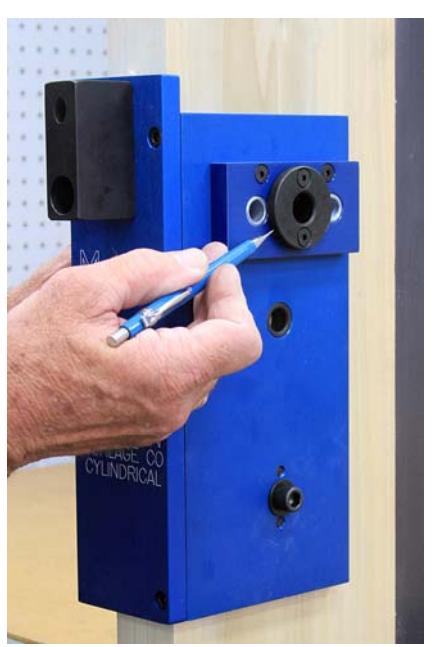
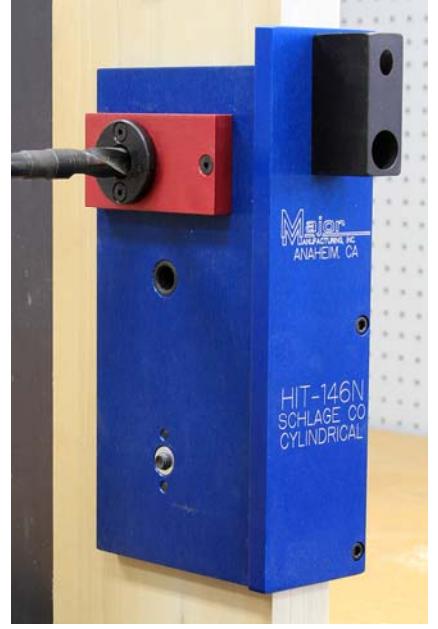
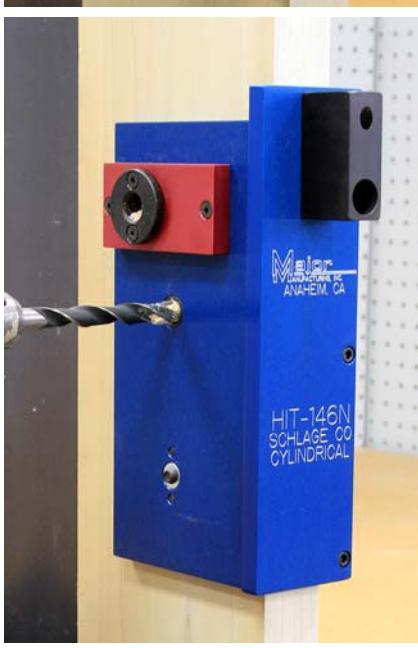
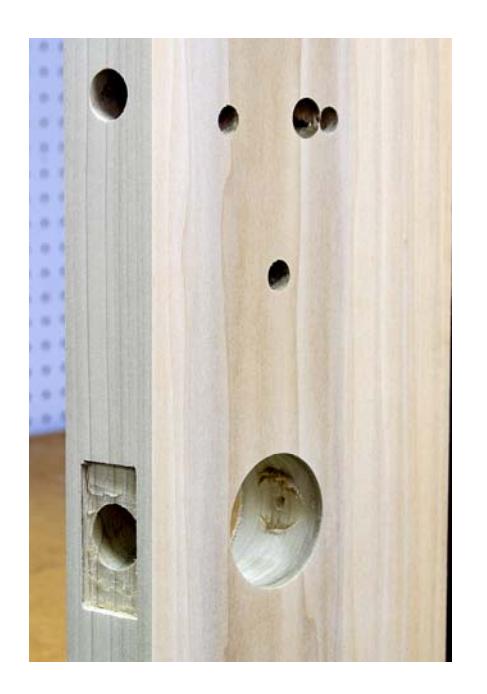
Start by drilling the two silver 7/16" holes on either side of the door. Drill only half way from each side. When drilling pull the drill out to remove chips.

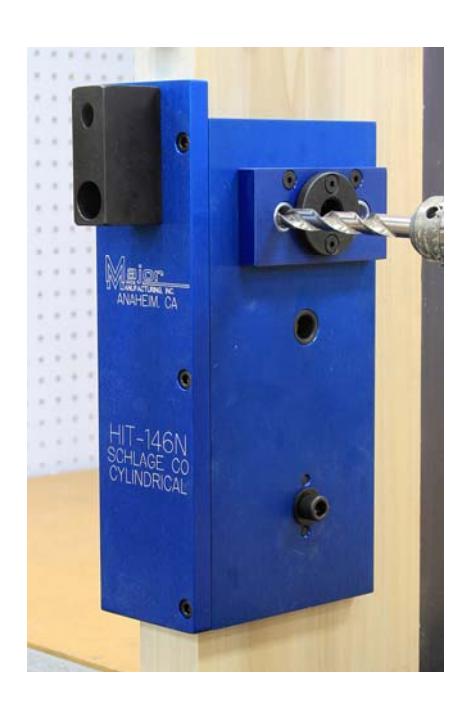
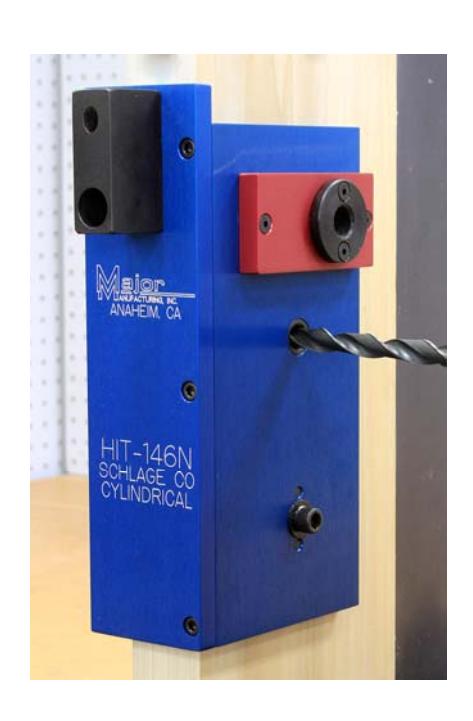
This is the 5/8" hole required for the wire run and inside stud. Be sure to mount this so it is correct for the hand of the door. It can be installed to the HIT-146 fixture on both the right or left hand side. Use a standard twist drill or a brad point bit for wood doors.
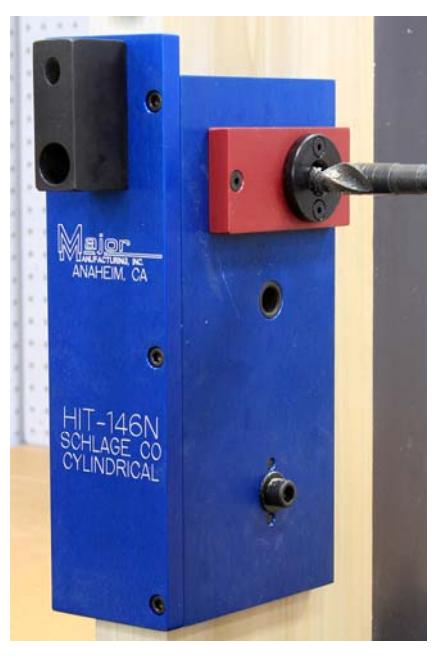
A 5/8" standard twist drill may be used on a wood or steel door as well as a hole saw. A brad point bit may also be used on a wood door only.
Drill half way from both sides of the door. When drilling pull the drill out several times to help remove chips.
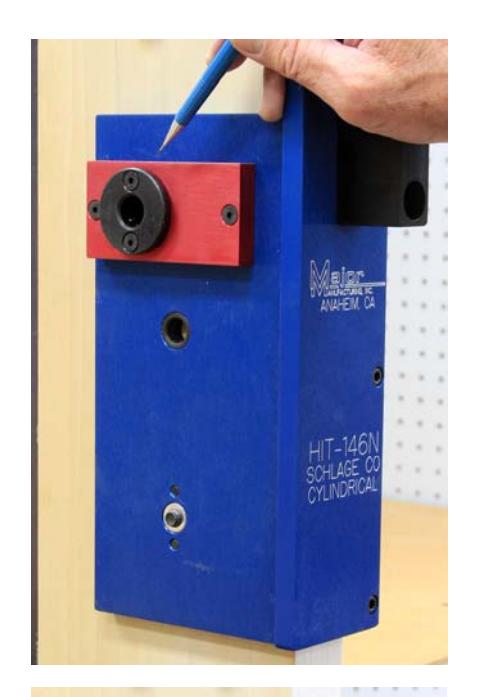
If installing a DPS switch, use a standard 1/2" diameter twist drill on a wood or steel door. A brad point bit may be used on a wood door only.
If installing a DPS switch, use a standard 1/2" diameter twist drill on a wood or steel door. A brad point bit may be used on a wood door only. A steel door can be drilled on the inside only. A wood door can be drilled through or just over 1/2 way.
On a wood door use a 3/4" brad point bit drill or standard Twist drill and drill to a depth of 1-1/2".

The hole will be too big. Use the supplied 5/16" drill bushing and enlarge to 3/4" with the use of a step drill

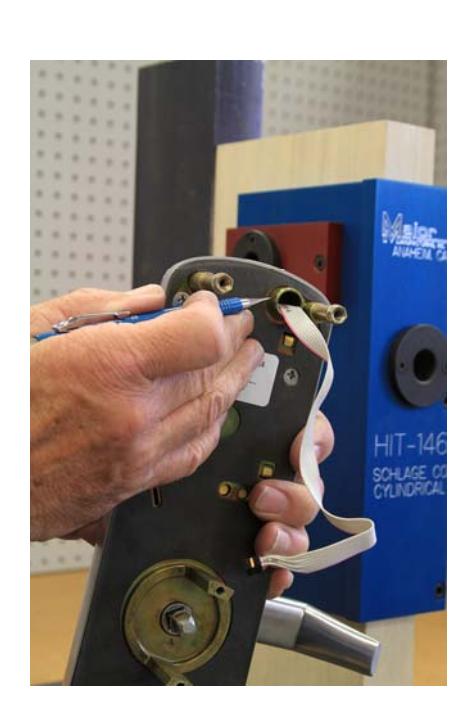
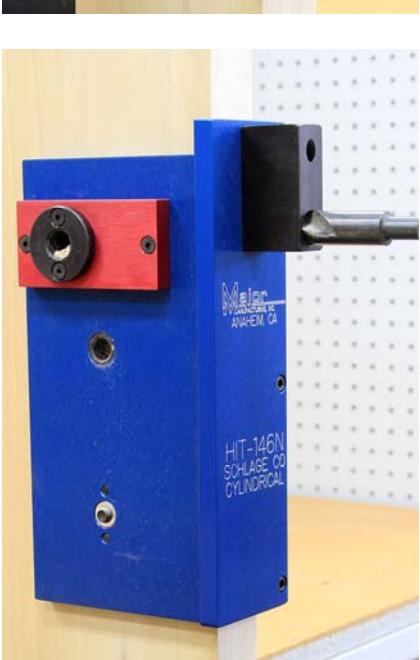
You will need an extra long 3/8" diameter drill bit to drill the angle hole from the door edge to the 1/2" cross bore hole.
When drilling this angled hole be sure to pull the drill bit completely out of the guide to remove chip build up. Drill 1/2" at a time then clear out chips. This will produce a clean hole and longer drill bit life.
Remove the HIT-146 from the door and install the Schlage CO lock per the manufacturers directions.
That's all there is to it!
Copyright 2016—Major Manufacturing Inc Page 7