LA-GARD-ComboGard-Pro-39E-Electronic-Lock-Software-Installation-Instructions-730.018_Rev-D_web.pdf_619766
Open the original PDF document
View PDF

Software Installation Instructions
LA GARD ComboGard Pro 39E Electronic Lock
P/N 730.018 Rev D - 05/2018
IMPLEMENTATION PACKAGE
The ComboGard Pro Software implementation package includes:
- 707012 ComboGard Pro Software Install CD
- 42145 Programming/Audit cable (3125 Entry Device)
- 43097 Programming/Audit cable (for 3190, 3750-K, and 8130 Entry Devices)
- 707010 USB Interface Adapter (or 42150 Serial Interface Adapter)
IMPORTANT NOTE: The system driver for the USB Interface Adapter will be installed after the application software. DO NOT insert the adapter into the PC until the software installation is complete.
If any of the above items are missing, contact your point of sale.
SYSTEM REQUIREMENTS
Minimum hardware and software requirements for the ComboGard Pro Software:
- IBM compatible PC (Intel® Pentium® 4 or compatible processor) capable of running Windows® with an available USB or serial port
- 512 MB RAM (1GB preferred. Refer to your operating system requirements.)
- CD-ROM or DVD-ROM Drive
- Hard Disk Drive with at least 6.5 MB available
- Super VGA (1,024x768) or higher-resolution video adapter and monitor
- Windows 7 Professional 32-bit or 64-bit
- Microsoft Mouse or compatible pointing device
NOTE: Adobe® Reader requires an additional 335 MB of available hard-disk space and Microsoft Internet Explorer 6.0 or higher.
SOFTWARE INSTALLATION AND SETUP
1. Insert the ComboGard Pro Install CD into the appropriate CD-ROM or DVD-ROM drive of the PC.
NOTE: Do not remove the Installation CD until instructed to do so.
-
2. The Install CD is set to AutoRun. If AutoRun does not initiate, complete the following steps:
- a.Select the Start icon in the lower left of the Windows screen.
- b.Select the Run icon from the Windows menu. The Run Window will be displayed (Figure 1).
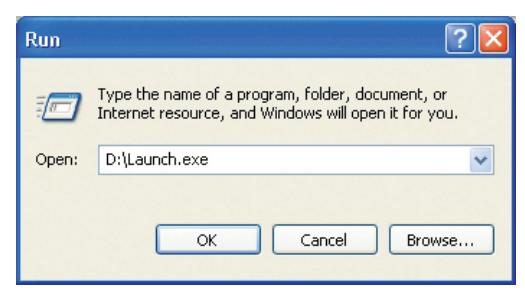
Figure 1.
- c. If necessary, change the path to point to the drive being used to install the software.
- d.Click on the OK button.
NOTE: An alternate method to initiate the Installation Browser is to right-click on the START button, select Explore to open your CD-ROM drive, and then select Launch.exe .
The main menu of the Installation Browser will display three Menu Options: Install Software , Product Documentation , and Contact Us (Figure 2).
Install Software
This menu option allows the user to install the ComboGard Pro software and the driver for the USB Interface Adapter, if required.
Product Documentation
This menu option allows access to the product documentation for the system. All instructions for the ComboGard Pro lock system are available on the Install CD in PDF format. Adobe® Reader is required to view and print the documents and is included on the Install CD.
NOTE: The latest versions of LA GARD documentation are also available for download at www.kaba-mas.com.

Figure 2.
Contact Us
This menu option displays contact information for the LA GARD brand.
UPGRADE FROM OLD SOFTWARE
If a previous version of the ComboGard Pro Setup software or the LGView 3X software is installed on your computer, consider the items below before converting to the new ComboGard Pro software. If no previous software versions are installed, move to the software installation section(s) of this document.
1. Lock Setup Files
Lock setup files from the previous version of ComboGard Pro Setup software may not transfer to the new software system.
2.Audit Files
The previously saved audit files can be transferred to the new system. Detailed instructions on how to perform this process are provided in the TRANSFER AUDIT FILES section of this document.
3.Use of Previous Hardware
The new Setup and Auditing software does support the Serial Interface device (P/N 42150), but the new USB Adapter is recommended.
4.Removal of Old Software
It is recommended that the old software be removed after installing the new software and completing any required file transfers or lock setup configurations. Detailed instructions on how to perform this process are provided in the REMOVE PREVIOUSLY INSTALLED SOFTWARE section of this document.
INSTALL COMBOGARD PRO SOFTWARE AND USB DRIVER
From the main menu of the Install Browser, select the Install Software menu item. The Install Software menu will be displayed (Figure 3).
From this menu the ComboGard Pro Setup and/or AuditView software can be installed. The FTDI USB Driver also needs to be installed if the USB Interface Adapter is used to program or audit the lock.
INSTALL COMBOGARD PRO SETUP
To install the ComboGard Pro Setup Software, complete the following steps:
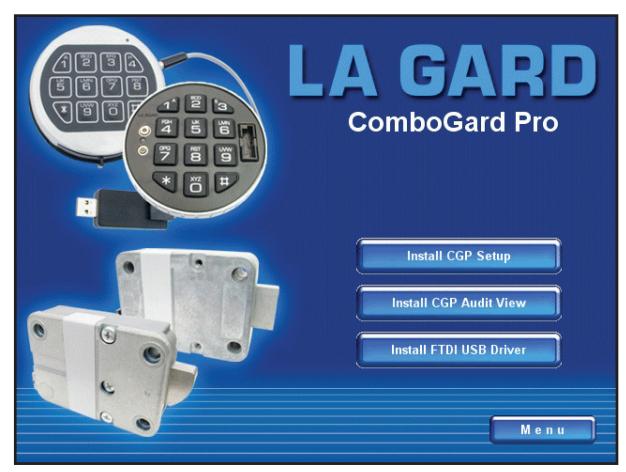
Figure 3.
1. Select the Install CGP Setup menu item.
The ComboGard Pro Setup screen will be displayed (Figure 4). The Setup Wizard is a Windows program that will guide you through the rest of the setup process.
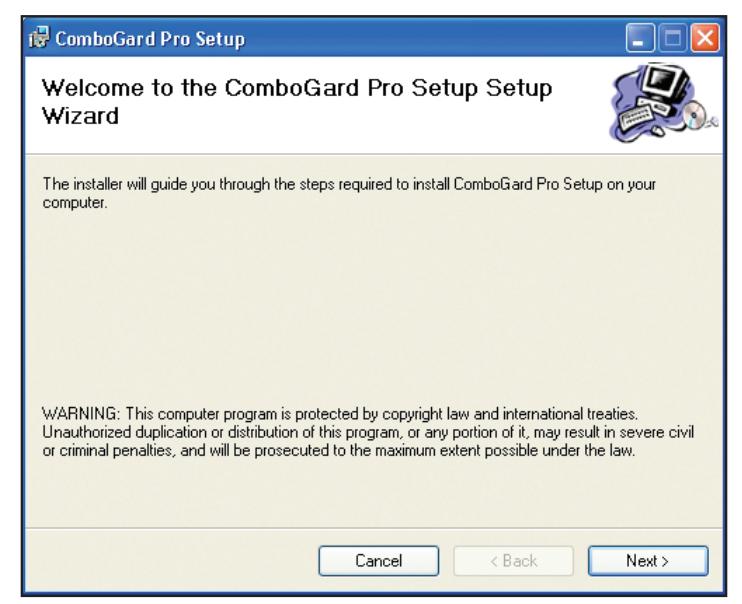
Figure 4.
2. Click on the Next> button to continue.
The Software License Agreement Screen will be displayed (Figure 5).
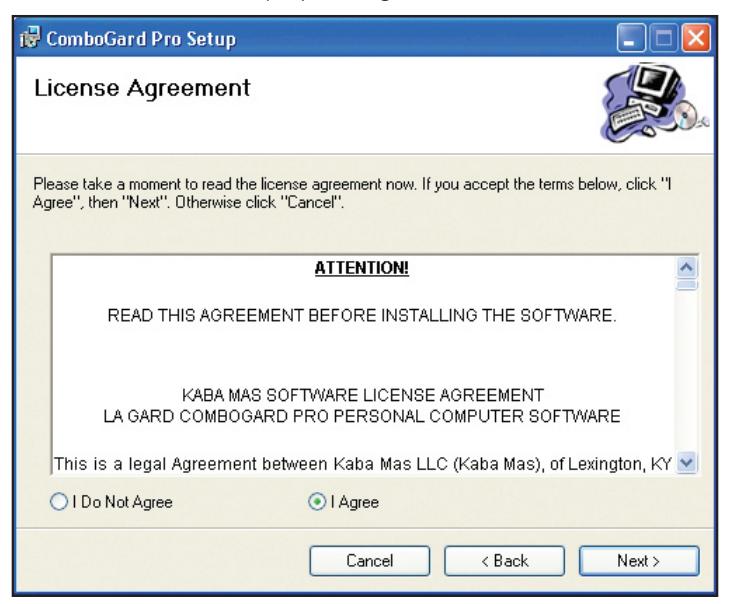
Figure 5.
- 3. Read the Software License Agreement, and then click on "I Agree" button to accept the terms of the agreement.
- 4. Click on the Next> button to continue.
The Select Installation Folder window is displayed (Figure 6) to allow you to select the program folder where the ComboGard Pro Setup Software will be installed.
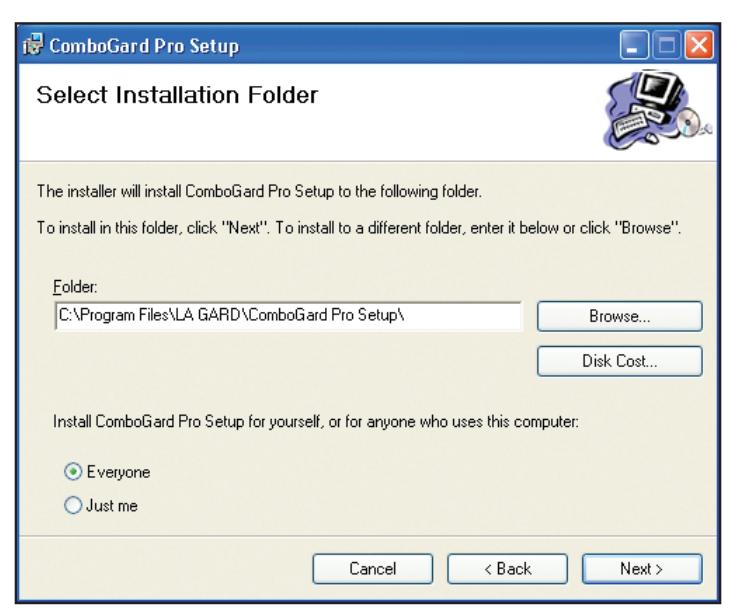
Figure 6.
5. Select the program folder to which the ComboGard Pro Setup Software program will be added.
NOTE: The default installation directory is shown. To install the ComboGard Pro Setup Software in another directory, click on the Browse button and select the new path. Also, the default value for who can use the software is "Everyone". To restrict the software for use by only yourself, select "Just Me".
6. Click on the Next> button to add the program to the designated folder. The Confirm Installation screen will be displayed (Figure 7).
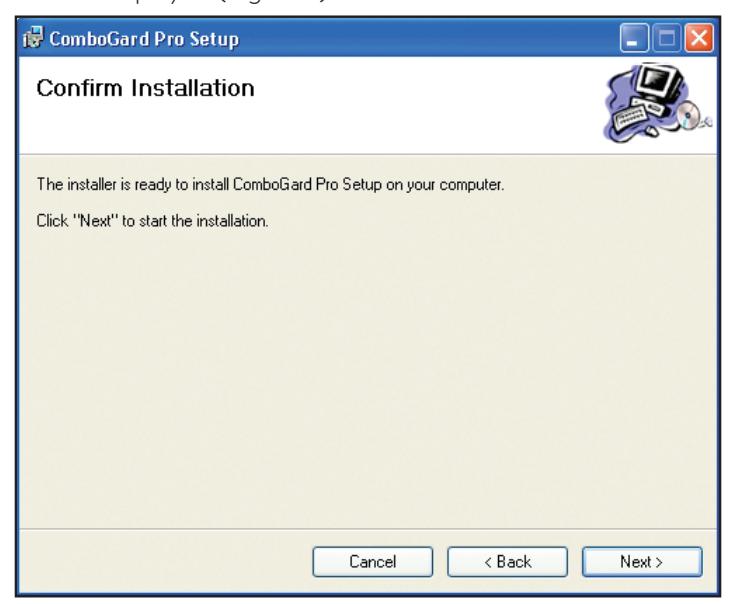
Figure 7.
7. Click on the Back> button to change the installation settings, or click on the Next> button to install the program with the designated settings.
The installation status screen will be displayed and will show several different status messages as the installation
progresses (Figure 8).
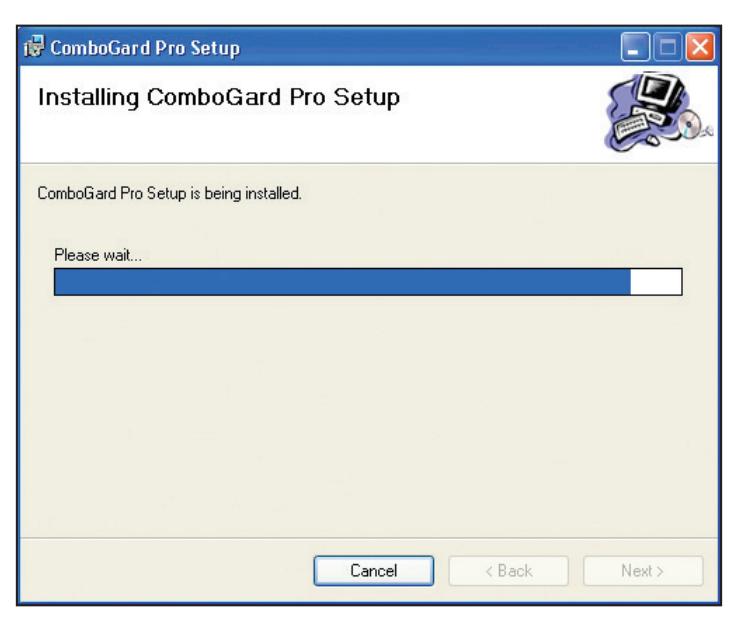
Figure 8.
The ComboGard Pro Setup Software program will be added to the Windows Program Menu Folder, and a desktop shortcut icon will be created.
The Installation Complete screen is then displayed indicating that the ComboGard Pro Setup Software program has been successfully installed (Figure 9).

Figure 9.
8. Click on Close .
The ComboGard Pro Setup Software installation is now complete.
INSTALL COMBOGARD PRO AUDITVIEW
To install the ComboGard Pro AuditView Software, complete the following steps:
1. Select the Install CGP AuditView menu item.
The ComboGard Pro AuditView Setup screen will be displayed (Figure 10). The Setup Wizard is a Windows program that will guide you through the rest of the setup process.
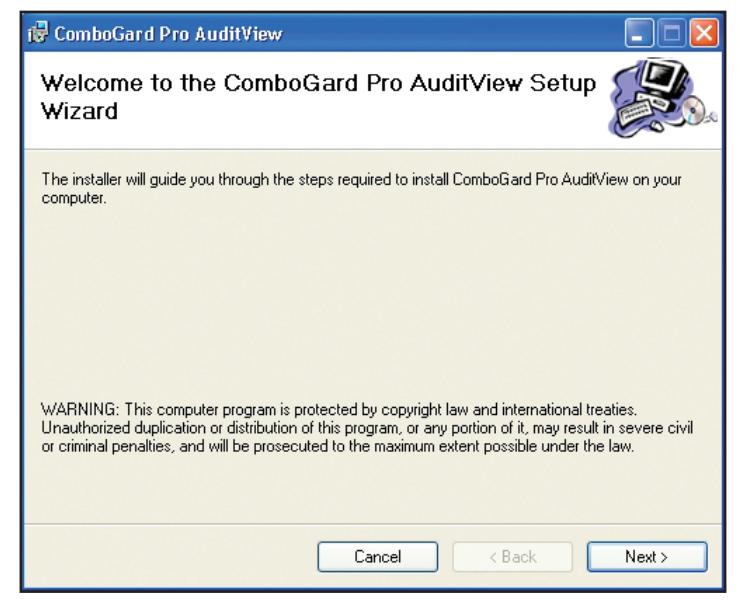
Figure 10.
2. Click on the Next> button to continue.
The Software License Agreement screen will be displayed (Figure 11).
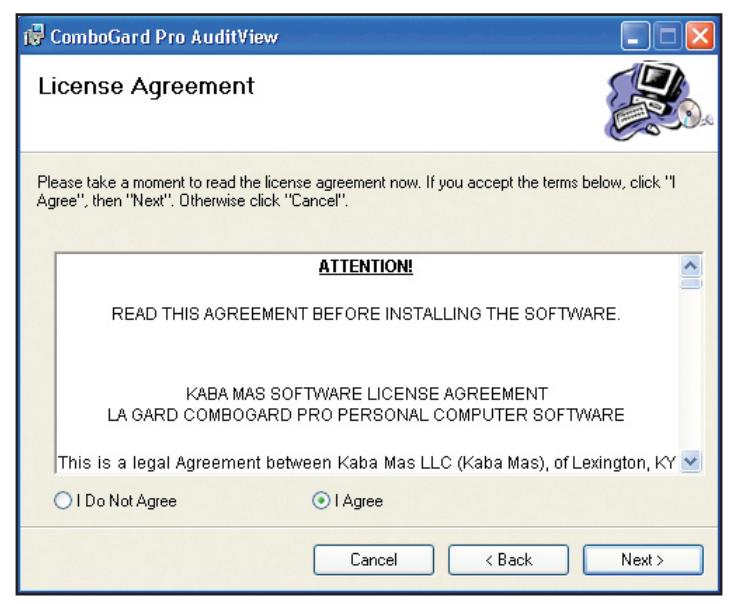
Figure 11.
- 3. Read the Software License Agreement and then click on the "I Agree" button to accept the terms of the agreement.
- 4. Click on the Next> button to continue.
The Select Installation Folder window is displayed (Figure 12) to allow you to select the program folder where the ComboGard Pro Setup Software will be installed.
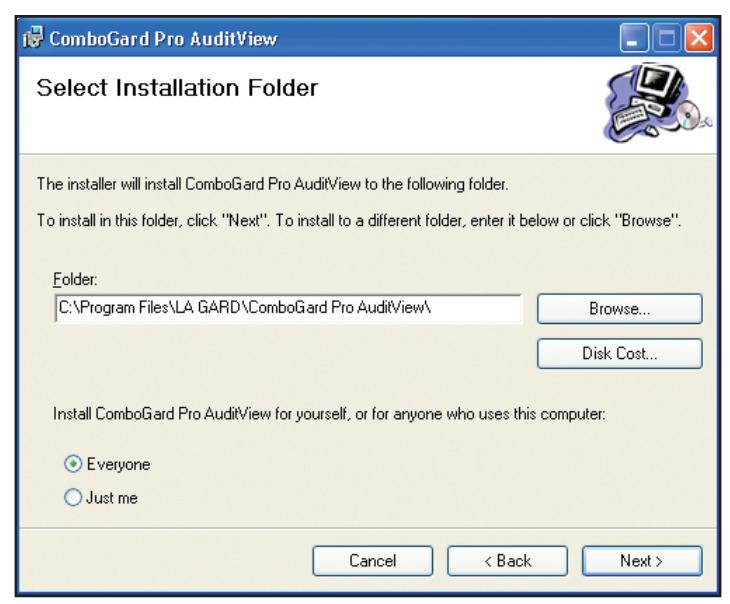
Figure 12.
5.Select the program folder to which the ComboGard Pro AuditView Software program will be added.
NOTE: The default installation directory is shown. To install the ComboGard Pro AuditView Software in another directory, click on the Browse button and select the new path. Also, the default value for who can use the software is "Everyone". To restrict the software for use by only yourself, select "Just Me".
6. Click on the Next> button to add the programs to the designated folder. The Confirm Installation screen will be displayed (Figure 13).
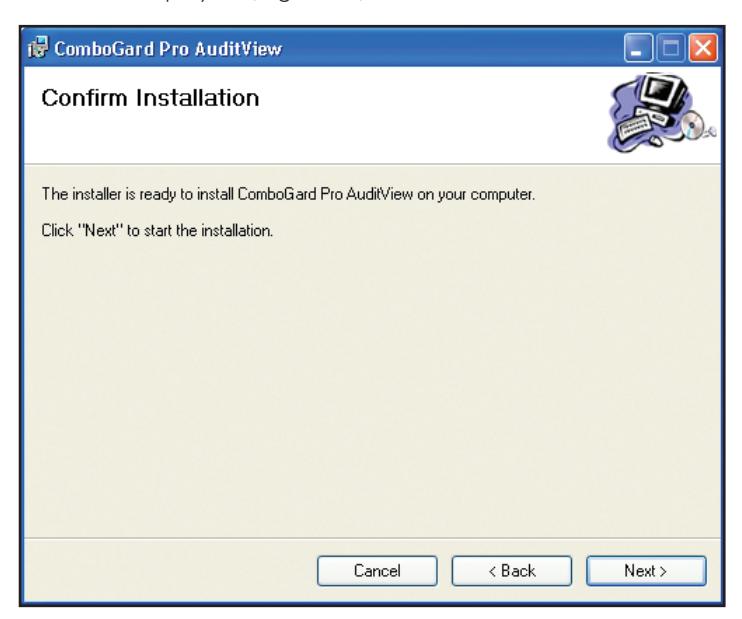
Figure 13.
7. Click on the Back> button to change the installation settings, or click on the Next> button to install the program with the designated settings.
The installation status screen will be displayed and will show several different status messages as the installation
progresses (Figure 14).
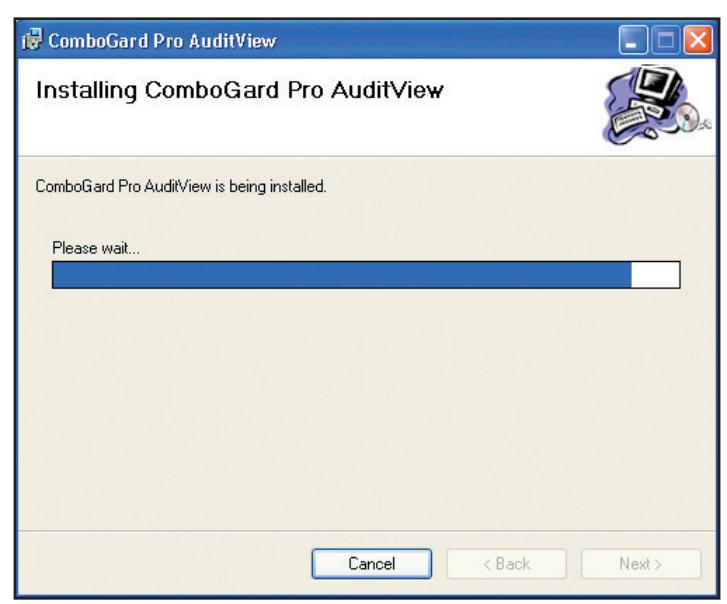
Figure 14.
The ComboGard Pro AuditView software program will be added to the Windows Program Menu Folder and a desktop shortcut icon created.
The Installation Complete screen is then displayed indicating that the ComboGard Pro AuditView Software program has been successfully installed (Figure 15).
8.Click on Close . The ComboGard Pro AuditView Software installation is now complete.
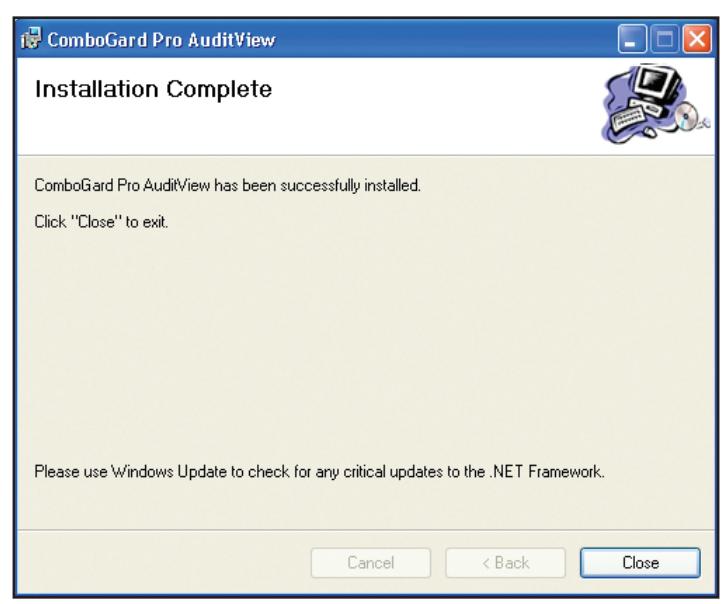
Figure 15.
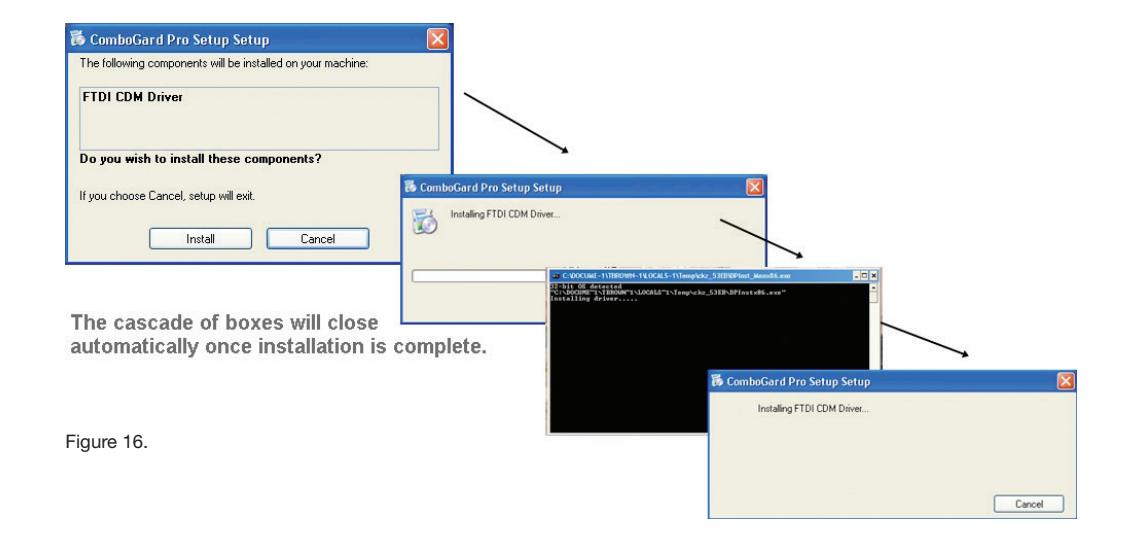
INSTALL FTDI USB DRIVER & ADAPTER
To use the USB Interface Adapter (P/N 707010), complete the following steps to load the required FTDI driver and install the hardware device:
1. Select the Install FTDI USB Driver menu item to start the driver installation process. A series of windows will be displayed as the installation progresses (Figure 16). The cascade of windows will close automatically once the driver installation is completed.
- 2. Insert the USB Adapter into an available USB port on the PC. The Found New Hardware message window will open and will display various messages as the new hardware device is installed. Once the installation is complete, the message window will automatically close.
- 3. Select Menu to return to the Main Menu.
- 4.Select Exit to exit the Installation Browser.
TRANSFER AUDIT FILES
To access previously saved audit files with the new software you must copy the files to the new default audit location. The new default location is dependent on the Operating System. Audit files have a "*.log" file extension.
-
1. Copy audit files from the old ComboGard software system. The old default location is:
- C:\Program Files\LgView3x\Audit\
- 2. Transfer (paste or copy) the old audit files to the new default location for your Operating System, defined as follows: Windows 7 -> C:\Users\Public\Public Documents\ComboGard Pro\
REMOVE PREVIOUSLY INSTALLED SOFTWARE
The old version(s) of the software should be removed after the installation of the new software, to prevent possible software conflicts. To remove the old software complete the following steps:
- 1. Select the Start icon from the Windows task bar.
- 2. Select the Settings menu item.
- 3. Select the Control Panel menu item.
- 4. Select Add or Remove Programs . The Add or Remove Programs screen is displayed.
- 5. To delete a previously installed version of the ComboGard Pro Software, select the ComboGard PRO Setup program item (Figure 20) and then click on Change/Remove . (DO NOT delete the new version that is defined with a similar name.) The program will be deleted from the list.
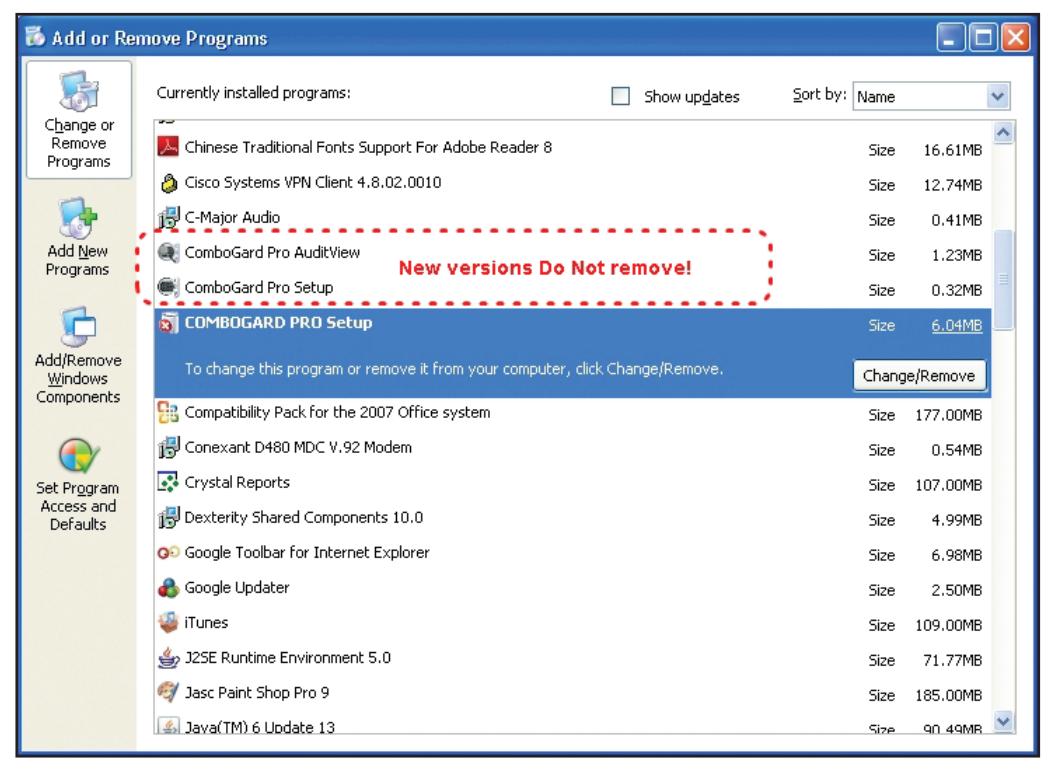
Figure 20.
6. To delete a previously installed version of the audit viewing software, select the LGView3X program item (Figure 21) and then click on Change/Remove . The program will be deleted from the list.

Figure 21.
dormakaba USA Inc. 749 W. Short St. Lexington KY 40508 T: 859 253 4744 F: 859 255 2655
Toll-free: 877 522 2627
www.dormakaba.us