Isonas How to Add and Deactivate a User in Pure Access Guide
Open the original PDF document
View PDF

How to Add and Deactivate a User in Pure Access
If you're looking to add people or users in Pure Access to manage your access control, these steps will guide you on doing just that.
- 1. Log into your Pure Access website (https://www.isonaspureaccesscloud.com)
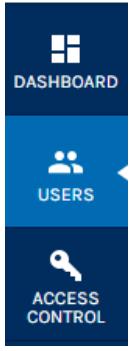
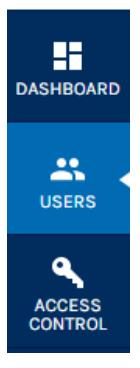
- 2. Click the "Users" tab on the left side navigation:
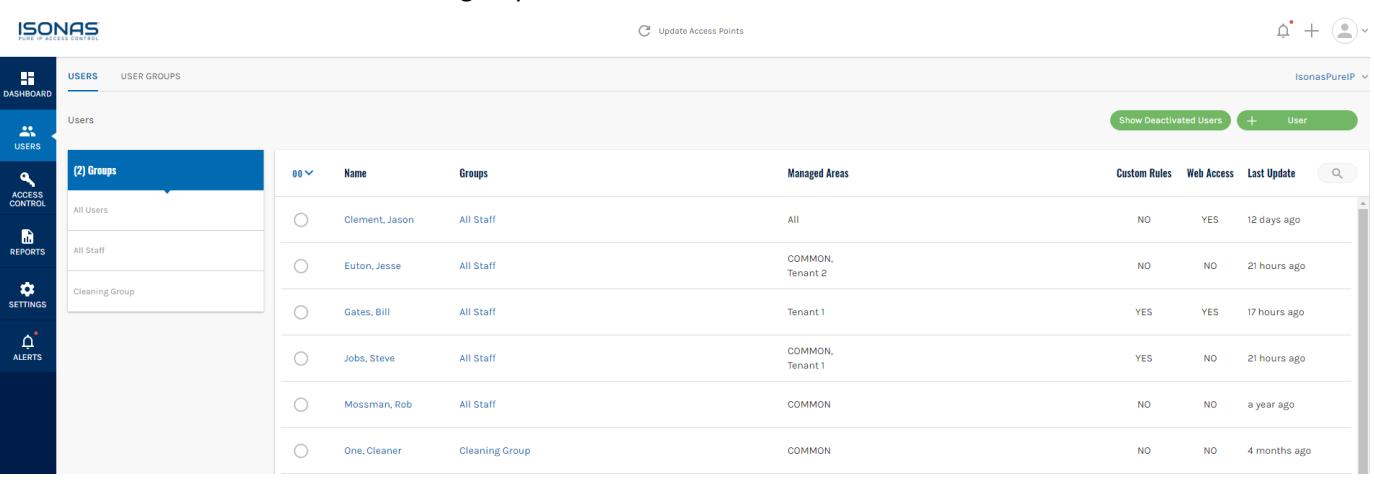
3. This brings you to a full summary page of all active users in your system. From here you can take actions on existing users by selecting their name, take actions on multiple users, deactivate users and remove users from groups.

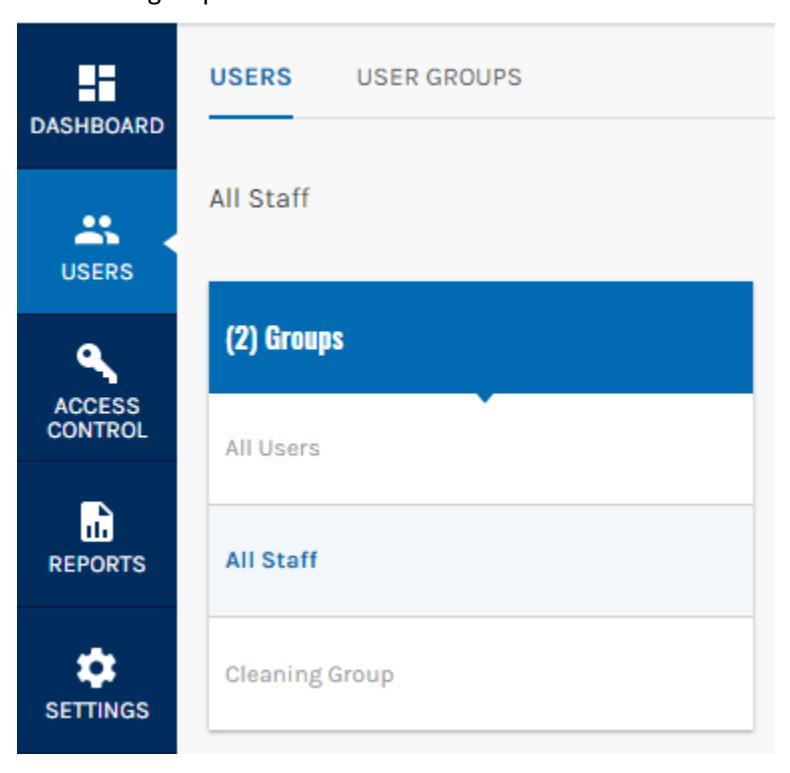
4. You also have the ability to add users to specific access groups in order to make rule management simpler. You can see the users by selecting the All Users group or one of the other user group.
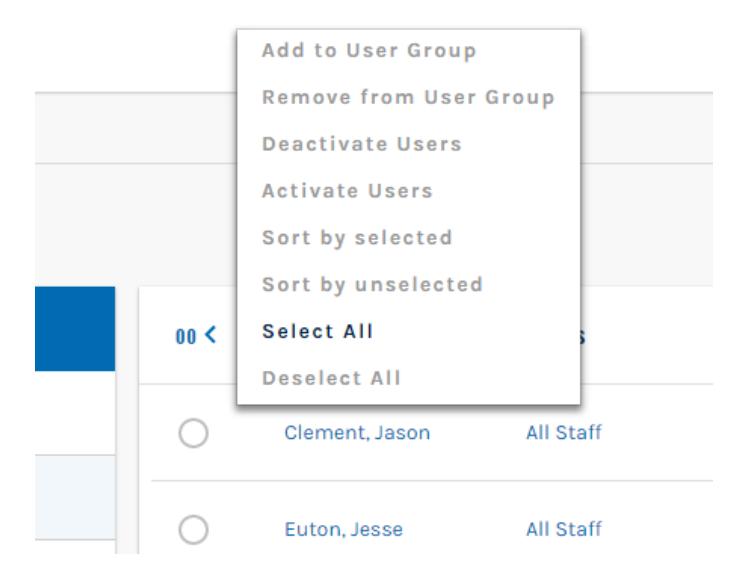
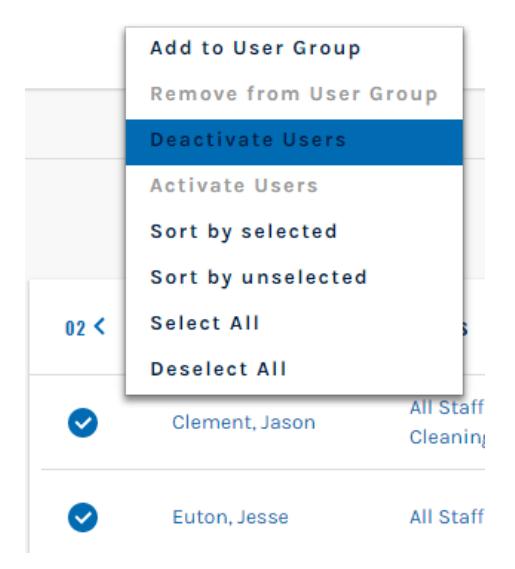
5. By choosing the carrot icon, after you have selected a user, you can take actions on the selected user or users.

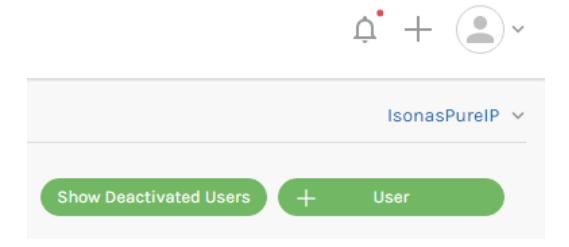
6. In order to add a new user, Click the Green + icon at the top right corner of thewindow:
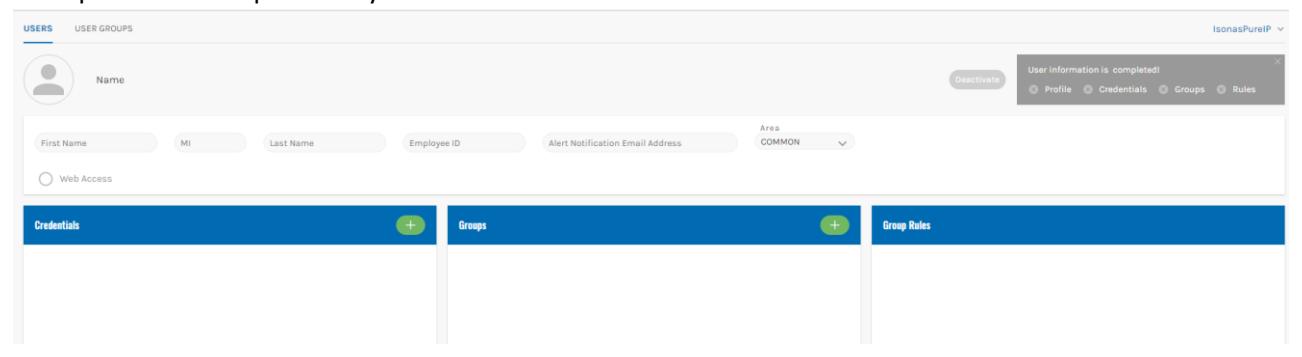
The next page that loads for you will display the information for the new user and allows you to manage their access. On the top right is a progress bar, as the red X's turn to green check marks you have completed that step correctly.
7. Fill out the First and Last name and other information in the empty fields provided.

- 8. If you have an employee ID you can add that as well, this is notrequired.
- 9. If you want this user to receive emails for alerts that have been created add their email address in the [ Alert Notification Email Address ] **for more information on alerts see ou rvideo.
- 10. In addition, you can upload an image or photo to associate with this person. Simply click on the profile circle and it will ask you to select an image from your files. Once the file name is loaded, select upload photo and you'll see your image appear. Then click save. You'll see theimage load and you'll want to select save on the user page.
(Optional) setting up web access for this user. There is a checkbox under the name information for the person. Web access will allow this user to login to the system and will have a user role that you define as administrator, operator, human resources, or a card holder.

Select the Edit User Role Button and then you can specify the user role from the drop down options.

What do these roles provide access to?
- Administrator: Provides access to view and modify all aspects of the system.
- Human Resources: Provides access to view system settings and to modify users, schedules, holidays/events and access points.
- Operator: Provides access to view only alerts, users, schedules, holidays/events and dashboard.
- Cardholder: Provides this person a login but no actions or viewpermissions.
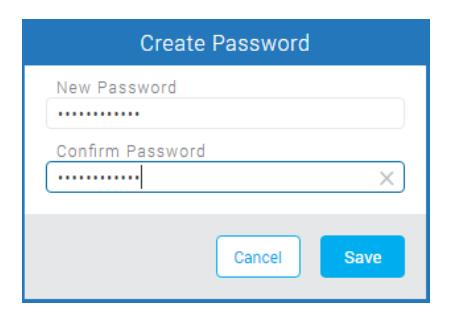
After specifying both fields, you can click "create Password" and the Create Password window will pop up for you to type in your password twice and then click "Save"

11. To add a pin code or badge for this person, click the green + icon next to"Credentials"

A window will pop up, prompting you to add the badge or pin assigned to this person. If this person will have a badge, you can manually enter the badge ID from the card into the badge ID field. If you choose to enroll by presenting the card to a reader, simply select the access point you want to read the data from. (**please note: if you are using an ISONAS credential you will not need to set the bitmask for your cards, if you are not using an ISONAS credential you will need to set the bitmask. Learn how here. )
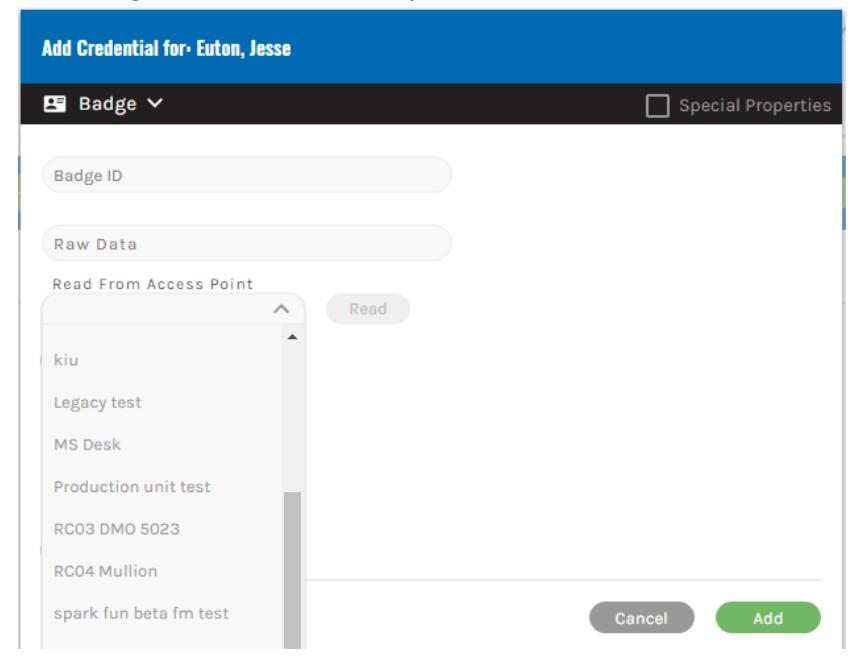
12. Swipe the card at that reader and hit the read button. You should receive the raw data from the card.
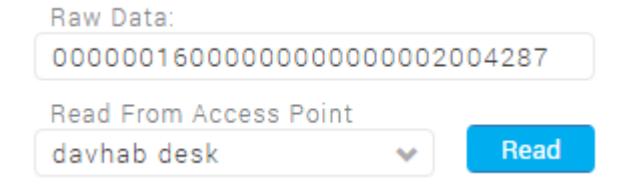
The Raw Data field will populate automatically. Then click the button at the bottom right corner of that popup window. And you'll see the credential listed in the "Credentials" portion of the User page.

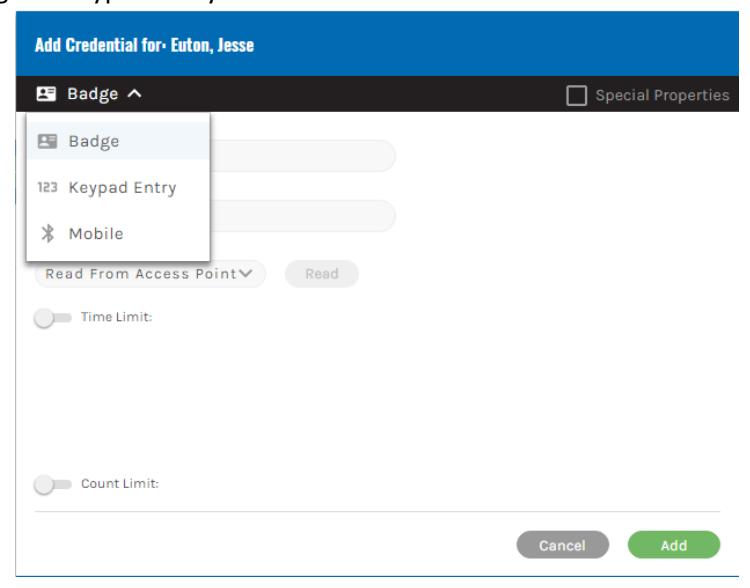
If you have a keypad device and choose to use a pin code, you will need to change the selection at the top from Badge to Keypad Entry.
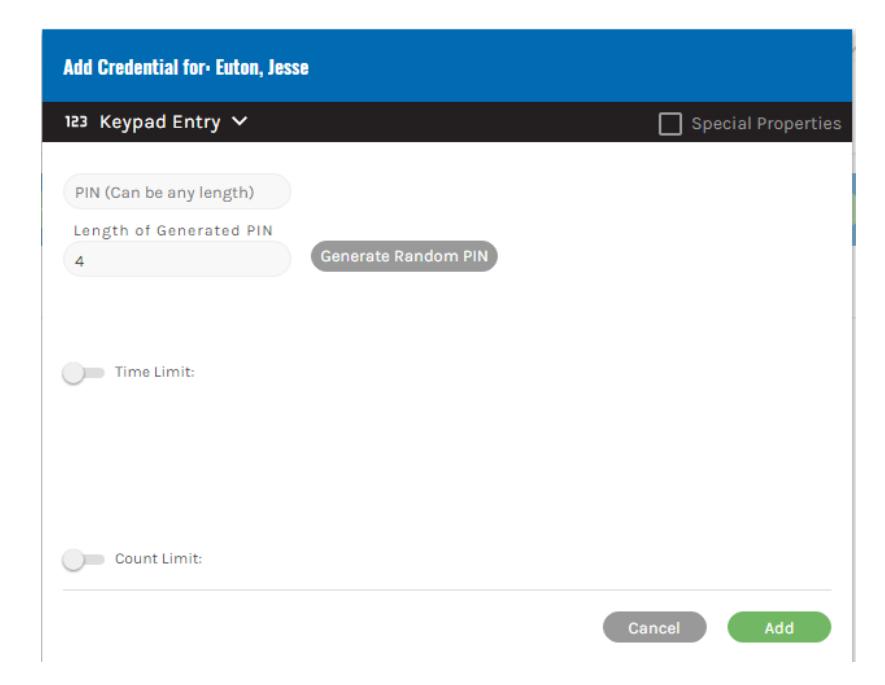
From here you can add a pin of your choice of any length or have the system assign a random pin for you by selecting the [Generate Random Pin] button.
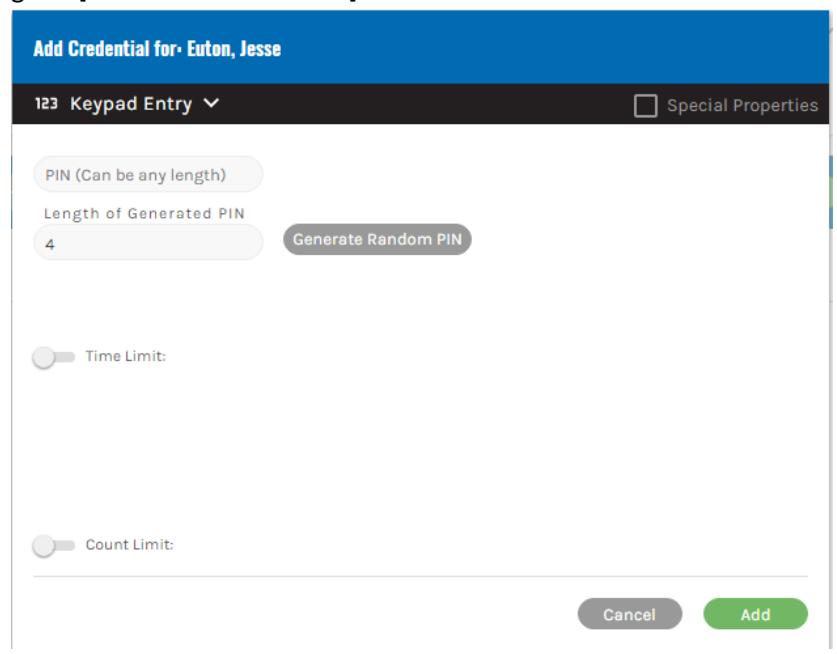
In addition, you are also able to set a start and end date and time to these credentials and a count limit. So if you have a visitor or temporary employee you can limit their badge upon the initial creation. Simply set the start and end date and time in the appropriate boxes and/or the number of times you want this badge/pin to be used.
- 13. Next you'll want to move on to specify a people group for this person to be a member. Upon the initial set up of your system you'll want to establish some rules around who can gowhere and when. This will allow you to build groups of people and doors as well as schedules to allow people in and out. You want to use groups as a way to manage rules for all users. Groups keep the database simple and nimble. Individual rules or setting rules for just one user will increase the time to update readers. Only use individual rules as a last resort. For an overview on how to set rules and schedules here is an overview video.
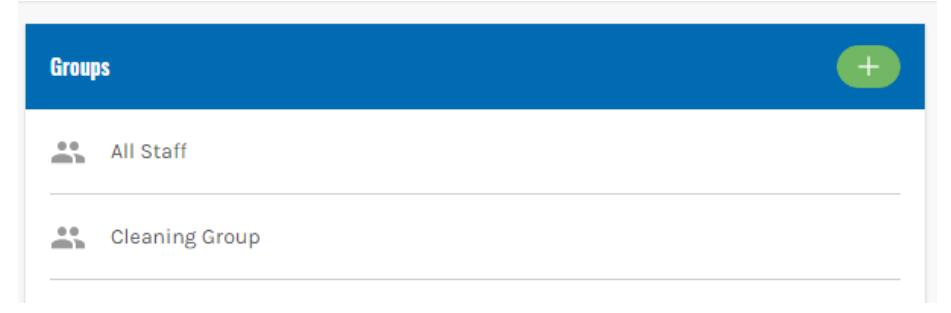
- 14. To add this user to a group, Click the Green + icon next to Groups to assign this person to a people group.


15. Then select the group this person should be in. People groups are usually a group of people with the same access rights. Creating groups allows you to manage many people with a single group vs. managing each individual person separately.
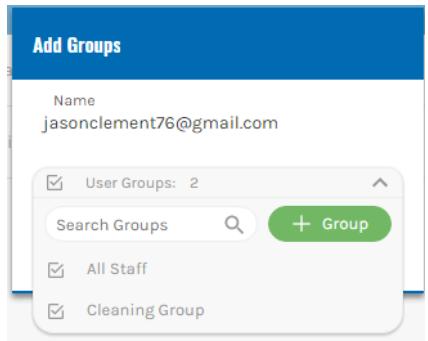
You'll get a window pop up with a pull down menu where you can choose from a list of groups you built previously to assign this person to. You can select multiple groups for this person. Once you've chosen the groups, you can select add and the groups will appear.
16. From here hit the save button and this will automatically link the group rules in the 3rd column. In the top right you'll also see that all 4 steps to create a user have a green check mark and this person's profile is now complete.
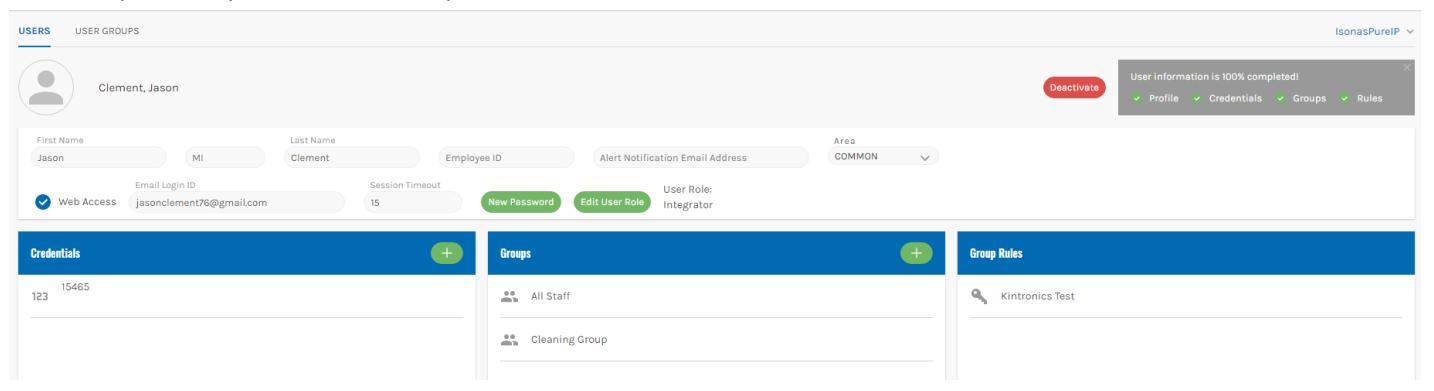

17. The final step to adding a user is to update the access points with this new person's information.
In the top right of the screen is the Update Access point Button. Select this button and the system will show updating as it sends this new information to the ISONAS hardware (reader-controller or IP-Bridge).
Changes made. Update Access Points.
sonasPureIP 🗸
18. (Optional) you can click the green + next to "Custom Rules" on the lower right portion of the new user page to specify a specific, when and where, rule for this person's access.
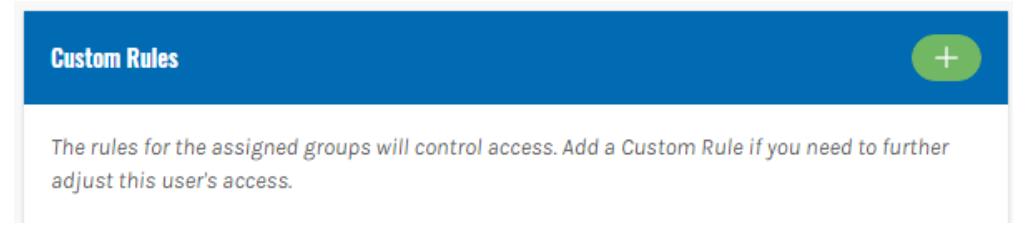
When clicking that green Plus sign, you'll get a popup window showing the list of available shifts, Doors/door groups, and people to choose from to specify your Custom rule for this individual. You need to specify all 3 pieces (who, when, and where) in the window. Naming the rule and specifying the rule type is also required before you can click "Add" at the bottom right corner of the window. If you don't specify any required information, there will be a message that fades in letting you know what you missed.
*************************
How to Deactivate a User
If you have a person and you need to remove their access you can simply deactivate the person's user profile. In the database you only have the ability to deactivate a person and not completely delete them. This allows us to maintain the data integrity within the database.
- 1. Login to your Pure Access website (<a href="https://www.isonaspureaccesscloud.com">https://www.isonaspureaccesscloud.com</a>)
- 2. Click the "Users" tab at the top:
3. This brings you to a full summary page of all active users in your system. From here you can take actions on existing users by selecting their name and then selecting the carrot button to take

actions on multiple users, deactivate users and remove users from groups.
Full Summary Page View
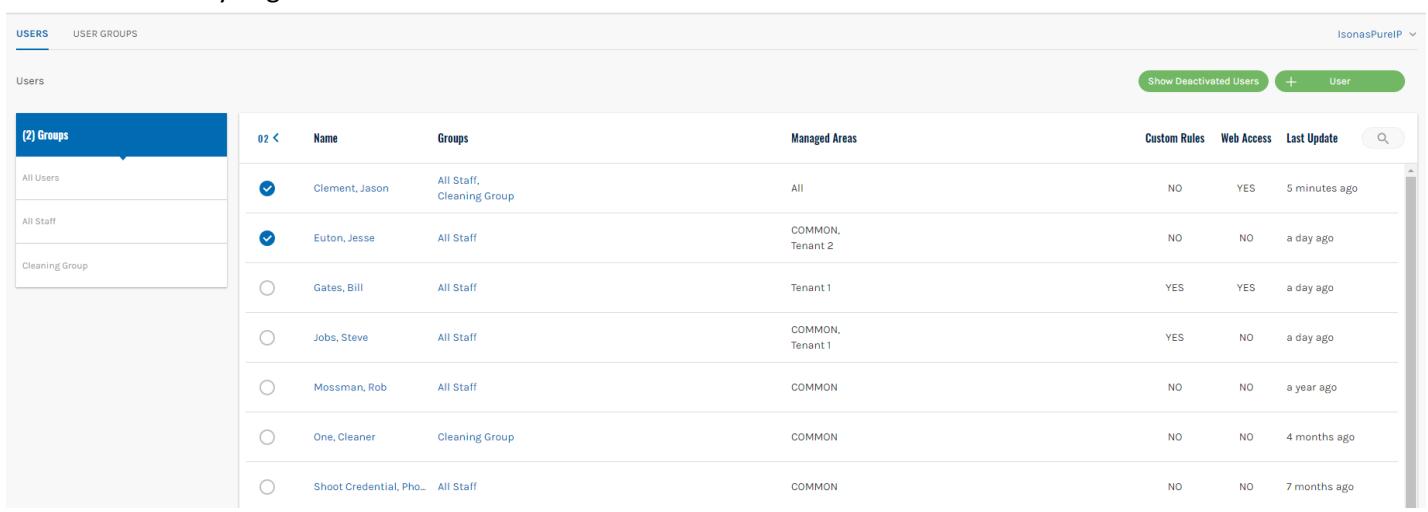
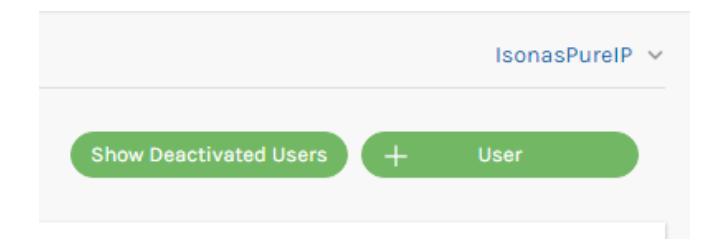
4. At the top of the page, you can also select [Show Deactivated Users] and this will take you to a summary list of who has previously been deactivated.
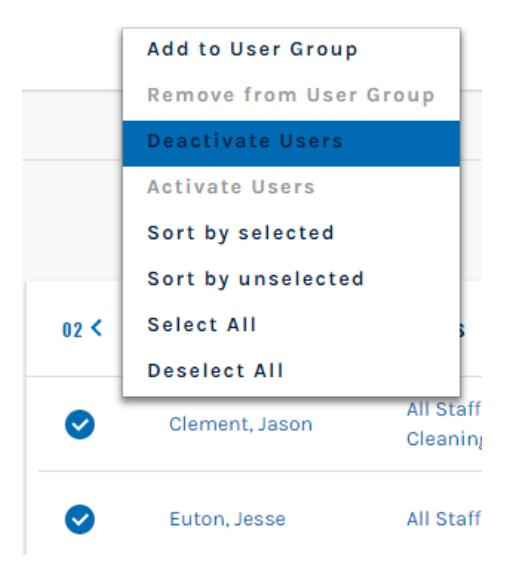
5. To Deactivate a user, you can simply click the check box next to a user, select the carrotarrow and deactivate the user.
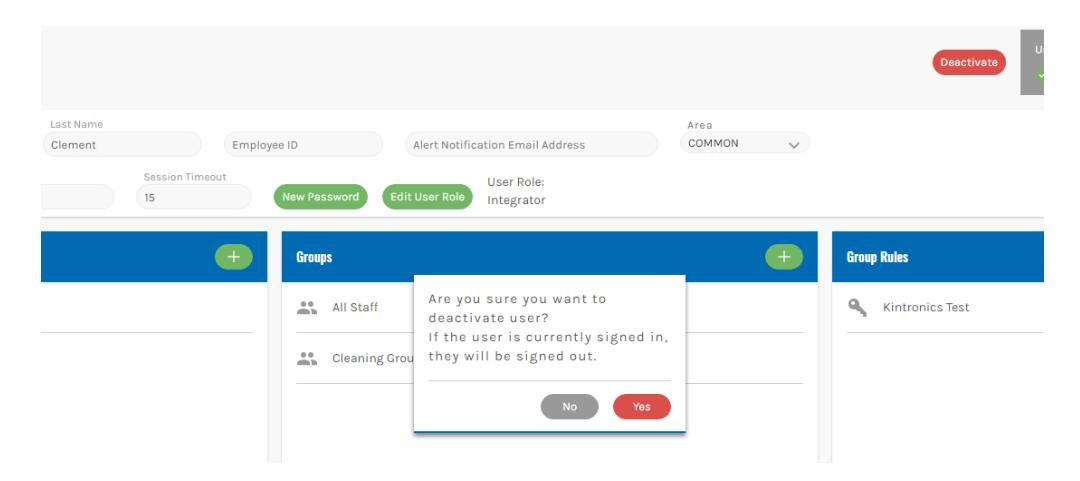
6. If you would like to review the person's information first, you can select their name and enter into their profile. Then select the deactivate button on the right hand side of the screen. Then confirm you want to take this action with the pop up window.
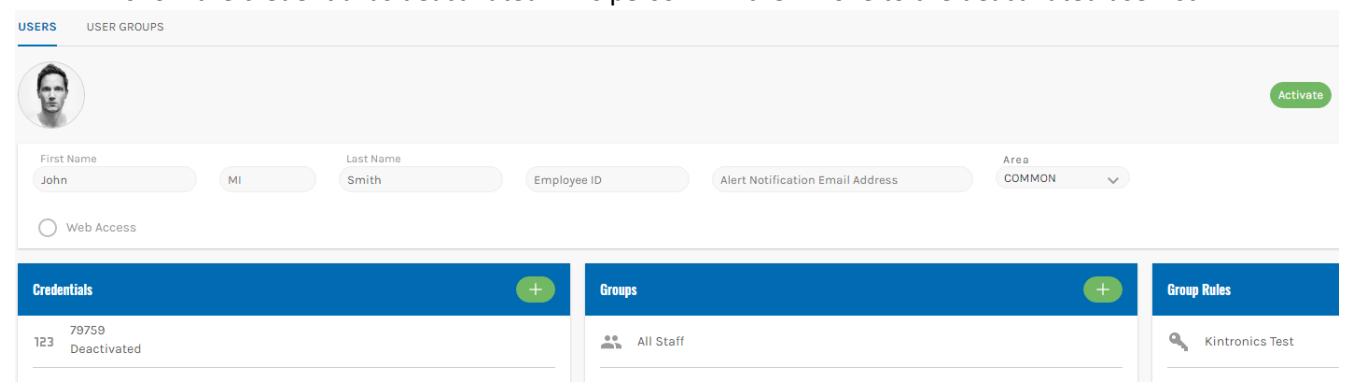
7. The screen will then remove the deactivate button and show the activate button as well as show the credential as deactivated. This person will then move to the deactivated userlist.
-
8. If you need to reactivate this person at any time you can select the user from the deactivated user list and simple hit the activate button on the right handside.
- a. **please note, if you have reassigned this person's credential to someone else you will need to assign another credential to this user. You cannot reactivate the old credential if it is in use by another user.