I-ED01291_REV 1
Open the original PDF document
View PDF

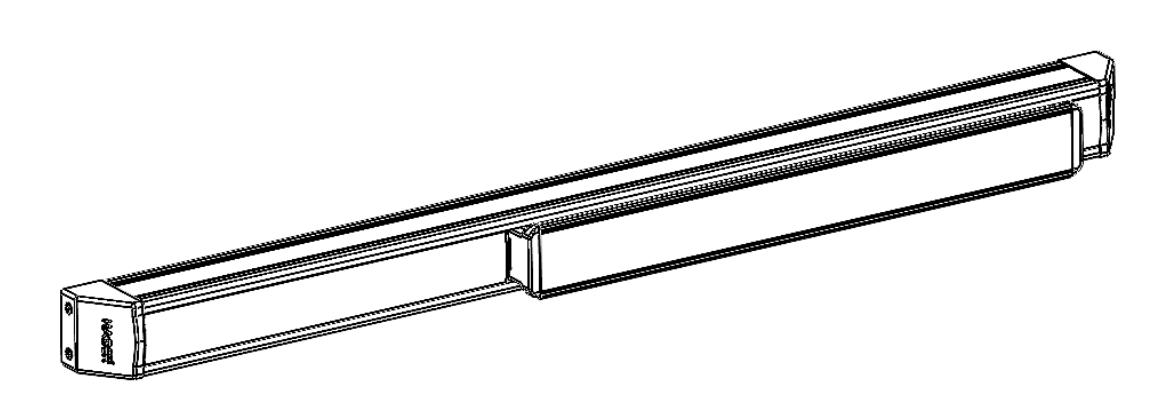
DEVICES COVERED IN THESE INSTRUCTIONS
4500D Dummy Push Pad Exit Device
Rev 1, Rev Date: 12/18/24 Page 1 of 2

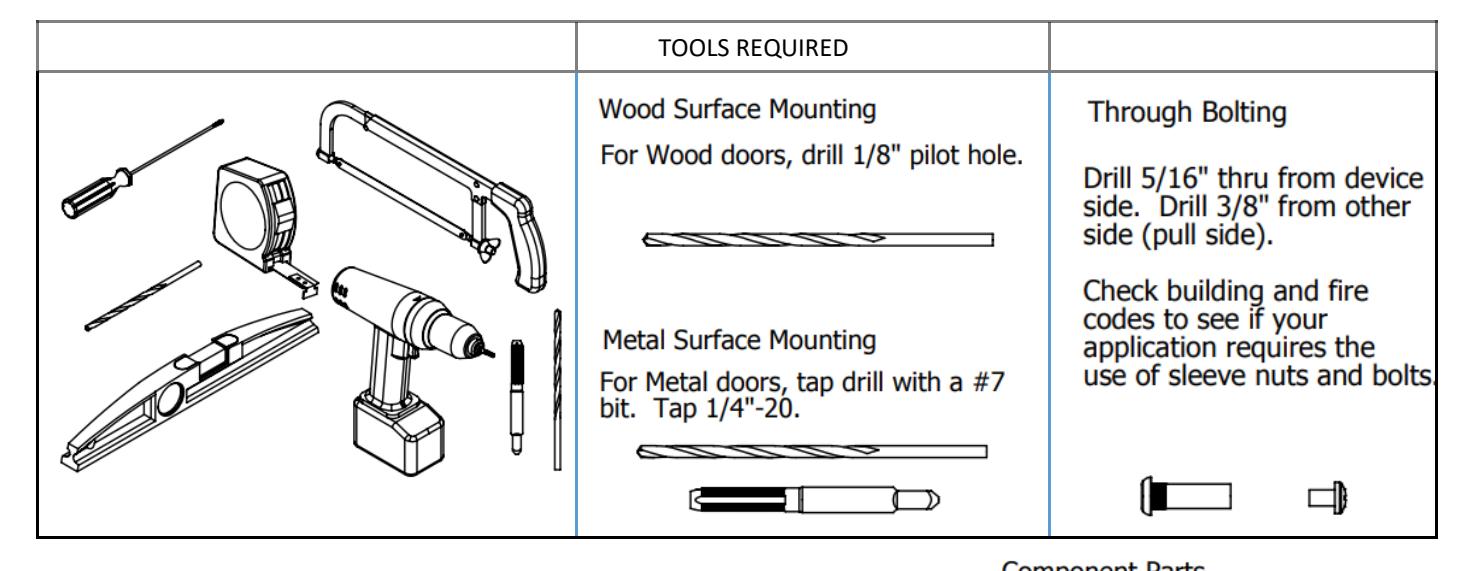
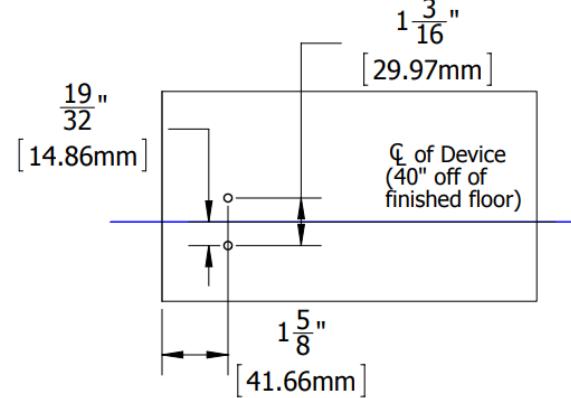
1. MARK DOOR AND DRILL MOUNTING HOLES
Mark centerline of exit device, typically 40" from finished floor. Mark and drill holes as shown below. These holes are the mounting holes for the fixed end cap bracket.
- For metal doors, drill and tap for 1/4"- 20 machine screws.
- For wood doors, pre-drill 1/8" pilot holes.
- If using sex bolts, drill 5/16" clearance holes on push side of door and 3/8" holes on pull side.
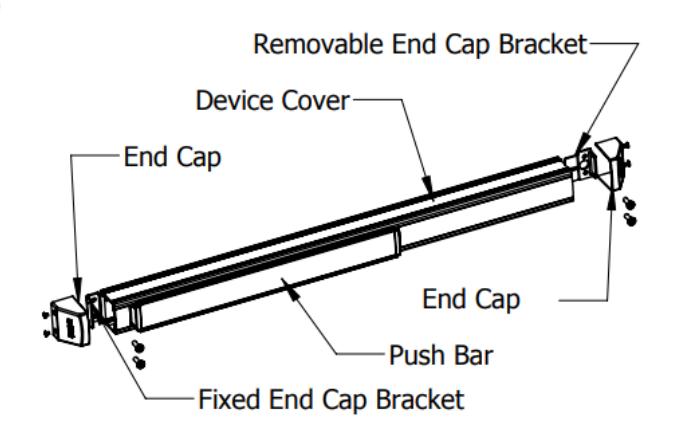
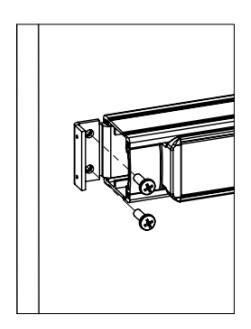
2. INSTALL DEVICE ON DOOR
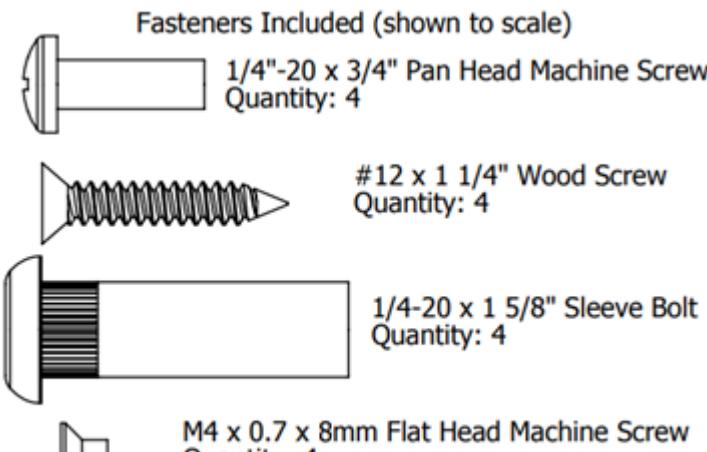
Mount the device using the two supplied screws.
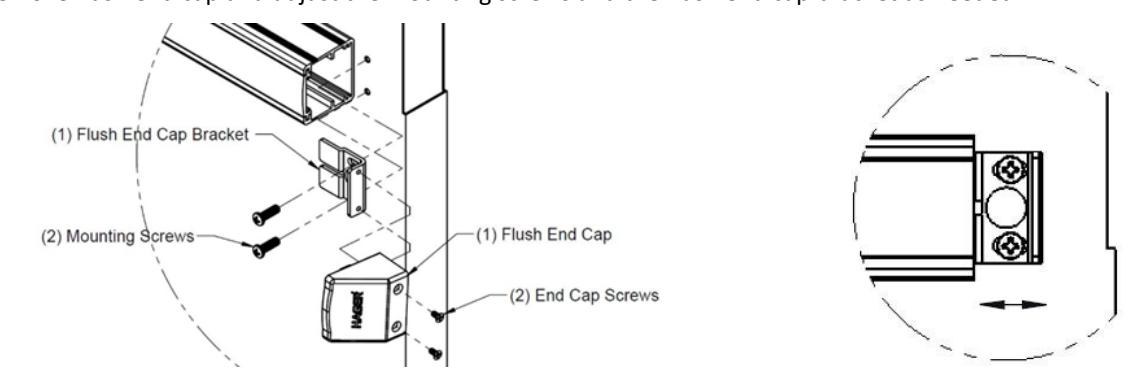
3. INSTALL SCREWS ON OPPOSITE SIDE
- A. Remove the flush end cap from the flush end cap bracket.
- B. Mark hole locations by holding flush end cap bracket up against door and device. Be sure exit device is level before inserting the flush end cap bracket into the device.
- C. Mark and drill/tap holes.
- D. Install flush end cap bracket and flush end cap using supplied screws. If the flush end cap is not flush with the exit device, remove flush end cap and adjust the mounting screws and the flush end cap bracket as needed.
Rev 1, Rev Date: 12/18/24 Page 2 of 2