Falcon_24_&_25_Series_Exit_Alarm_Kit_Installation_Instructions_-_English_107085
Open the original PDF document
View PDF

24/25 Series Exit Alarm (EA) Kit Installation Instructions


Dogging assemblies are shown below.

4 Cut new cover plate as needed to match exit device length.

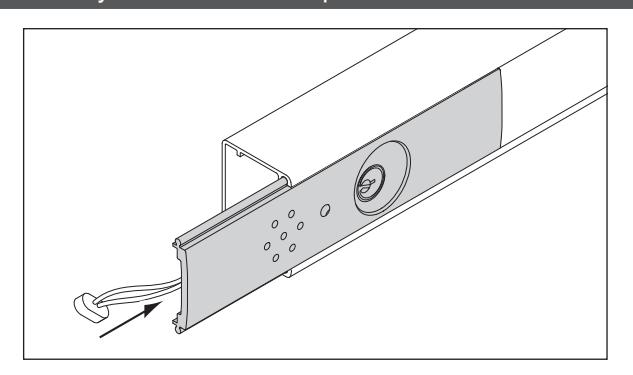
5 Assemble the exit alarm unit with the parts in order as shown below.

- 6 If exit device does not have LM/DM or RX switch, install switch before proceeding.
- L Note: Refer to the appropriate LM/DM or RX installation instructions. Attach wiring to terminal blocks on exit alarm
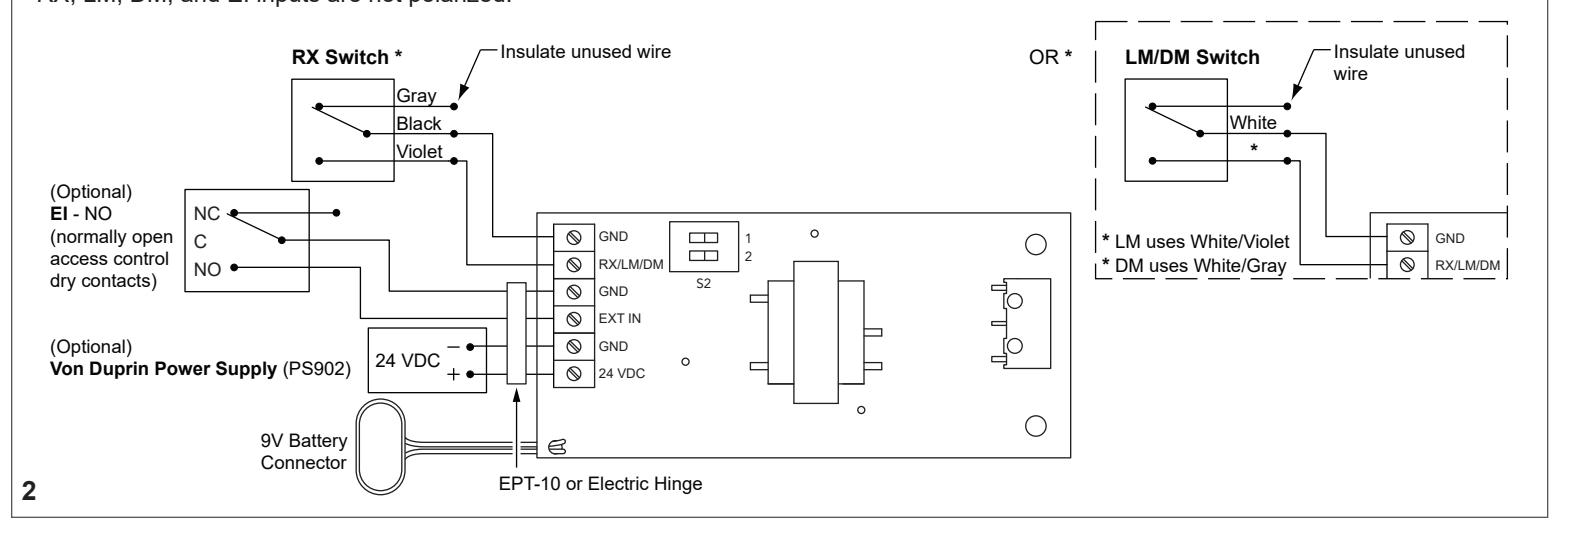
7 Attach wiring to terminal blocks on exit alarm kit board as shown.
L Notes about Wiring:
The EI (external inhibit) option uses NO (normally open) dry contacts to inhibit the exit alarm.
Closing the access control contacts inhibits the exit alarm. When the access control contacts are re-opened, the exit alarm re-arms with no delay.
RX, LM, DM, and EI inputs are not polarized.
8 Adjust alarm reset time, as needed.
Adjust dip switches as shown below to adjust reset time.
L Auto Reset Time (minutes): Amount of time alarm will sound before resetting automatically (no manual intervention).
| S2-2 | S2-1 | Reset |
|---|---|---|
| OFF | OFF | NONE |
| ON | OFF | 1.5 |
| OFF | ON | 3 |
| ON | ON | 4.5 |
9 Partially install new cover plate.
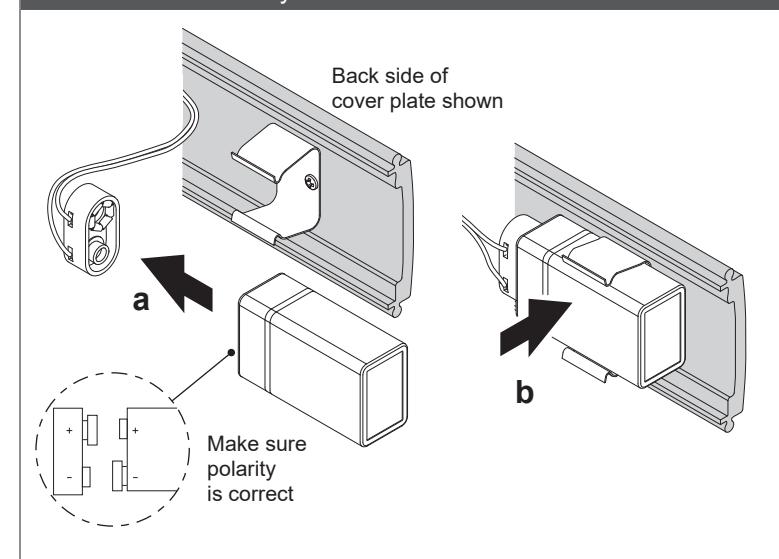
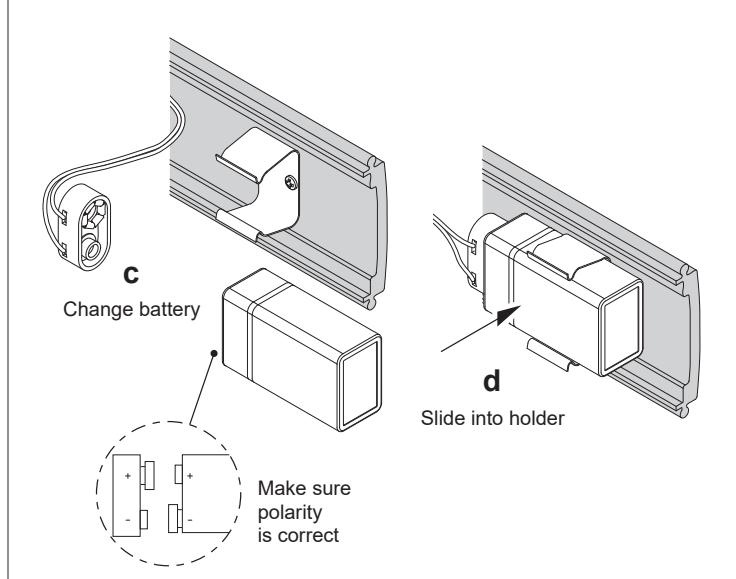
10 Connect battery and slide into holder.
11 Reinstall exit device onto door as needed.
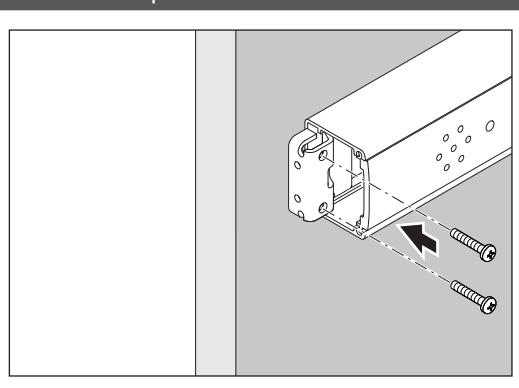
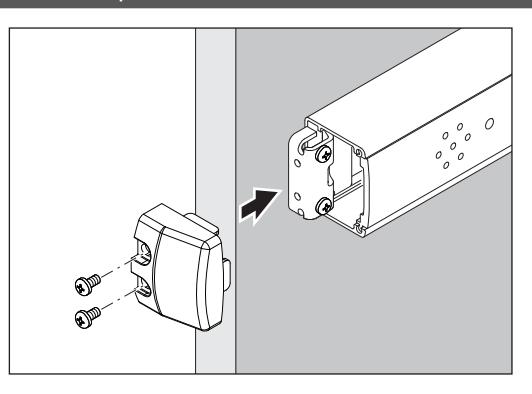
12 Reinstall end cap bracket.
13 Install end cap.
14 Install decal on exit device pushbar.

Changing the Battery
If the battery is low, a beep will sound and the LED will flash every 10 to 15 seconds until the battery is changed. The low battery alarm can be stopped by disarming the unit.
To change the battery, follow steps A through D below, then reassemble.
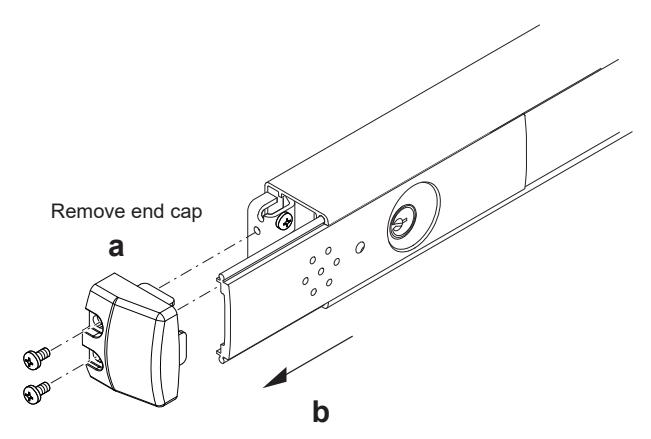
Slide out EA assembly far enough to reach battery
Operating Instructions
1 Insert the key into the cylinder and arm the unit by turning the key clockwise to position B until it stops.
Return key to position A to remove.
L Note: There is a 15 to 20 second delay before arming during which the LED will flash every 3 to 5 seconds.

2 Observe the LED.
After the 15-20 second delay has passed, the horn will sound briefly and the LED will flash every 12 to 15 seconds. This indicates that the exit alarm kit is now in armed mode.
3 Turn the key counterclockwise to position C to disarm.


