Edwards Signaling AE Bulletin E-FSA Strobe Synchronizaton
Open the original PDF document
View PDF


AEBN: 010509
Date: 01/05/2009
Subject: E-FSA Panel & Strobe Synchronization
The NACs (signal circuits) on the E-FSA panels can be configured for several different output types. The default setting is Continuous – Silenceable, meaning there will be a steady output voltage, and you can turn off the signals using Signal Silence. If you are using Edwards' Genesis series strobe devices (EG1*, EGC*), however, you should change the output type to one of the 3 different Genesis modes. This will allow for strobe synchronization so that all strobe devices will flash at the same time. You can choose between Non-Silenceable (neither horn nor strobe will turn off); Audible Silence (horn will turn off but strobe will continue to flash); or Audible/Visible Silence (both horn and strobe will turn off when Signal Silence is pressed).
The following will explain the steps required for programming the signal circuits in the panel as well as any E-NAC modules…
Front Panel Buttons

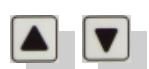

Menu Up/Down Left/Right Enter Cancel/Return

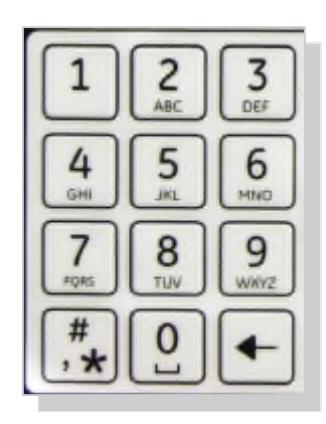
Alphanumeric Keypad

Programming the panel's on board NACs:
- 1. Press the Menu key on panel's keypad then arrow down to Program and press Enter.
- 2. Next, arrow down to Advance Program, press Enter, then enter your password.
- 3. Arrow down to Panel Configuration and press Enter.
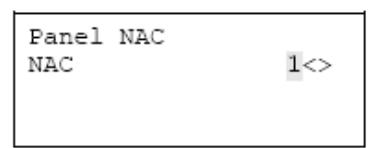
- 4. Choose Panel NAC and enter the NAC number.
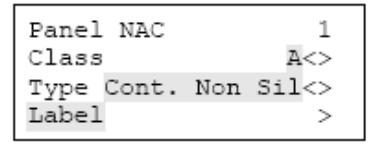
- 5. Arrow down to Type , then right or left arrow to scroll through the different types until you get to the Genesis type you want, then press Enter. (The highlighted selection shown to the right is for non-Genesis type devices. Genesis device types will begin with Gen.)
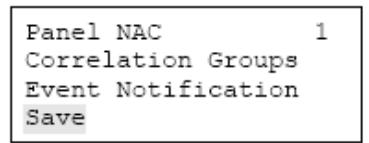
- 6. Select Save .
- 7. The screen will return to Panel NAC. Enter next NAC number and repeat steps 4 through 6.
- 8. When finished, press the menu button to exit programming.
Programming E-NAC modules connected to addressable loop:
- 1. Press the menu key then select Program .
- 2. Next select Advance Program and enter your password.
- 3. Choose Loop Configuration.
- 4. Arrow down to Device and press Enter.
- 5. If your panel has 2 loops, the next screen will ask for the loop number the module is connected to. Enter the number if prompted.
- 6. Enter the address of the E-NAC module, then press the Enter key
- 7. Arrow down to Type , then right or left arrow to scroll through the different types until you get to the Genesis type you want.
- 8. Press Enter, then select Save.
- 9. If more devices need changing, repeat steps 5 through 8. After last device, press the menu key to exit programming.


If programming the panel using the FSA-CU program, follow these steps:
Programming the panel's on board NACs:
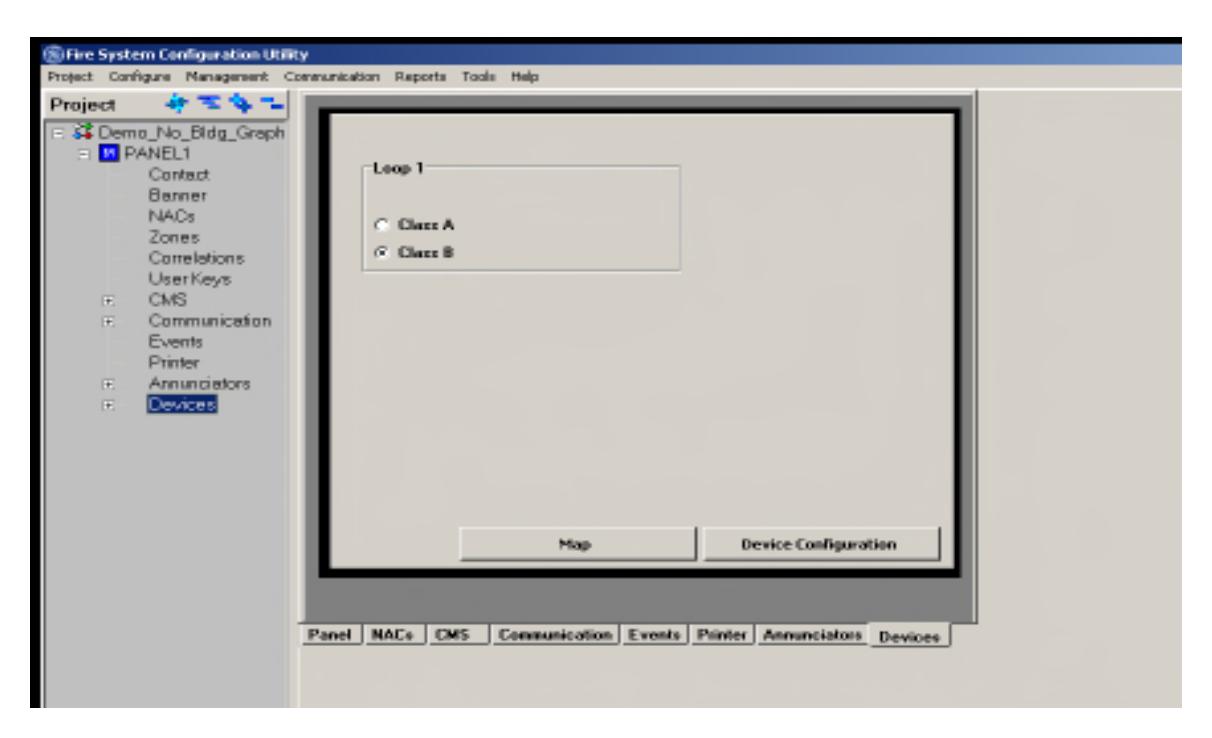
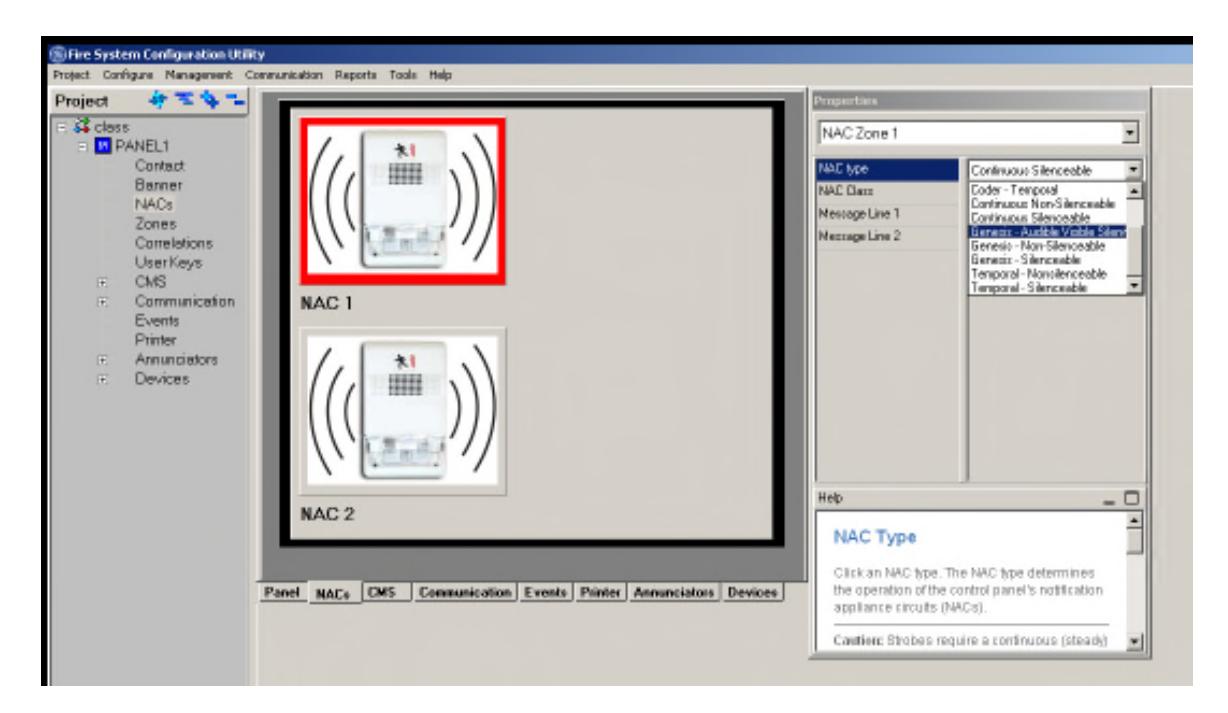
- 1. From the main screen, click on the NACs tab.
- 2. Click on the NAC( ) picture and a Properties box will appear to the right.
- 3. Click in the NAC Type window, a drop down box will show the different choices. Click on the Genesis type you want.
- 4. Repeat steps 2 and 3 for each NAC (there will be two NACs on the E-FSA64, four on the E-FSA250).
- 5. Download to panel when finished making changes.


Programming the E-NAC modules connected to addressable loop:
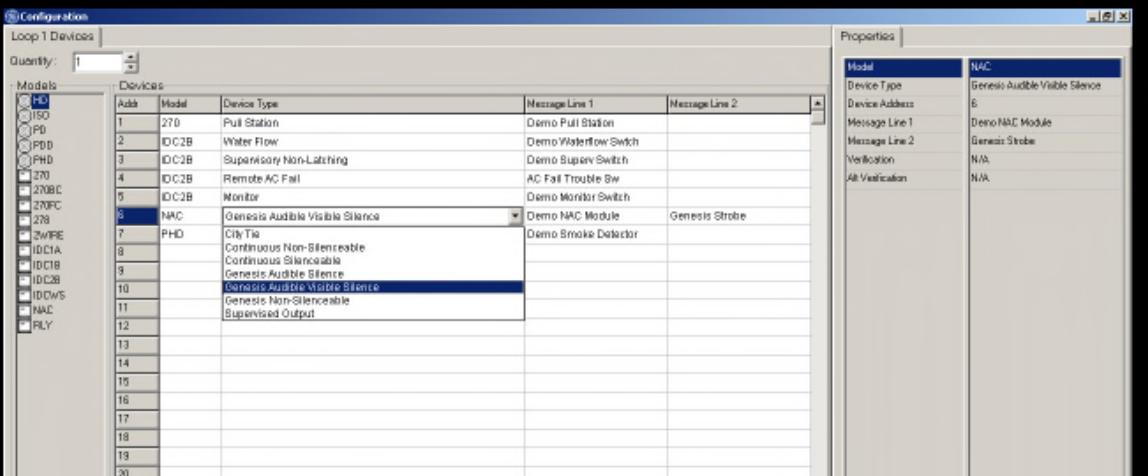
- 1. From the main screen, click on the Devices tab, then Device Configuration.
- 2. On the Configuration screen, click in the Device Type box of the E-NAC module you want to change. A drop down box will show the different choices. Click on the Genesis type you want.
- 3. Repeat for each E-NAC module on the loop (and 2nd loop if a two loop panel).
- 4. Download to panel when finished making changes.