Aiphone WL-11 Quick Start Guide
Open the original PDF document
View PDFQuick Start Guide Model Name: WL-11.E1 Wireless Video Intercom
All manuals for the WL-11 Series are available from our website (www.aiphone.net). Please ensure this information is provided to customers.
AIPHONE
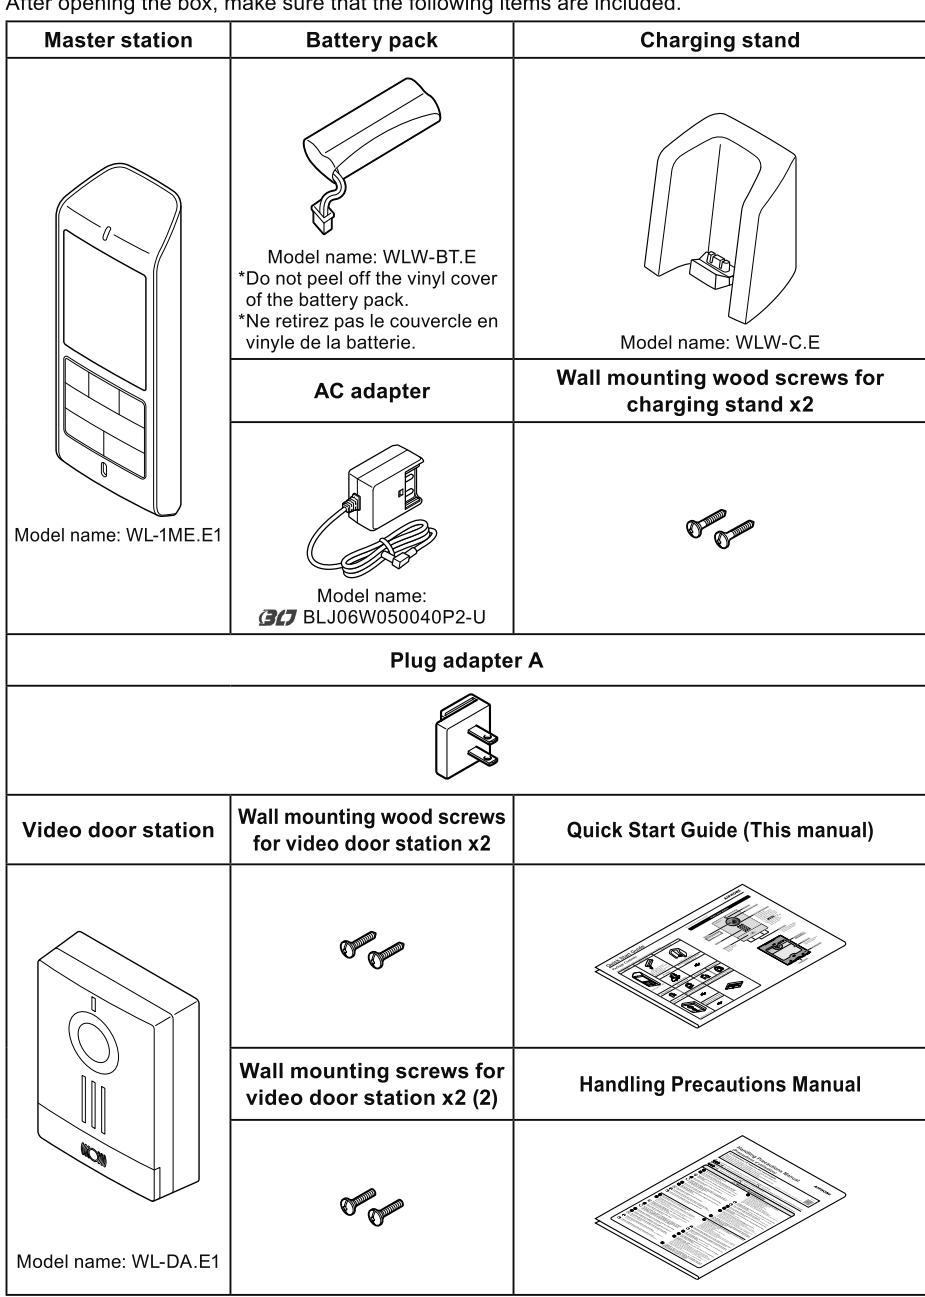
Package Contents
After opening the box, make sure that the following items are included.
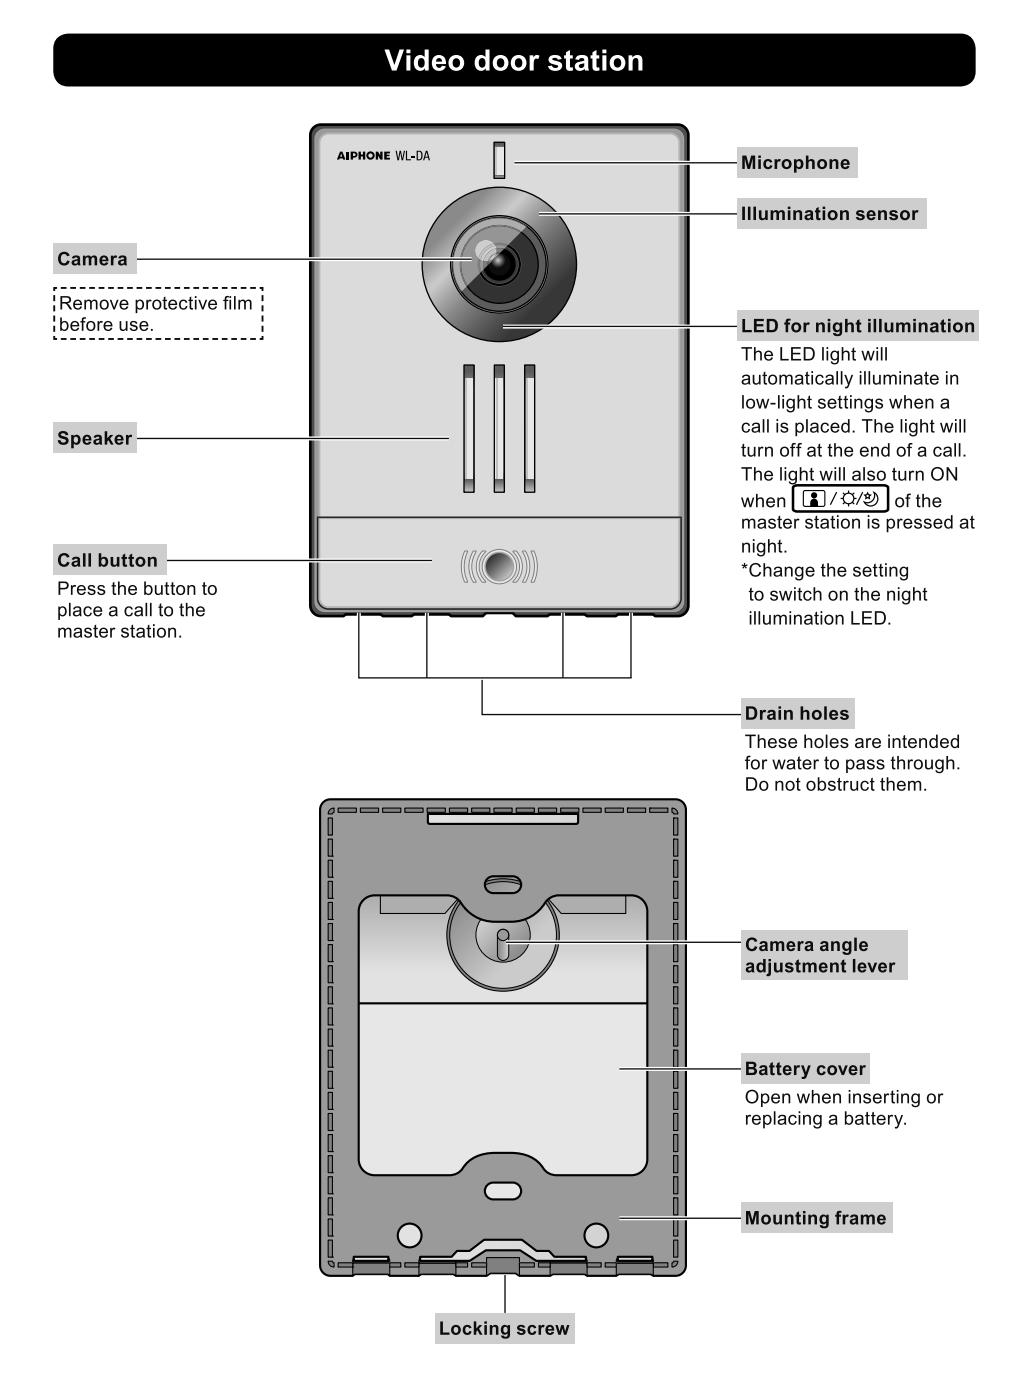
Part Names and Function
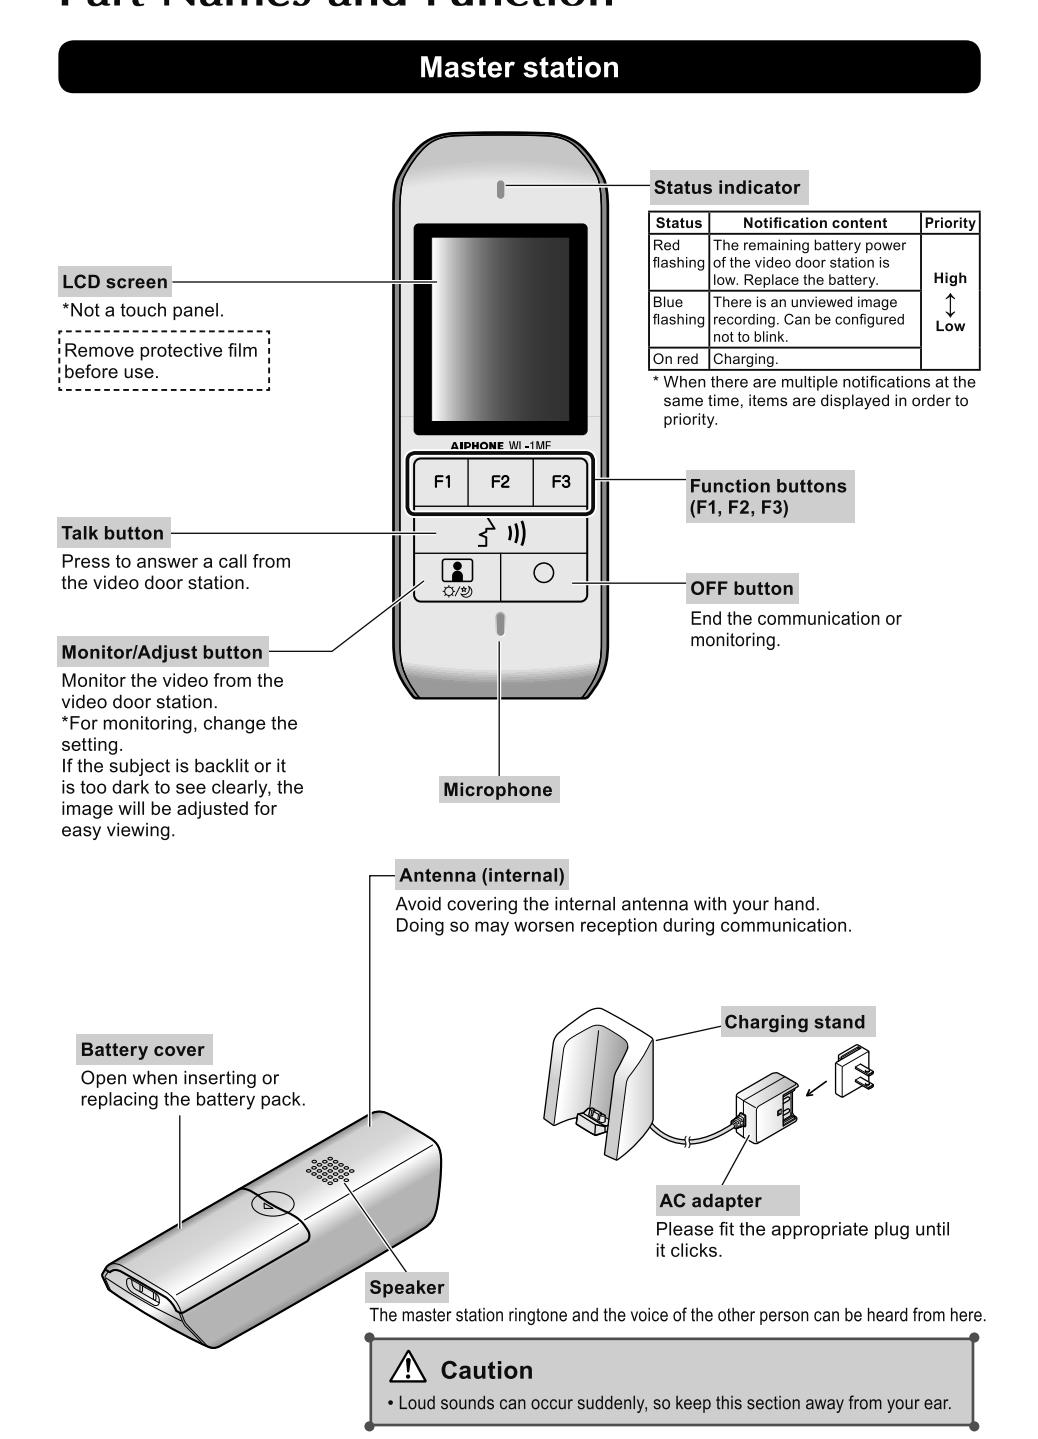
Part Names and Function
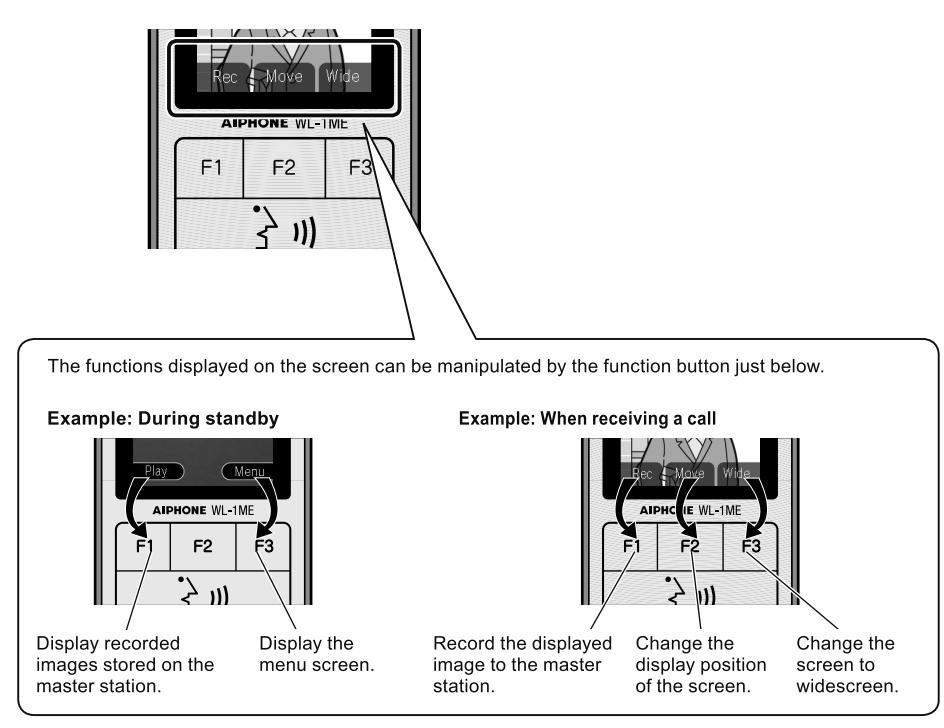
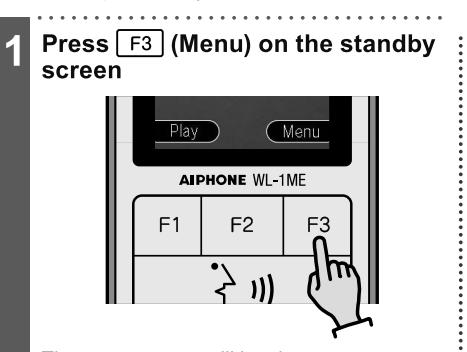
Using the function buttons (F1, F2, F3)
Functions manipulated by the function buttons (F1, F2, F3) are displayed on the screen
The functions displayed on the screen change in accordance with the status of this device.
Charging the Master station
Charge the master station for 16 hours before using it for the first time.

Connect the connector of the battery pack to the connector terminal inside the battery cover
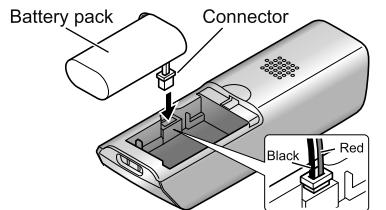
Set the battery pack, and close the battery cover
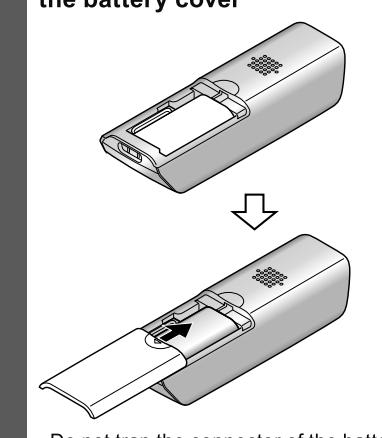
Do not trap the connector of the battery
Place the master station on the charging stand
Use the appropriate plug in your region to the AC adapter.
- The status indicator switches on red during charging.
- After sufficient charging, the status
Notes
- Charging time increases in the following conditions.
- The operation temperature is low.
- The AC power voltage is low.
- The master station was used during charging
- The reception status of this unit is "Out of
- Set the master station on the charging stand when it is not in use. Overcharging does not occur even when the master station is always on the stand.
- The status indicator may not switch off immediately when this unit is removed from the charging stand.
- The remaining battery power displayed just after the battery pack is installed may be lower than the actual value.
- "AIPHONE" is displayed on the screen after the master station is switched on, and the status indicator switches on red.
(Warning)
- Do not peel off the vinyl cover of the battery pack.
- If this unit will be removed from the charging stand or the power adapter will be unplugged for one week or more, remove the connector and remove the battery pack. (This maintains the battery pack performance and prevents consumption of the battery pack.)
Setting the Date and Time
Set the date and time before using it for the first time. This date and time is used for the listed dates and times of recordings.
Notes
- The date and time may revert back to the default setting when, for example, the battery pack is removed, etc. In such cases, set the date and time again.
- Clock accuracy may deviate as much as ±1 minute per month. We recommend configuring the date
The menu screen will be shown.
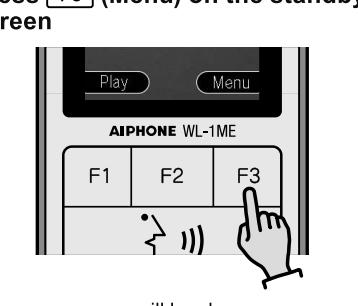
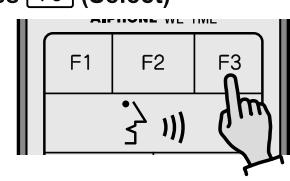
Select "Date & Time" using F2 (V) and press F3 (Select)
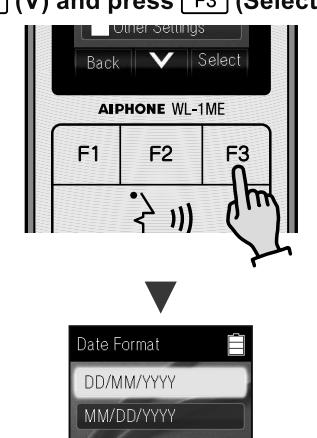
The date and time configuration screen will
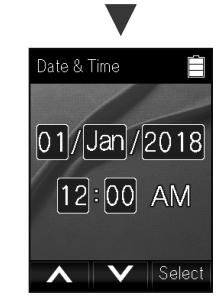
Configure the current date and time using ( ) or (v) and press F3 (Select)
- · The item to be configured flashes in
- How to change the date and time ( ): Increases the value by 1. F2 (V): Decreases the value by 1.
- If F1 is pressed when the maximum value is displayed, the value returns to the minimum value.
Repeat Step 3 and configure the month, year, hour, and minute
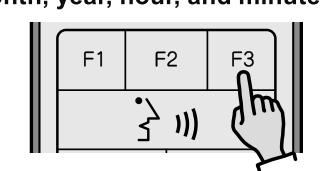
A "beep" is heard when the configuration is
Installing the Video door station
Remove the mounting frame from the video door station
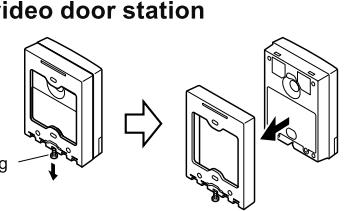
Loosen the locking screw on the bottom and remove the frame.
Remove the battery cover

Loosen the two screws and remove the
Insert six AA batteries (batteries not included)
Power supply: 6×AA size batteries (Ni-MH
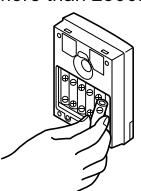
Align the plus (+) and minus (-) terminals
Attach the battery cover
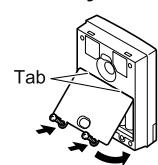
- Set the hooks of the upper section of the battery cover and attach the battery cover
- Tighten the two screws.
- · There is rubber packing attached to the rear side of the battery cover. Make sure that the rubber packing is not removed during attachment.
Adjust the camera angle
The camera angle can be adjusted from 0° through 19°.
Attach the mounting frame to a wall
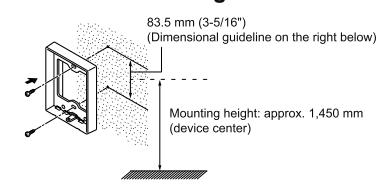
Secure the stand using the two included screws or wooden screws
Attach the video door station to the mounting frame
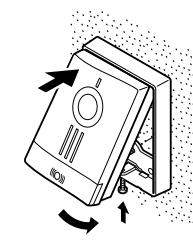
Insert the top section of the video door station into the mounting frame and push in the bottom section. Tighten the locking screw on the bottom to secure the video door station.
(Notes
- Do not use wood screws when attaching to a switchbox.
- Moutning may not be possible depending on the wall surface.
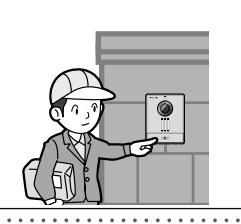
Receiving a call
Answering a door call and communicating
When the call button of the video door station is pressed
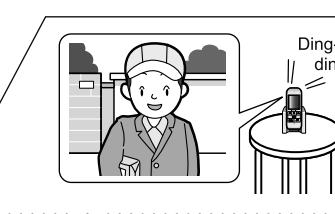
View a visitor by looking at the screen
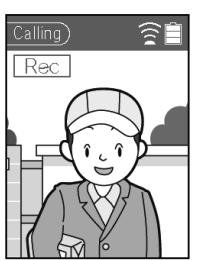
· When the screen is difficult to see due to backlighting, adjust the screen
Press (3 m), and speak with other
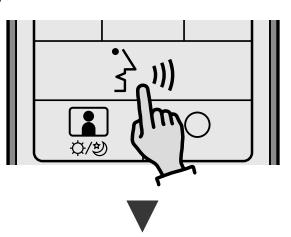
Communicate with the other party after 'Talking" is displayed.
- Speak with the other party in turns. If both parties speak simultaneously, voices may be cut off.
- If the voice of the other party cannot be heard well, adjust the volume.
- When approx. 50 seconds passes from the start of communication, "Extend" will be displayed. It is not possible to switch the screen or record images manually during this time.
After "Extend" is displayed the screen, press F3 (Extend)
Extending the talk time

Communication will be extended approx. one minute.
(Notes]
- When there is no response after the master station ringtone starts, the call will be ended after approx. 30 seconds. The screen will return to the standby screen Communication time is approx. 1 minute.
- Communication can be extended twice
- When the ambient noise is loud enough to interrupt the audio, communicate using push-to-talk. When a call is received from the video door station, image recording will start automatically. During recording, "Rec"
- (Recording video) is displayed on the screen. The night illumination LED of the video door station can be switched on at night.
- It takes approx. six seconds from when the call button of the video door station is pressed until images are
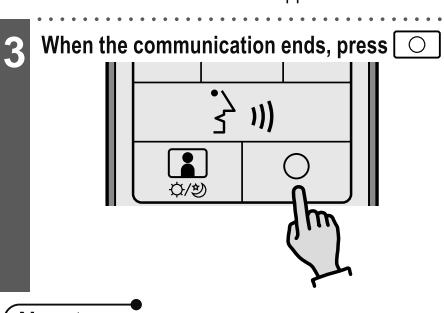
- When the master station is placed on the charging stand during communication, the screen will return to the standby screen.