8800 & 12-8800 Series Rim Exit Devices (16-28-63-66 Functions) Installation Instructions
Open the original PDF document
View PDF

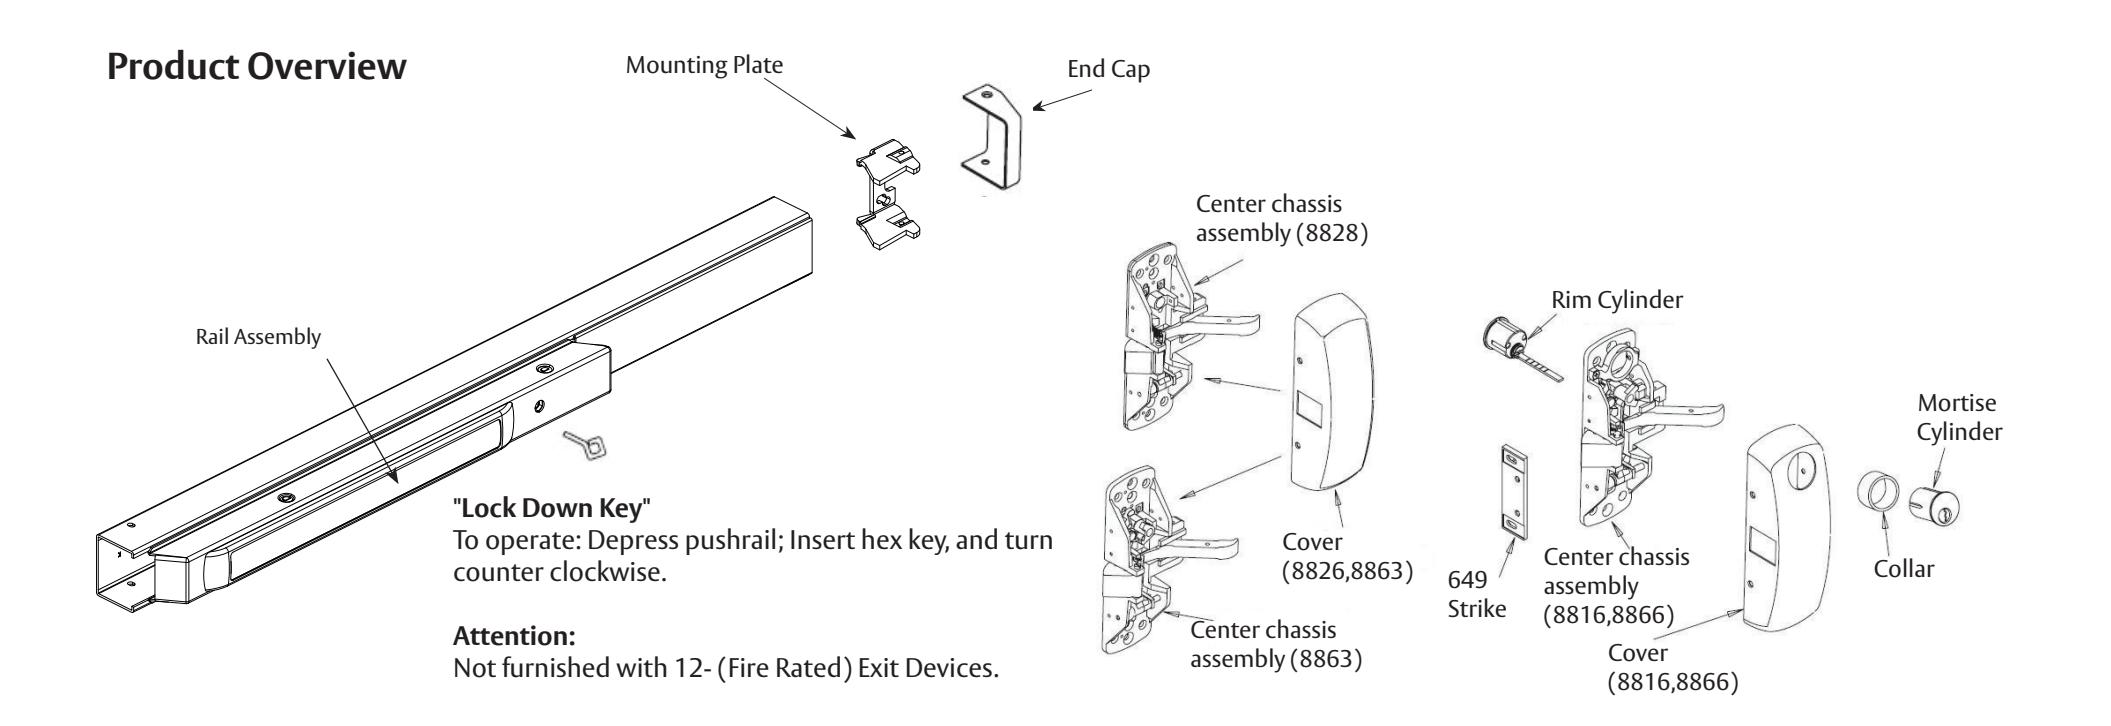
8800 & 12-8800 Series
Rim Exit Device for 16, 28, 63, & 66 Functions
Available Stock Lengths:
Length "E": 32" door, no cut off required. Can be cut to fit doors down to 24" wide.
Length "F": 36" door, no cut off required. Can be cut to fit doors down to 33" wide.
Length "J": 42" door, no cut off required. Can be cut to fit doors down to 37" wide.
Length "G": 48" door, no cut off required. Can be cut to fit doors down to 43" wide.
Before installation:
- 1. Install mullion, if used.
- 2. Fit and hang door.
- 3. Check the box's label for the size of the exit device.
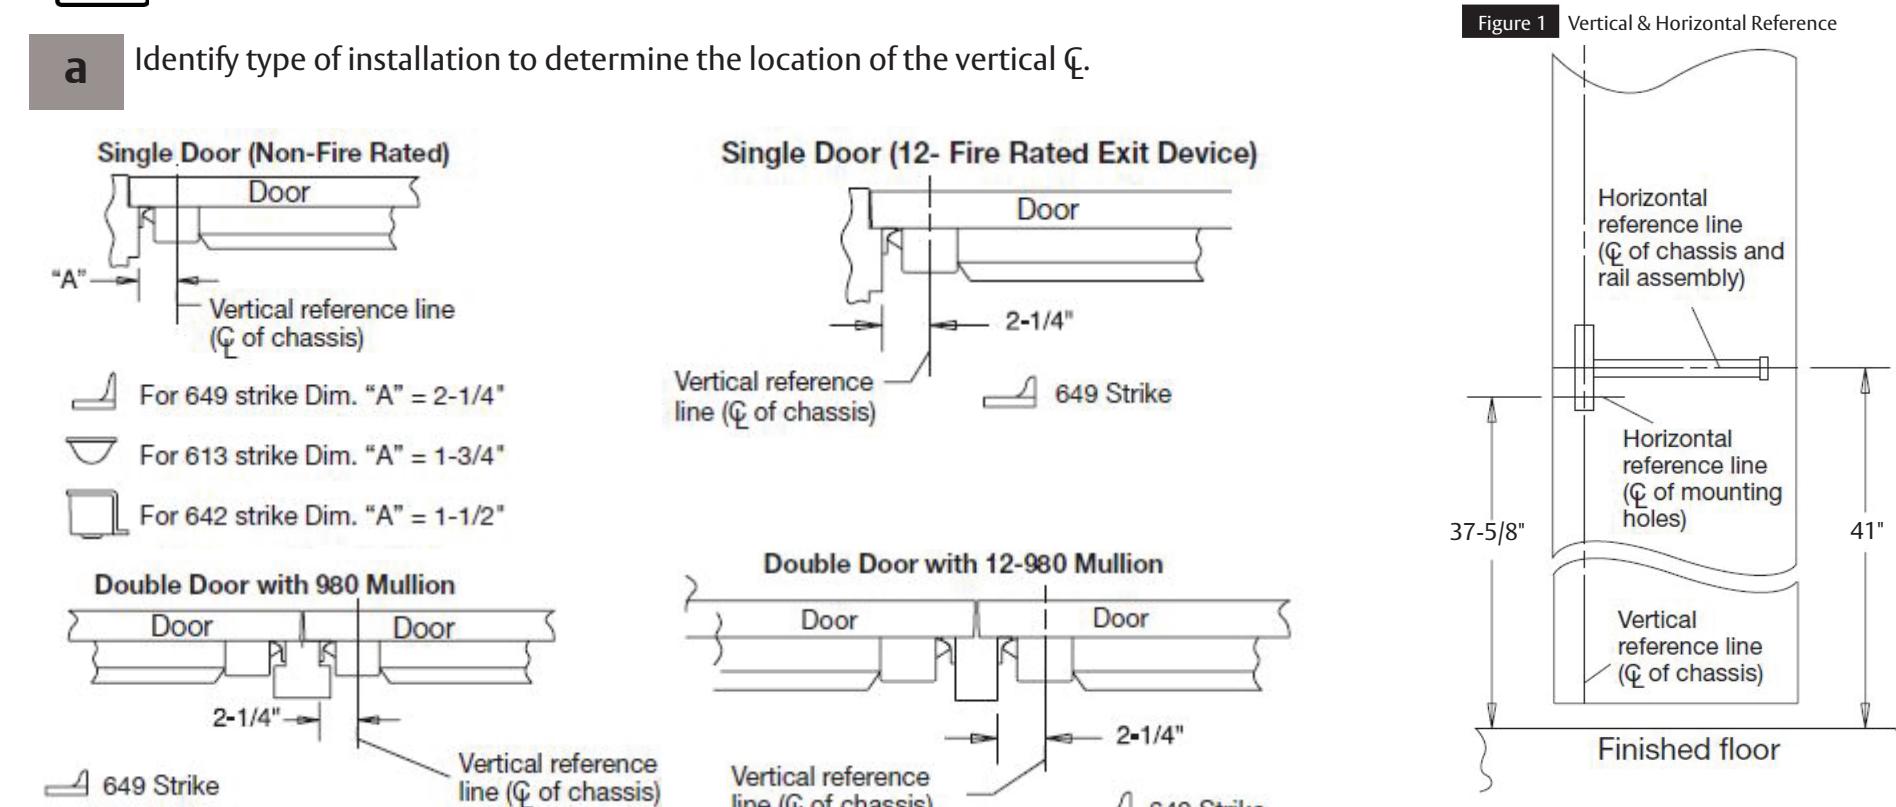
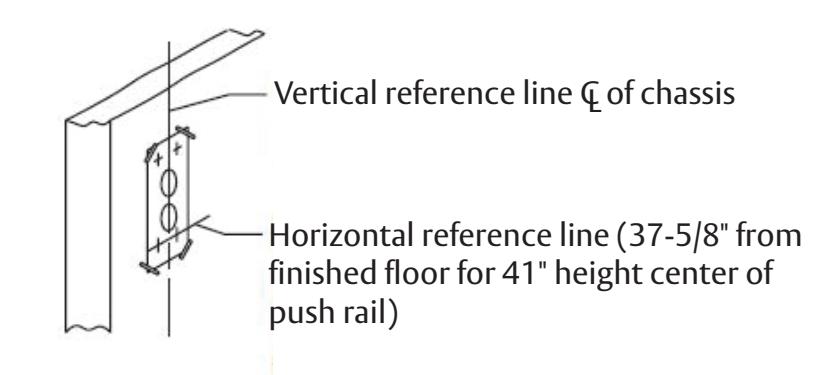
- 1 Mark vertical and horizontal reference lines of the door (See Figure 1)
the flat surface of the door.
Surface of the door where exit device is applied, must be flush. Clear away any raised projections to allow exit device to rest on
Installation Instructions
- 2 Prepare Door
- a Tape template on inside of the door along the reference.
- b Spot and drill holes.
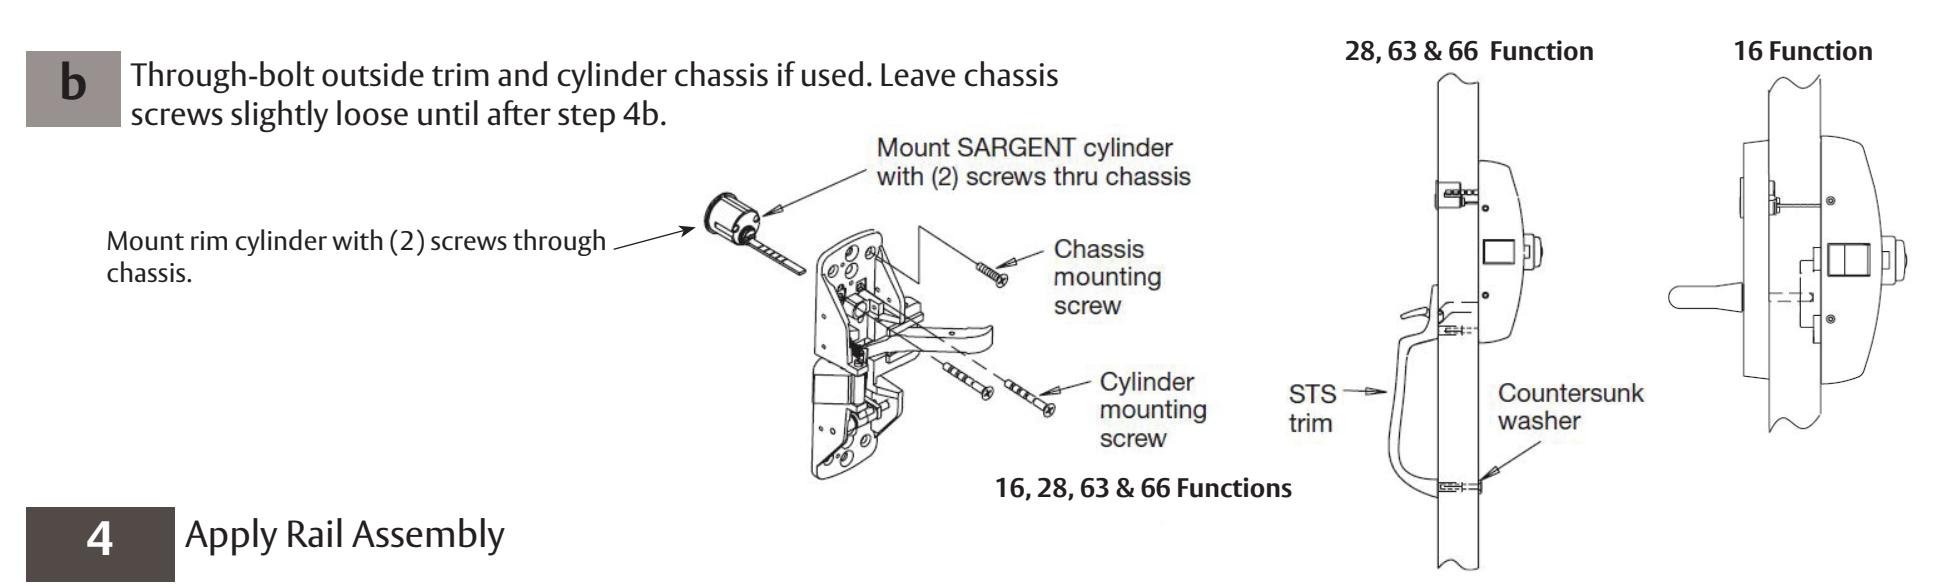
- 3 Apply Hardware
- a Attach chassis to the door with (4) #10 mounting screws.
-
a
Check box label for rail size and refer to the Available Stock Lengths on page 1 for the door sizes.
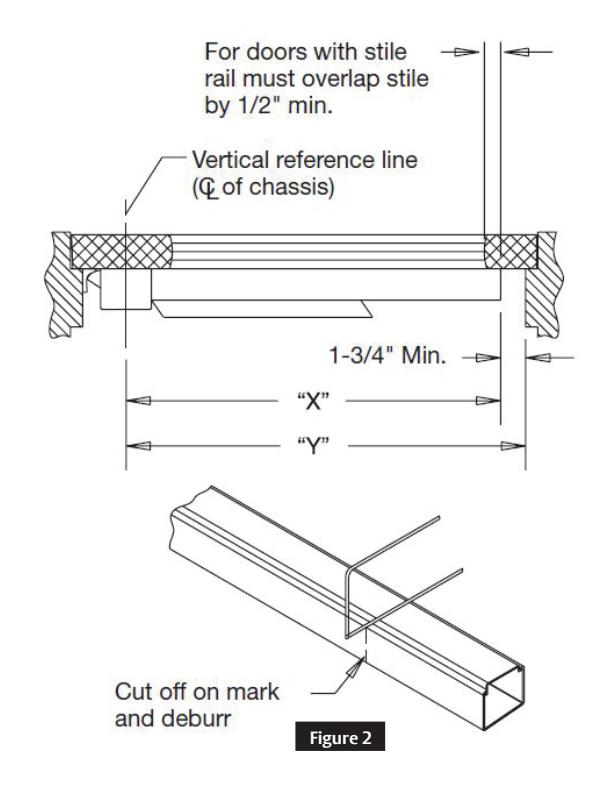
- If cutting is required, determine cut off dimension "X" by subtracting 1-3/4" from dimension "Y". (See Figure 2.) Mark cut off point on mounting rail.
- If cutting is not required, skip to 4b.
- Depress arm into rail opening and slide rail onto chassis. Attach rail assembly to the chassis with two #8 truss head machine screws. b
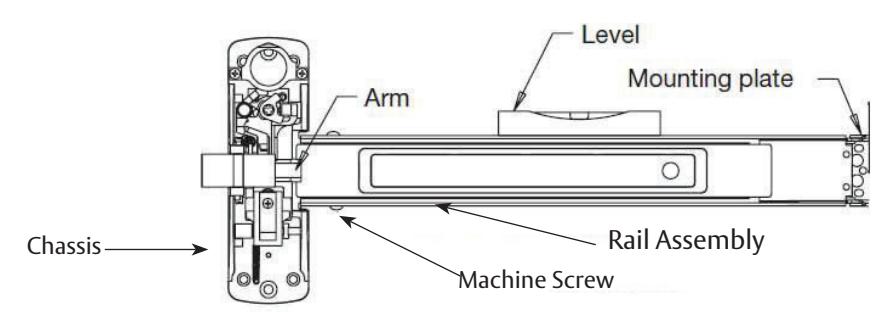
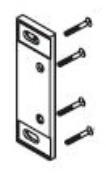
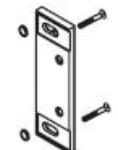
Level rail. Place mounting plate tight against rail and attach it to the door with two #10 round head screws. c
- 5 Apply Covers and Strike
- a Attach cover to chassis with four (4) cover screws.
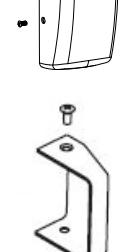
b Attach end cap to mounting plate with two cover screws.


This product can expose you to lead which is known to the state of California to cause cancer and birth defects or other reproductive harm. For more information go to www.P65warnings.ca.gov.